
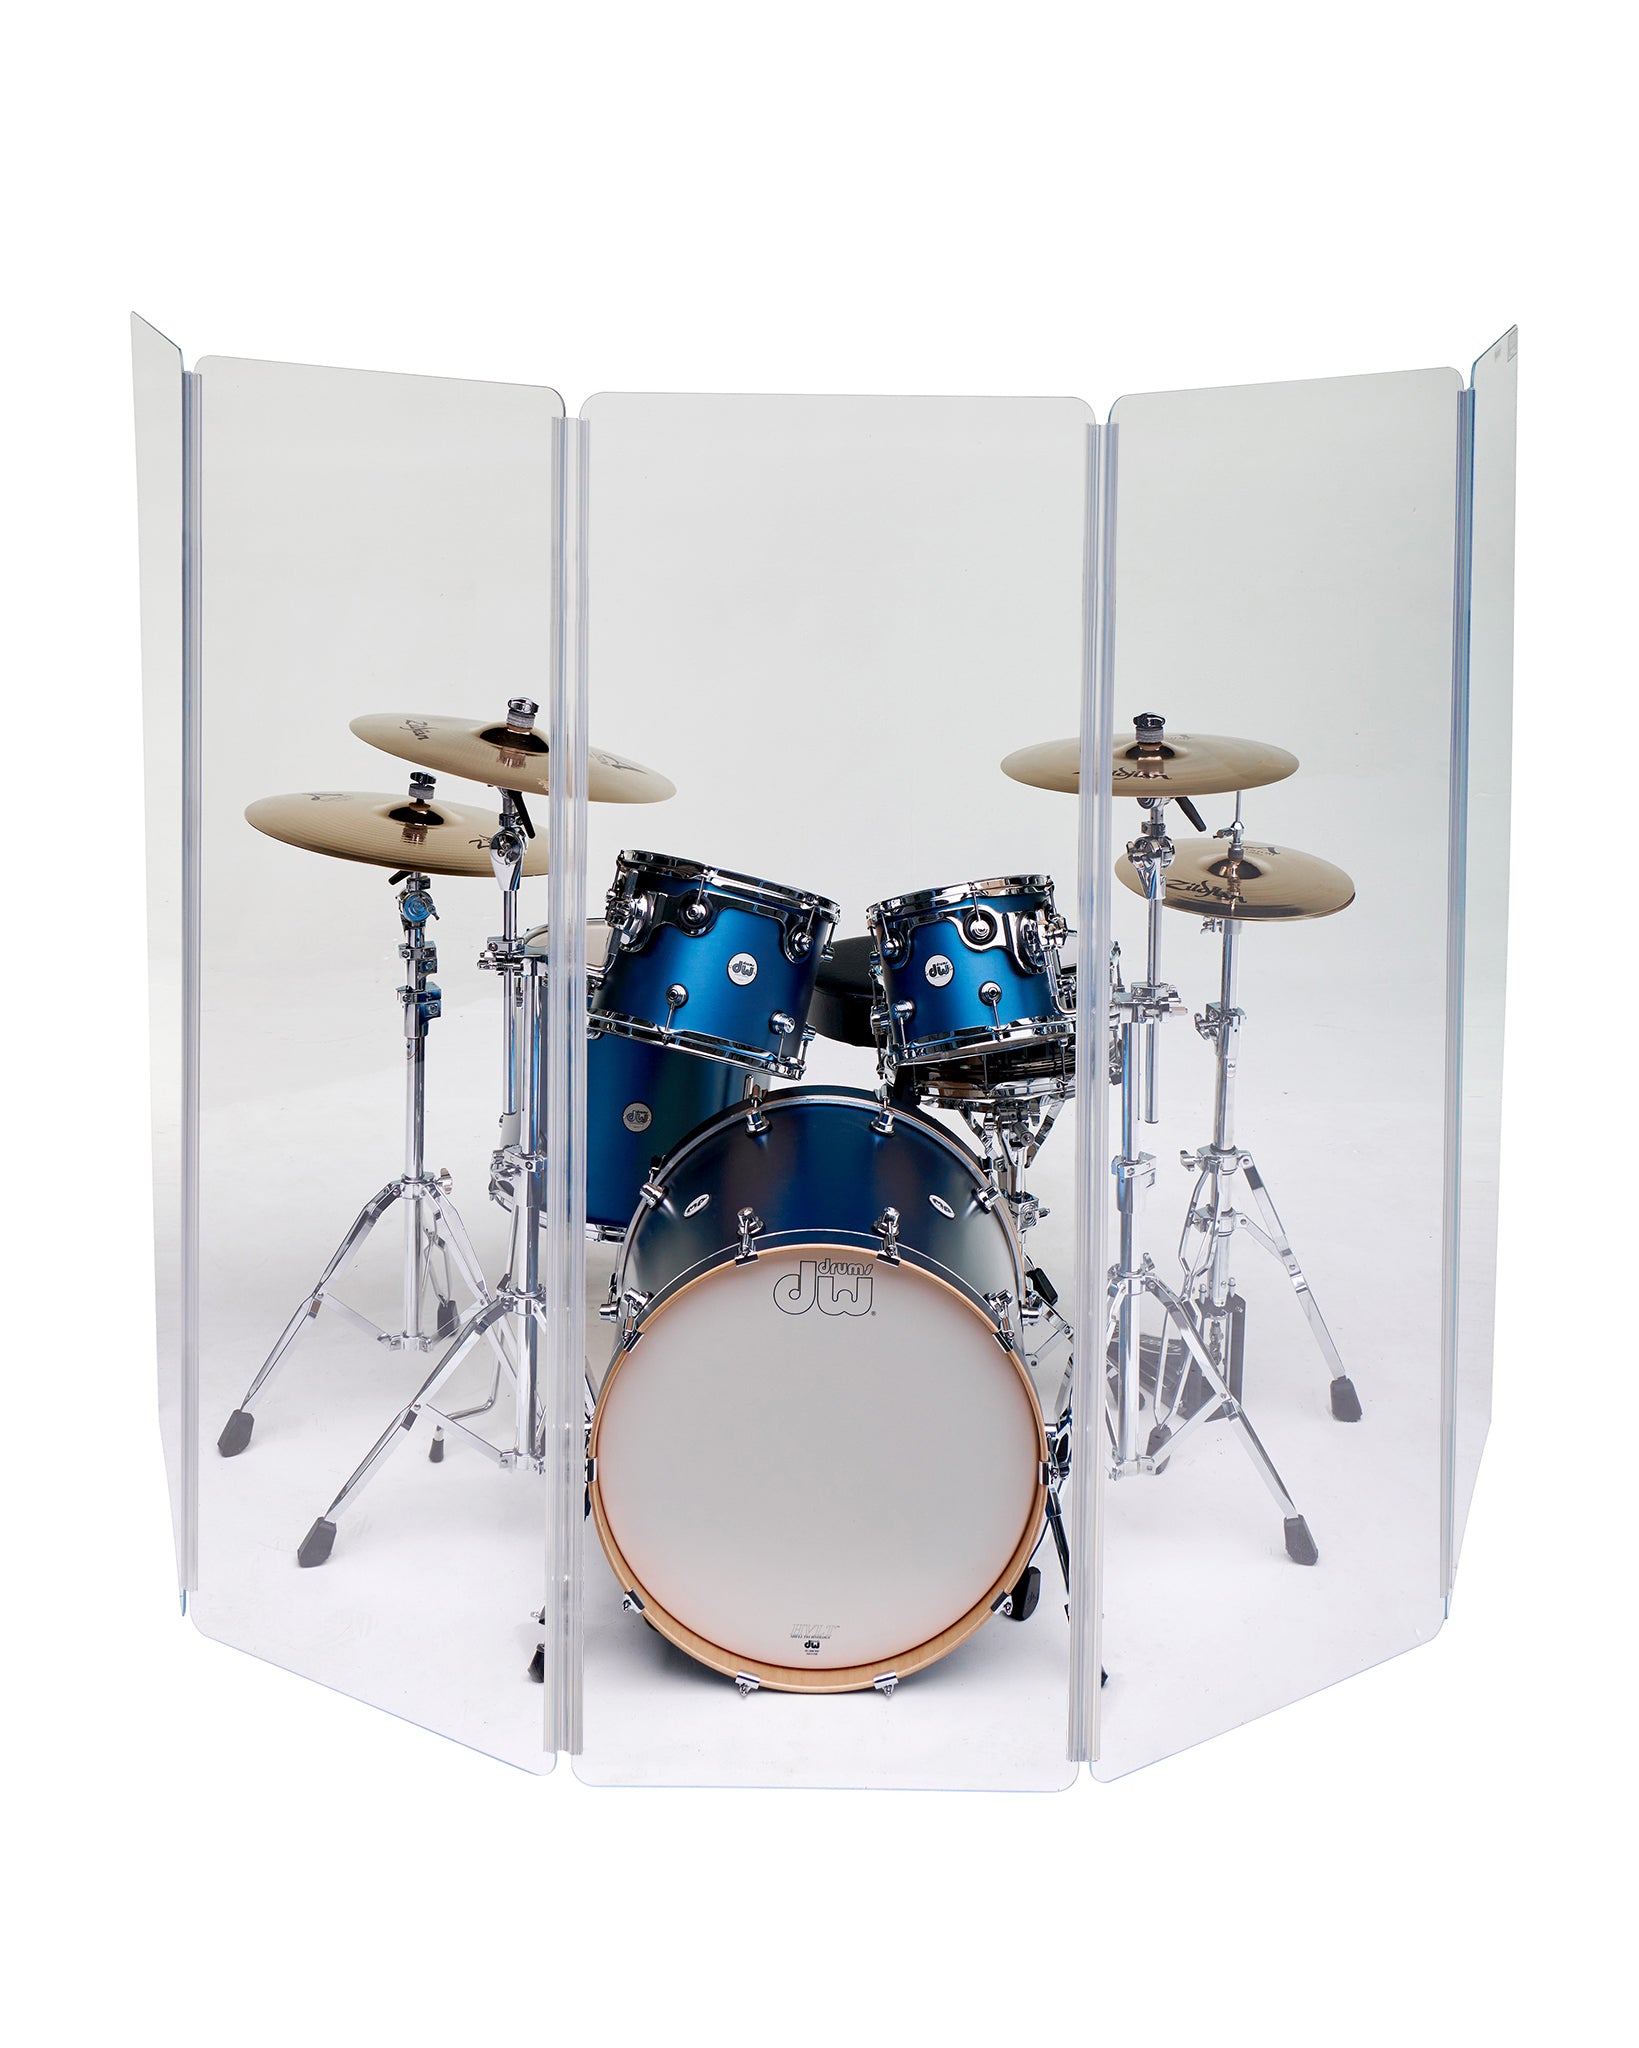
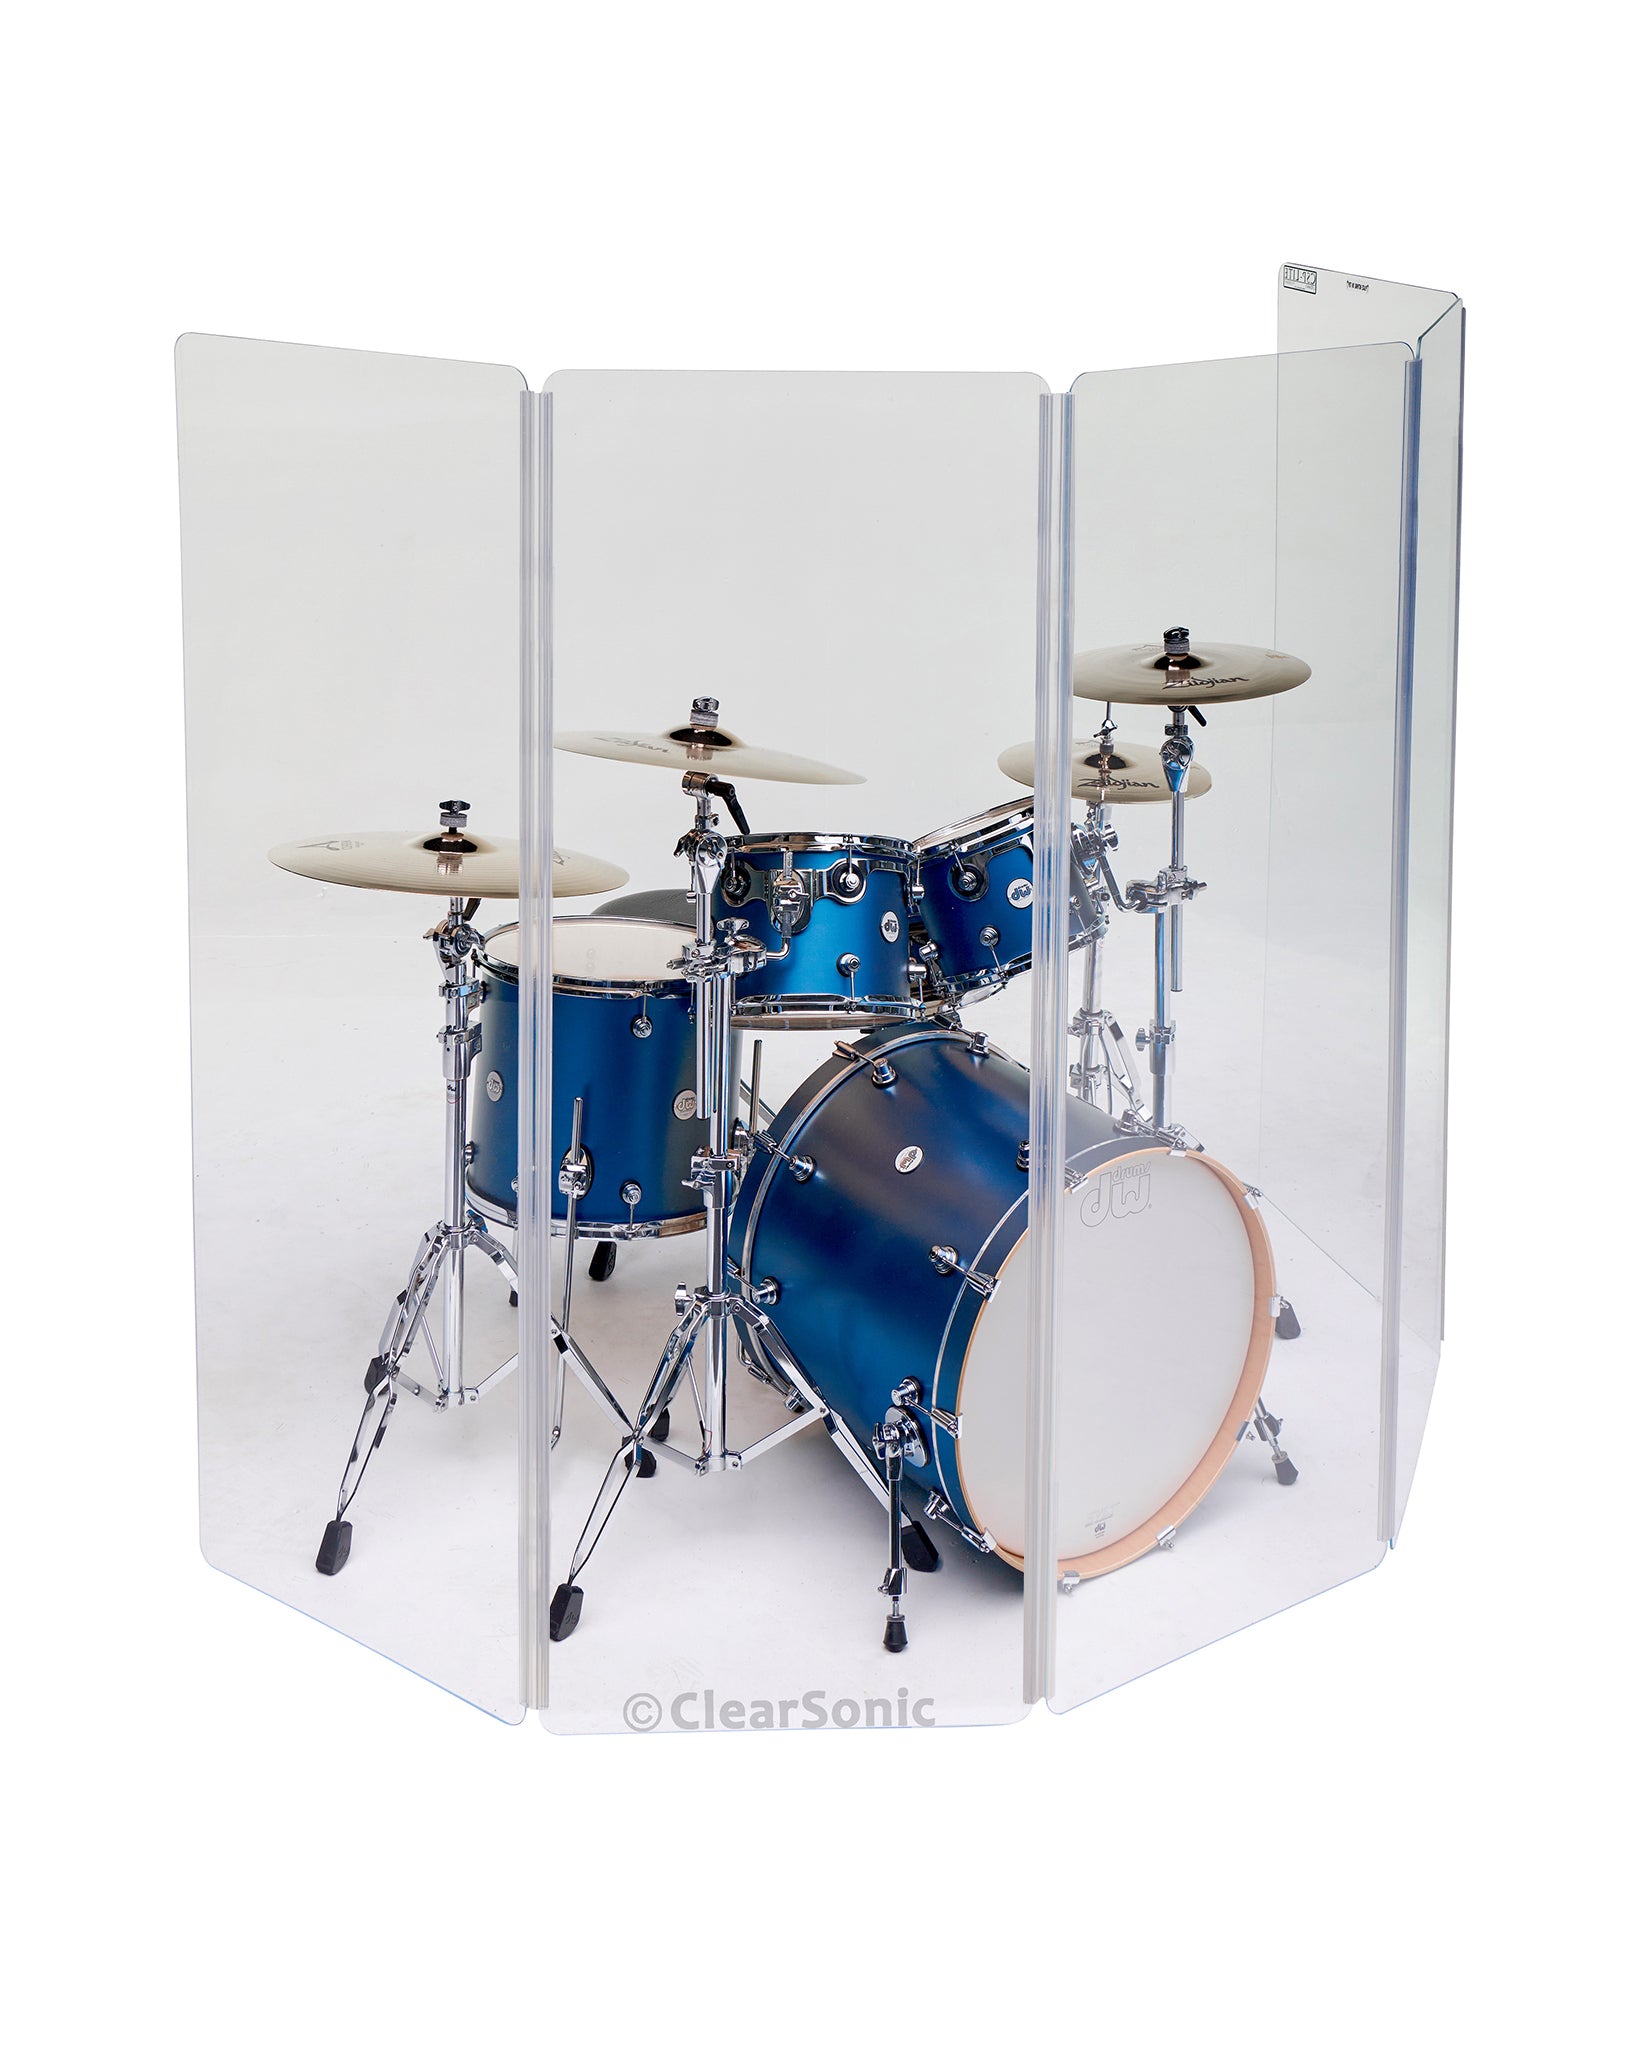
5.5 ft. Tall Acrylic Drum Shield with Flexible Full-Length Hinges and Cable Cutouts


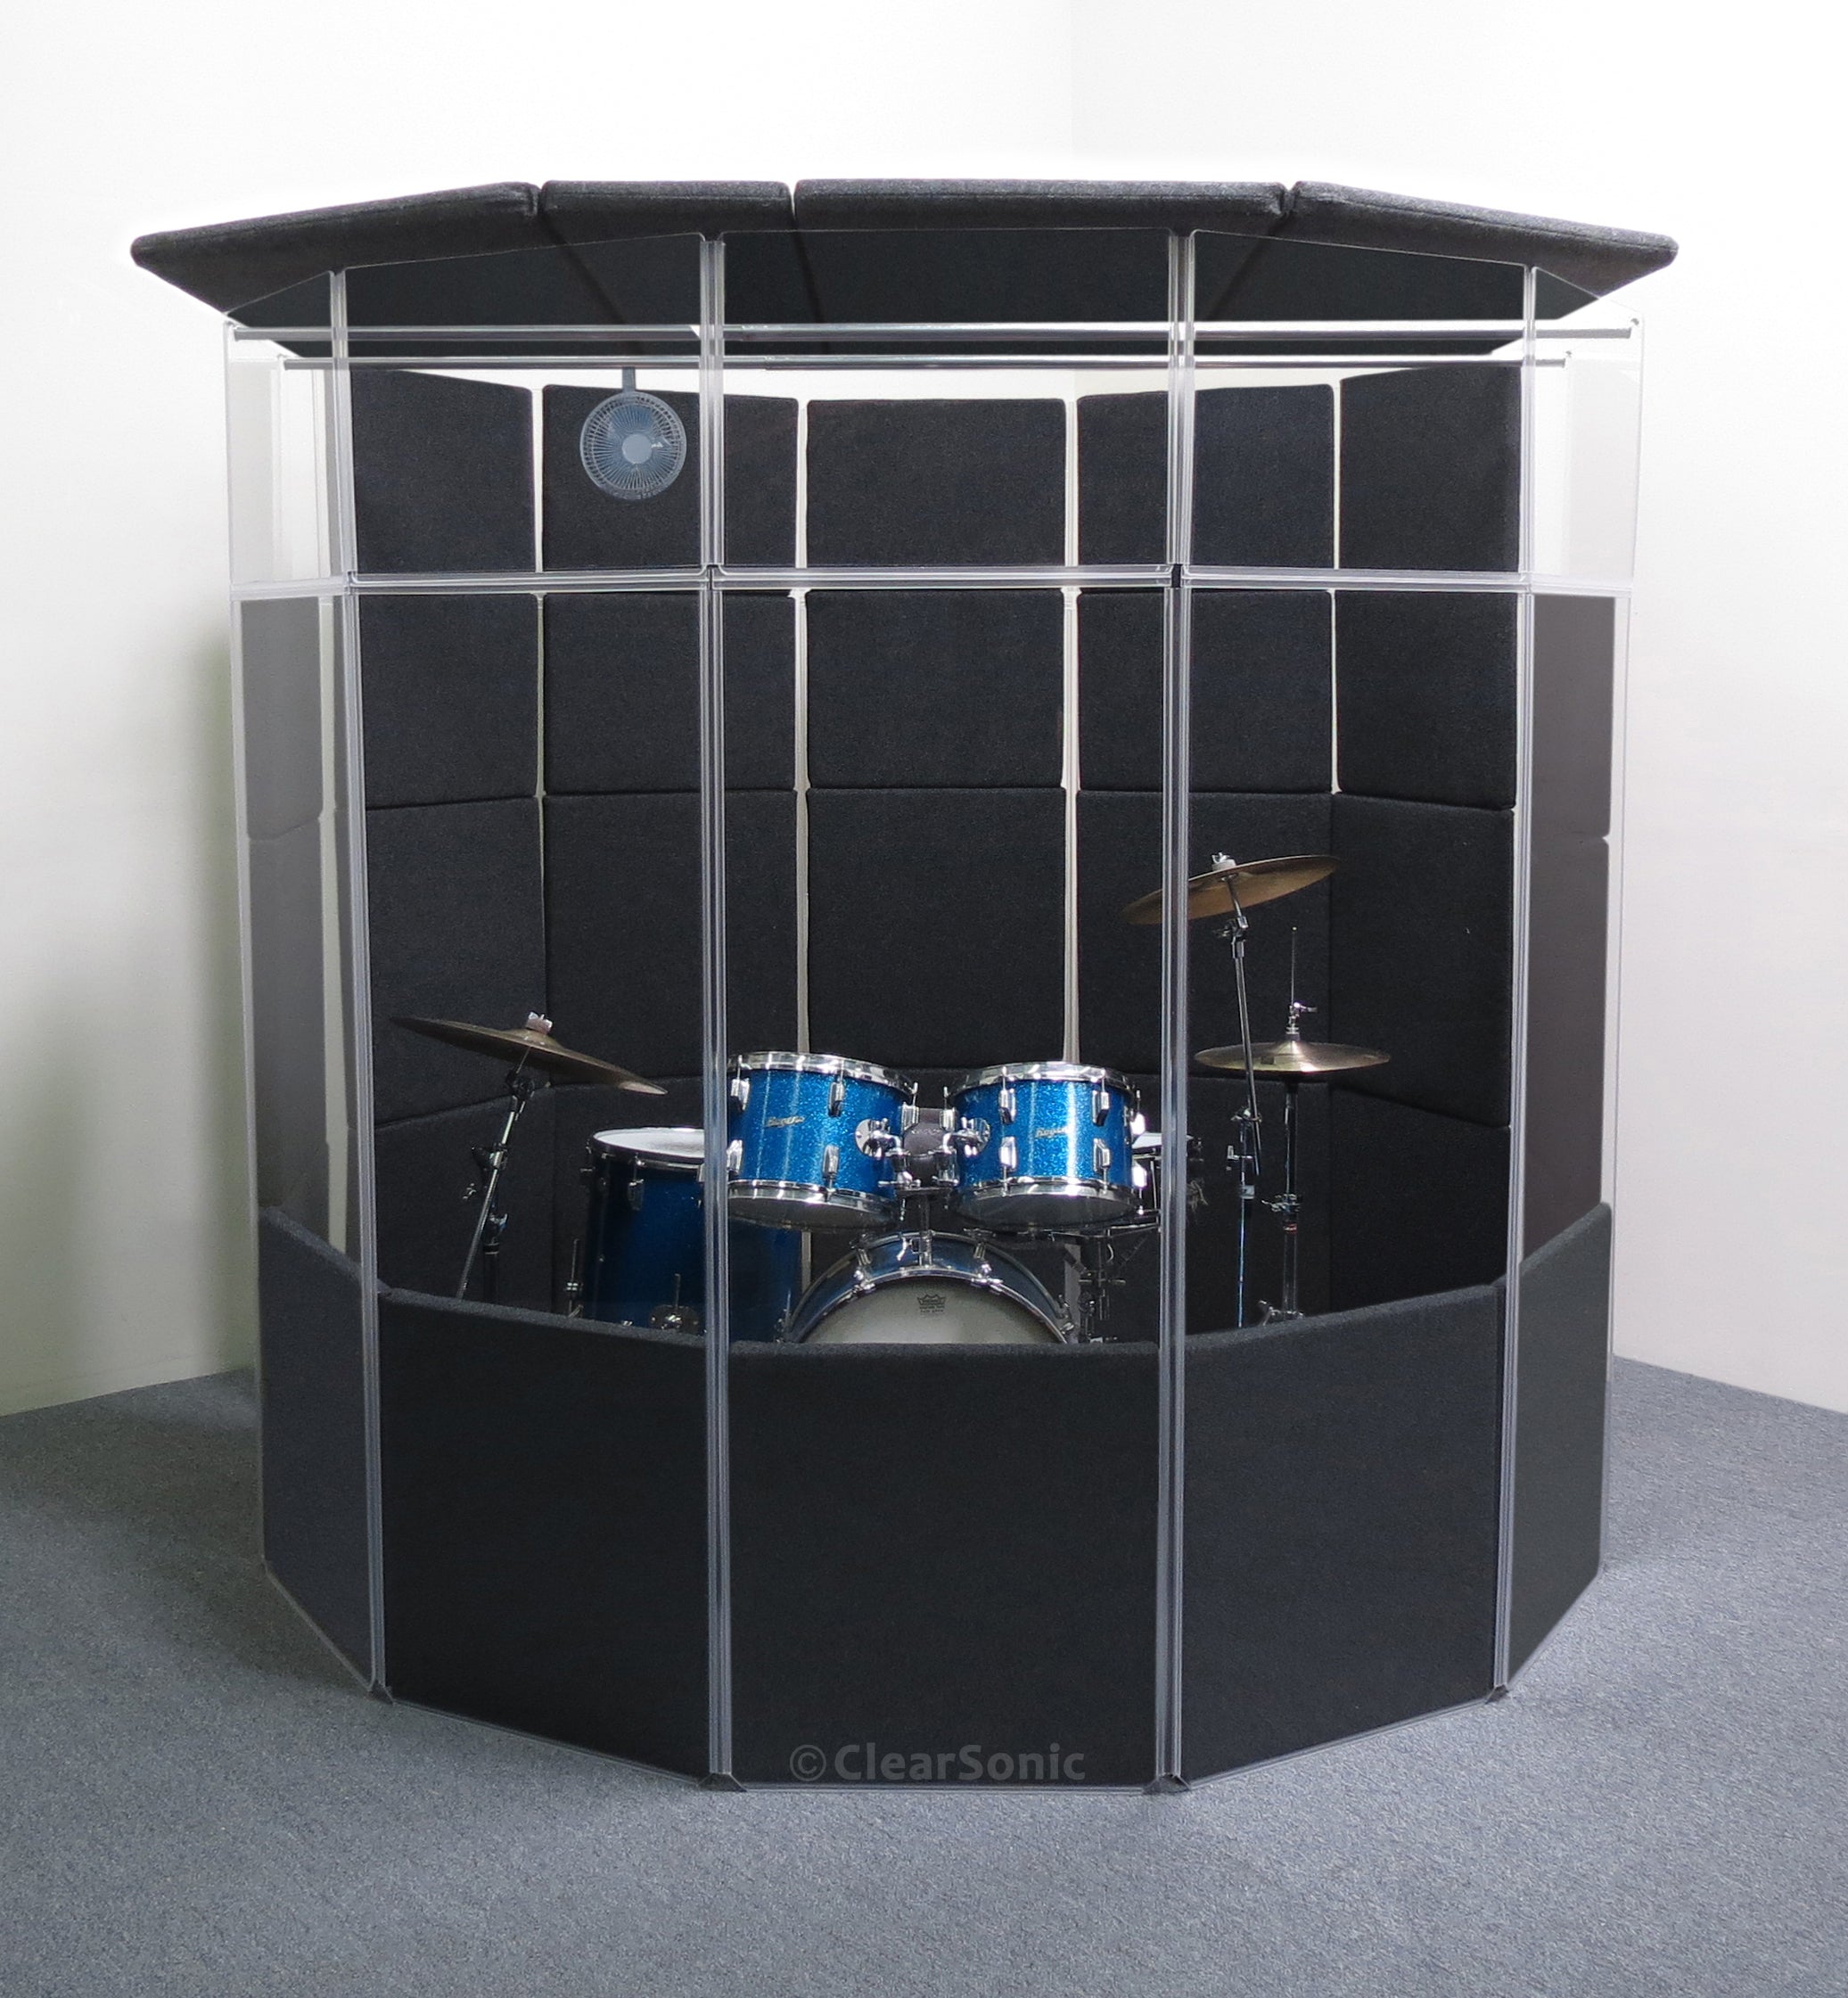
Drum Enclosures
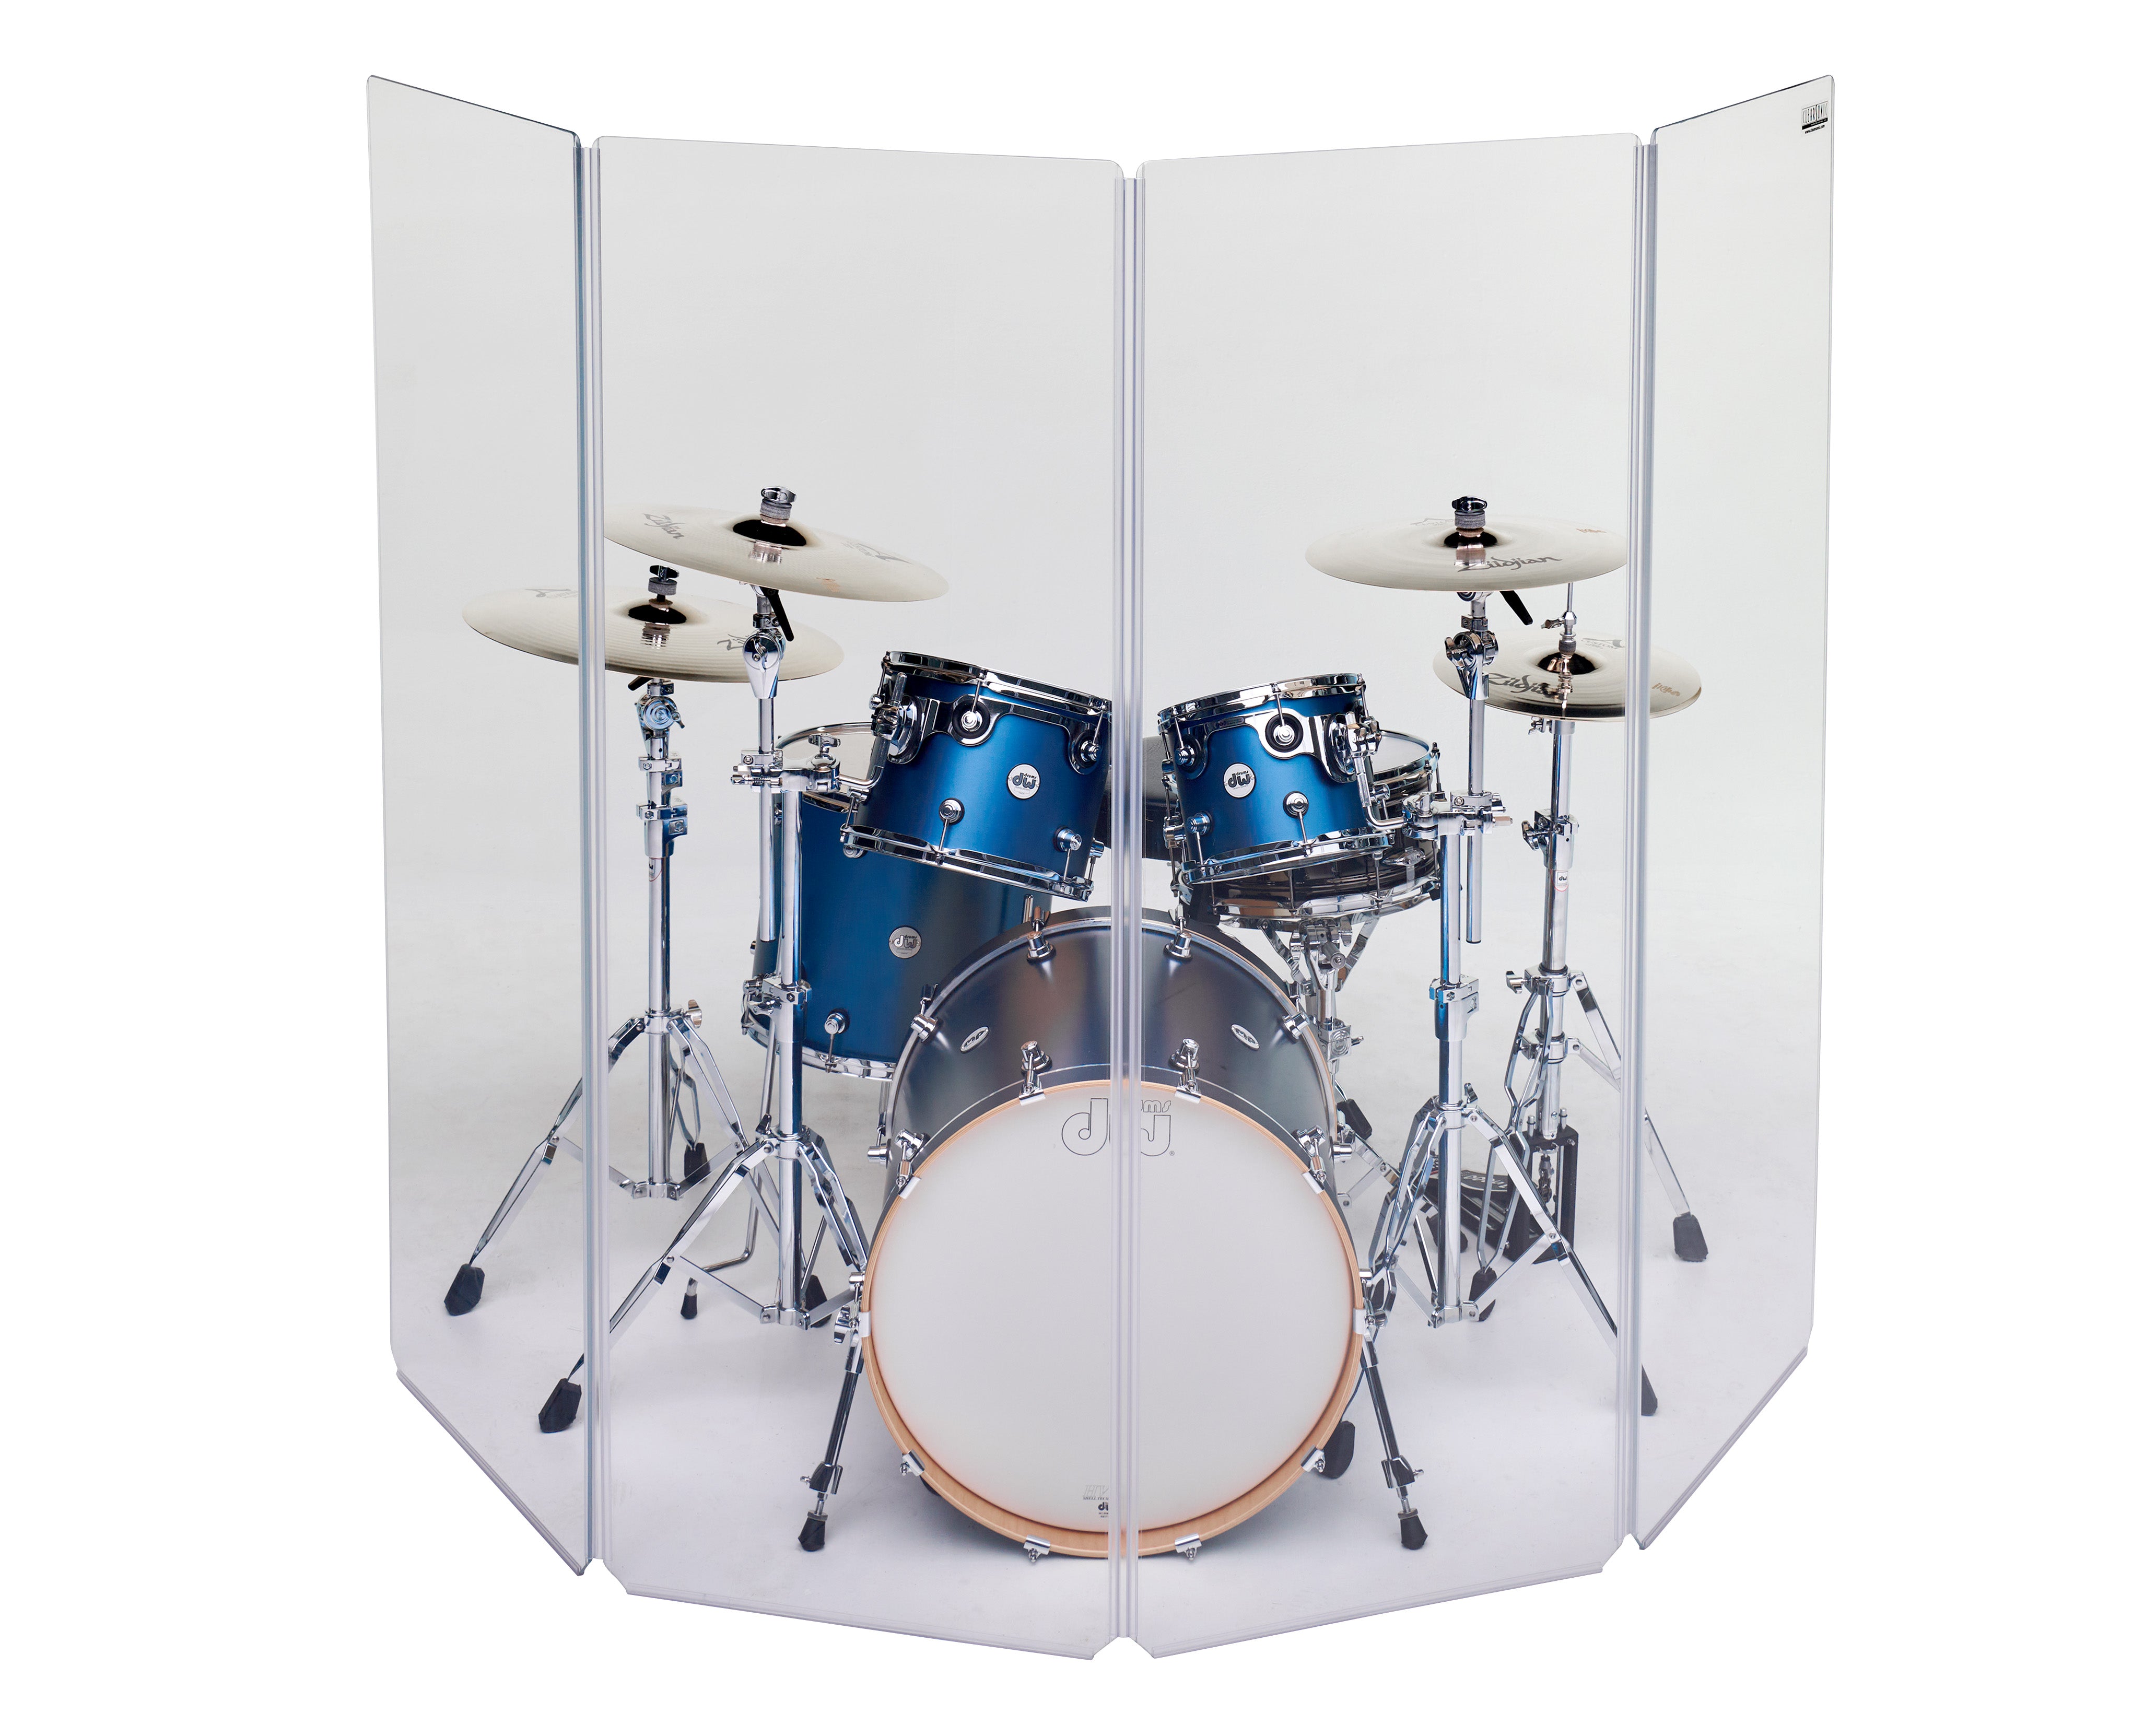

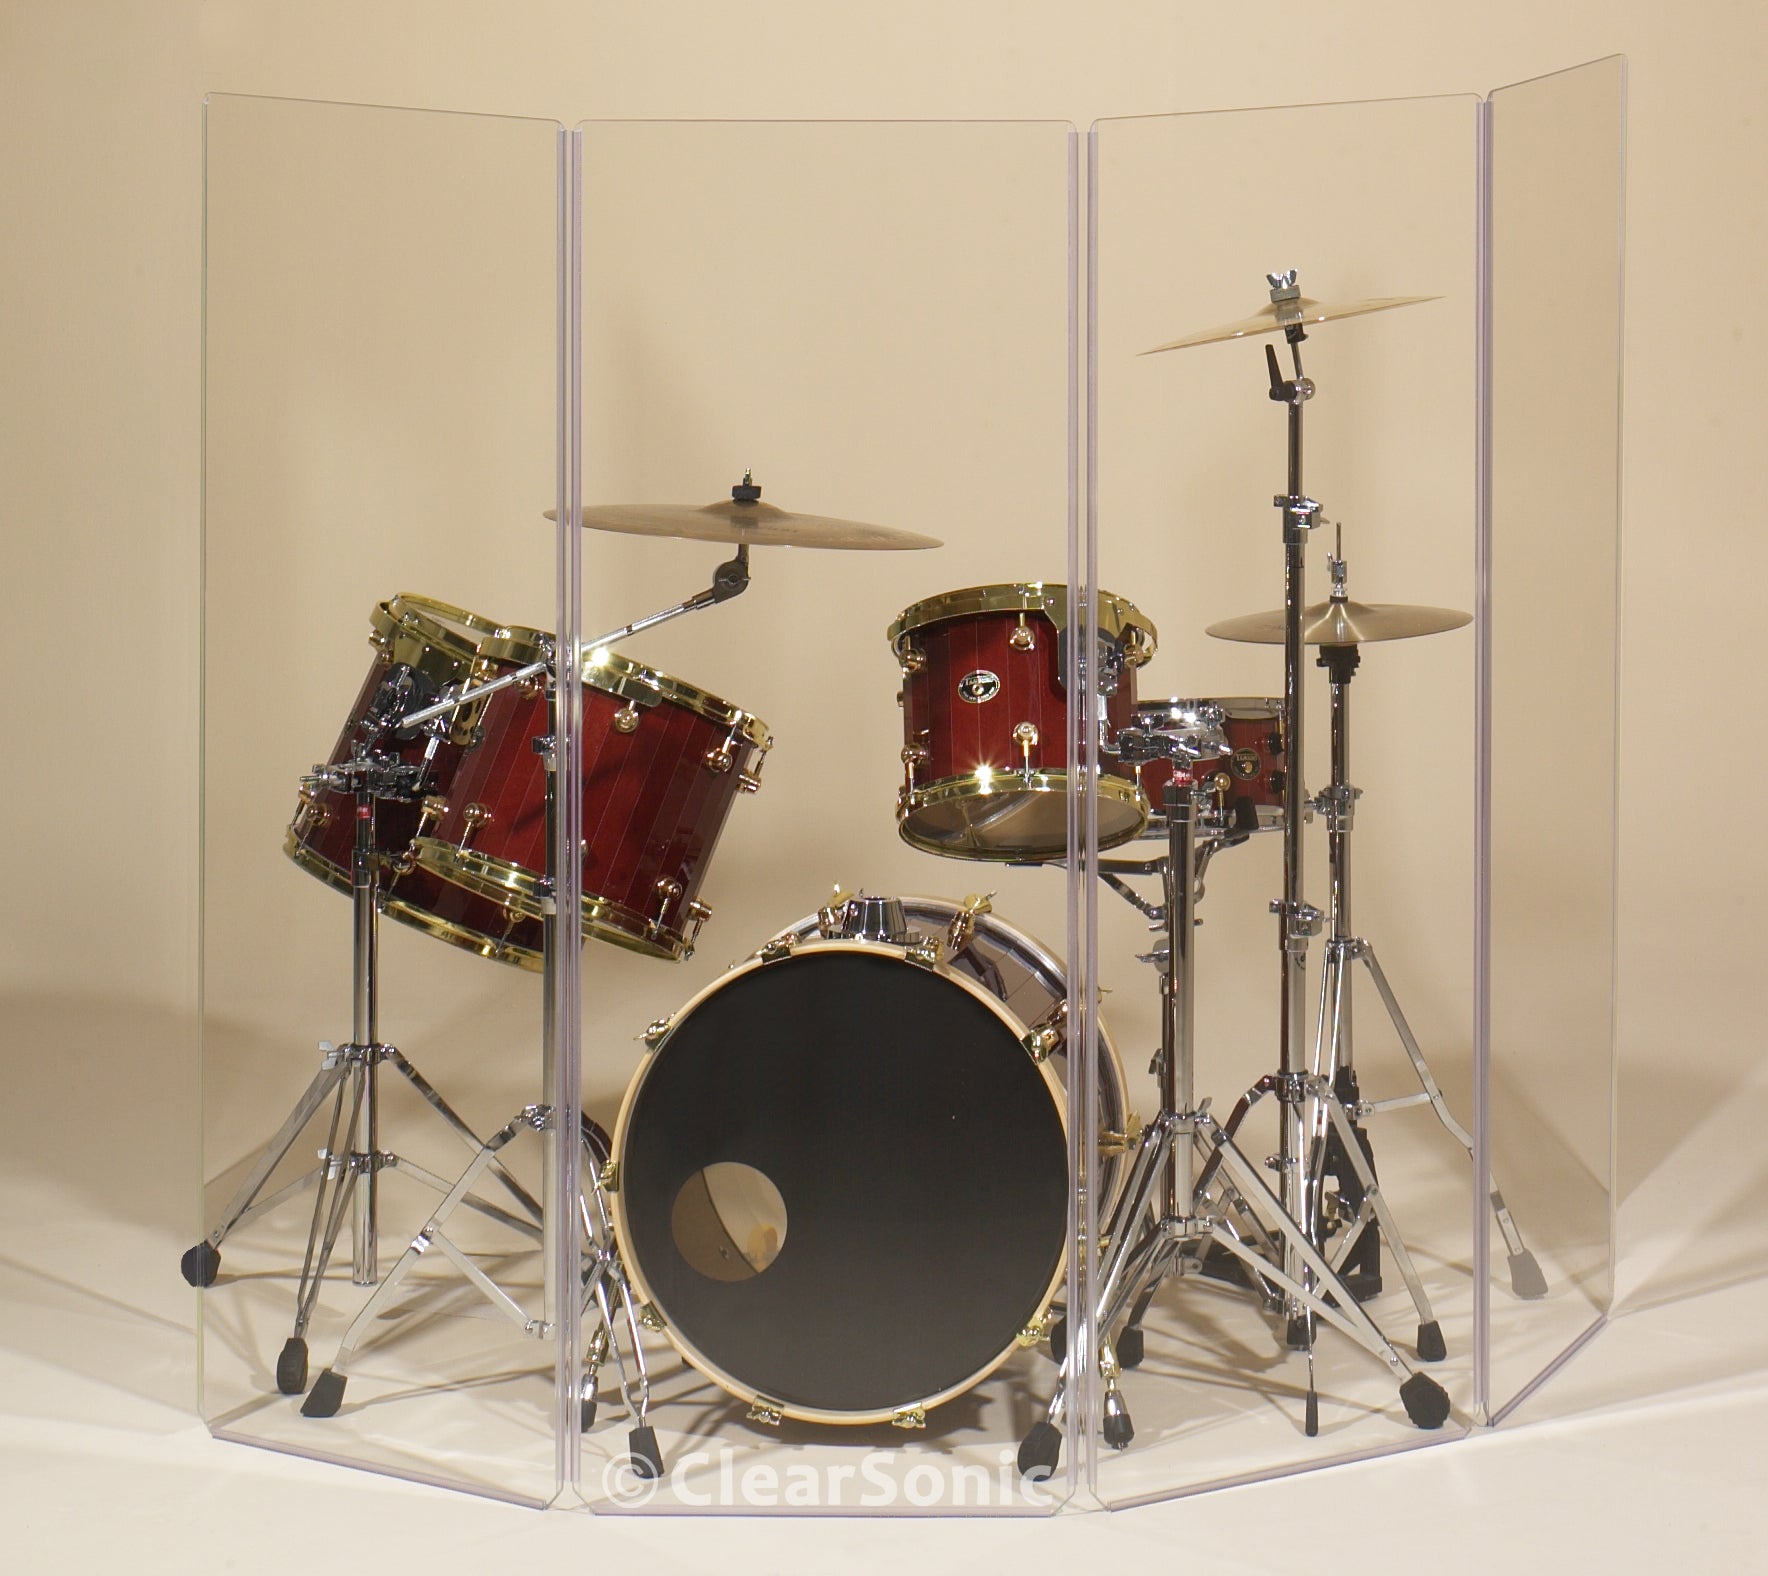
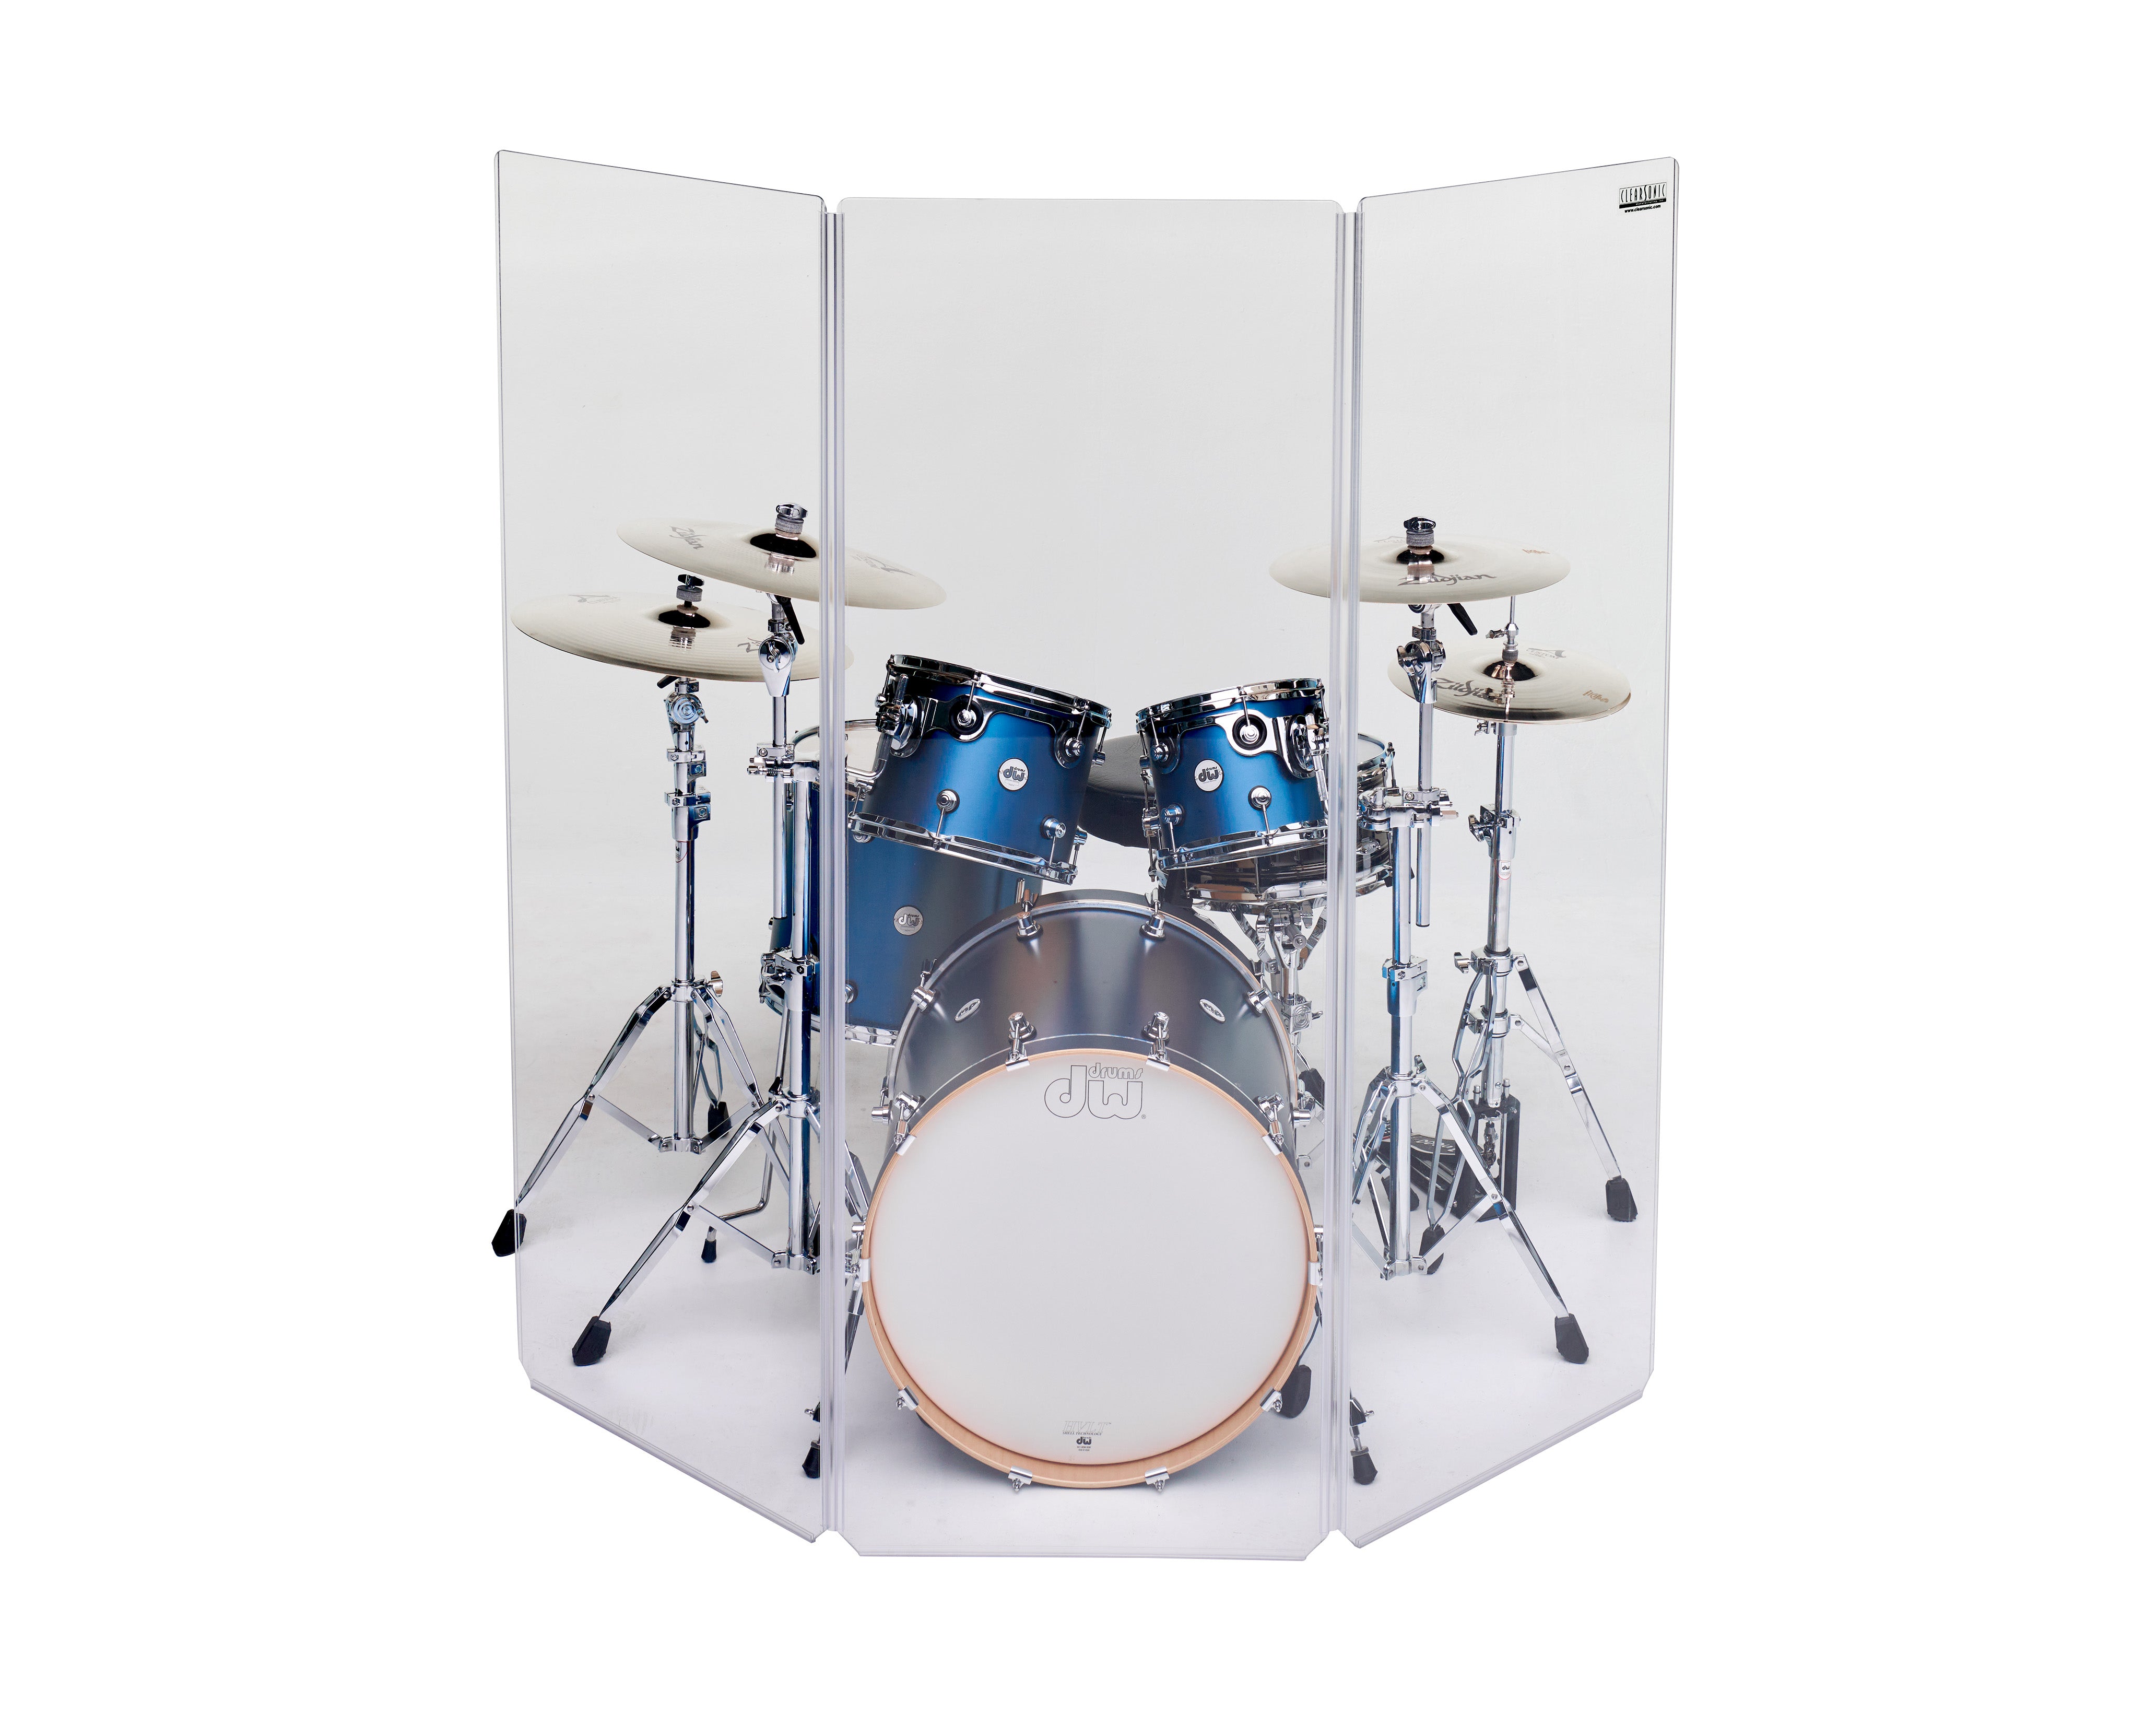
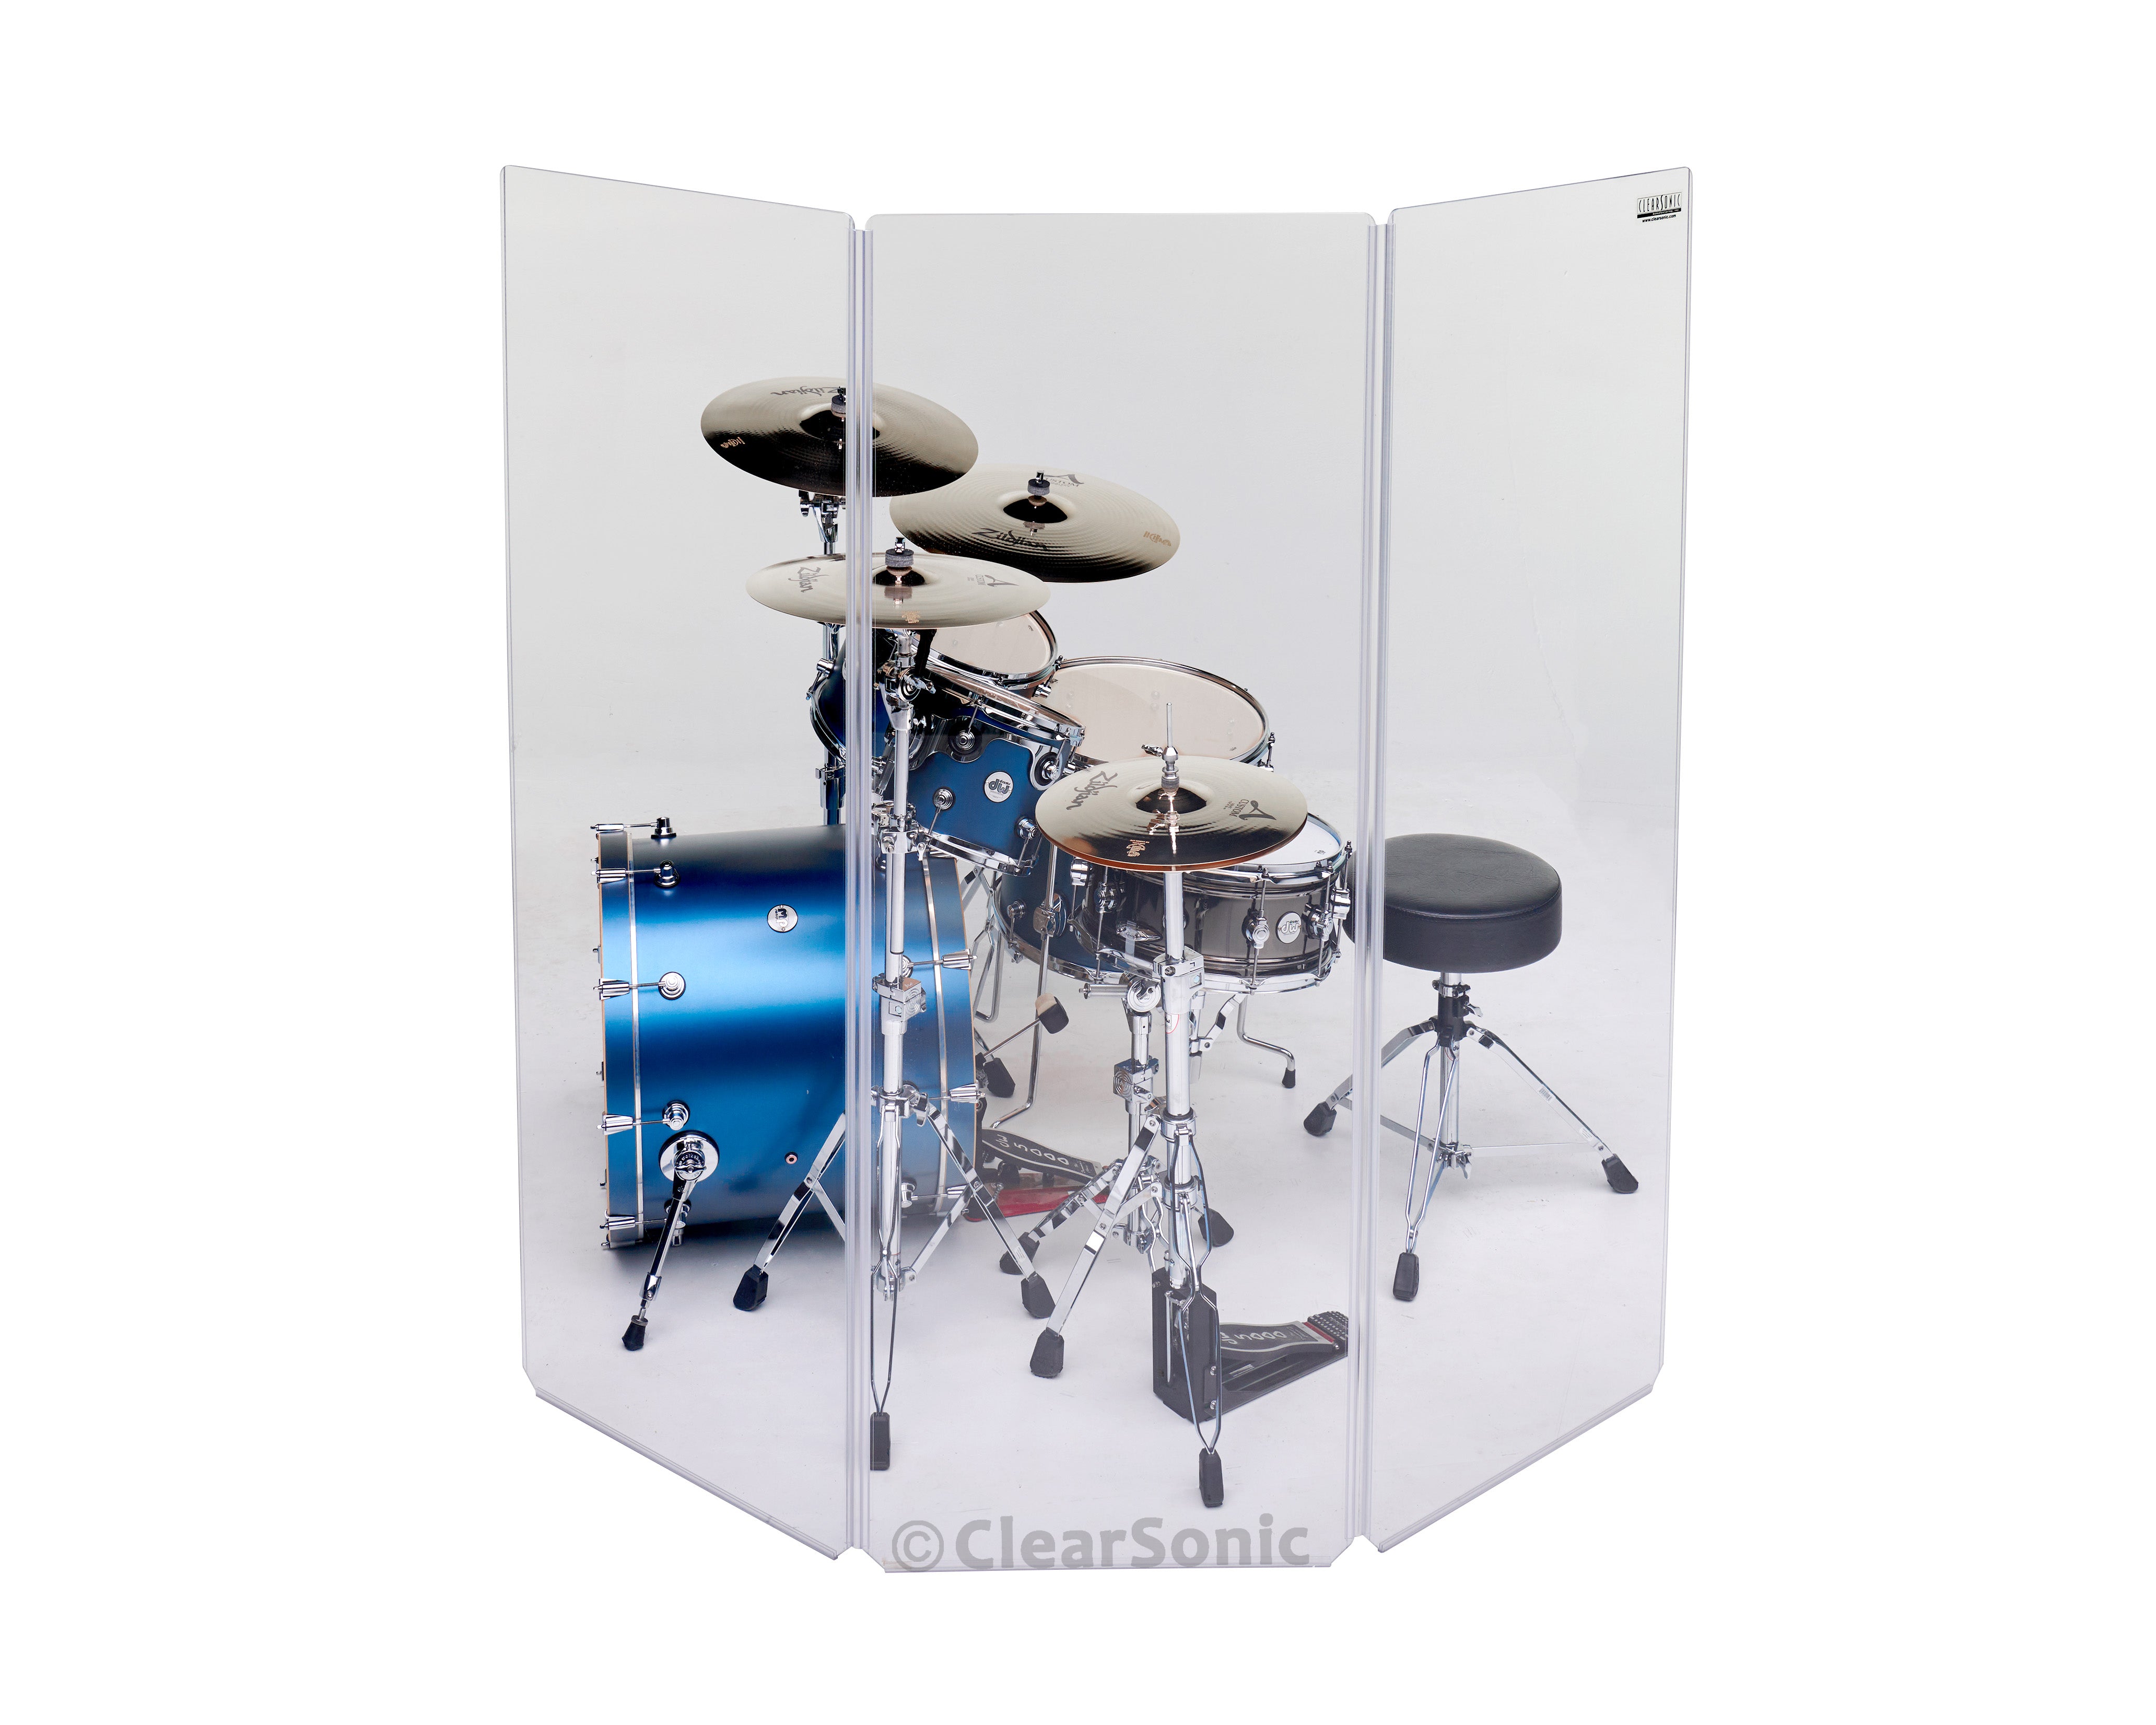

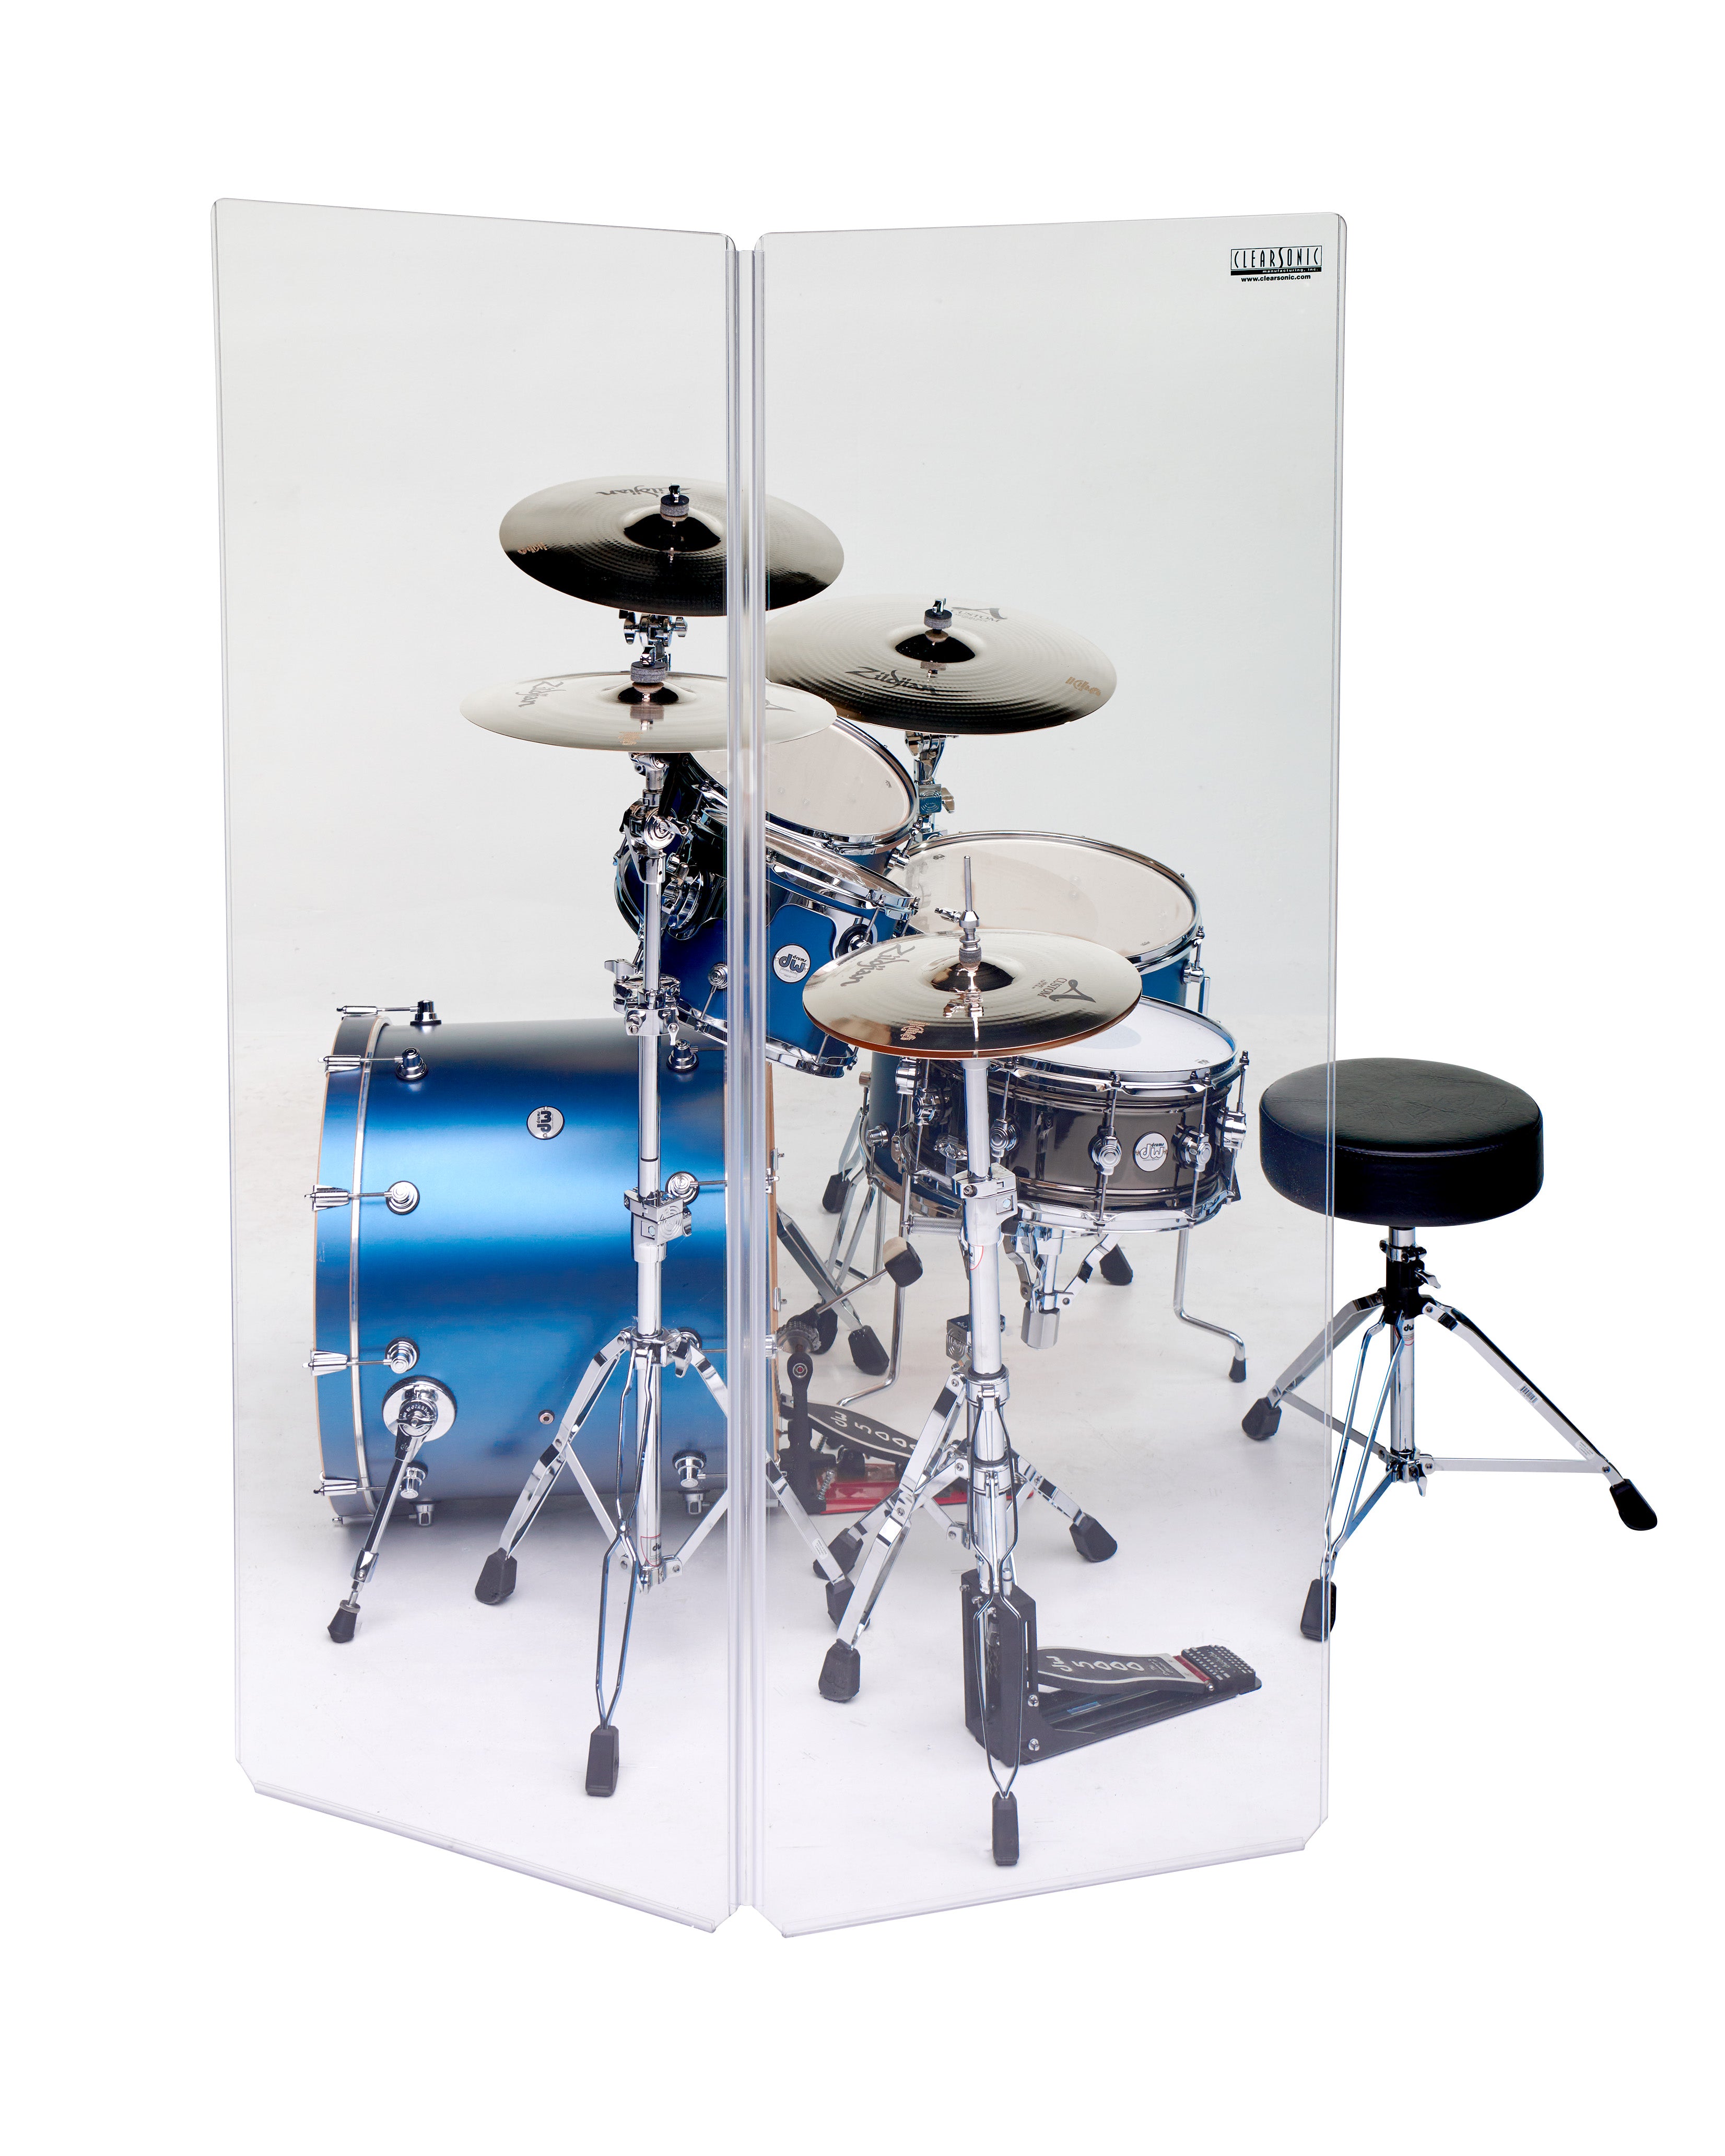
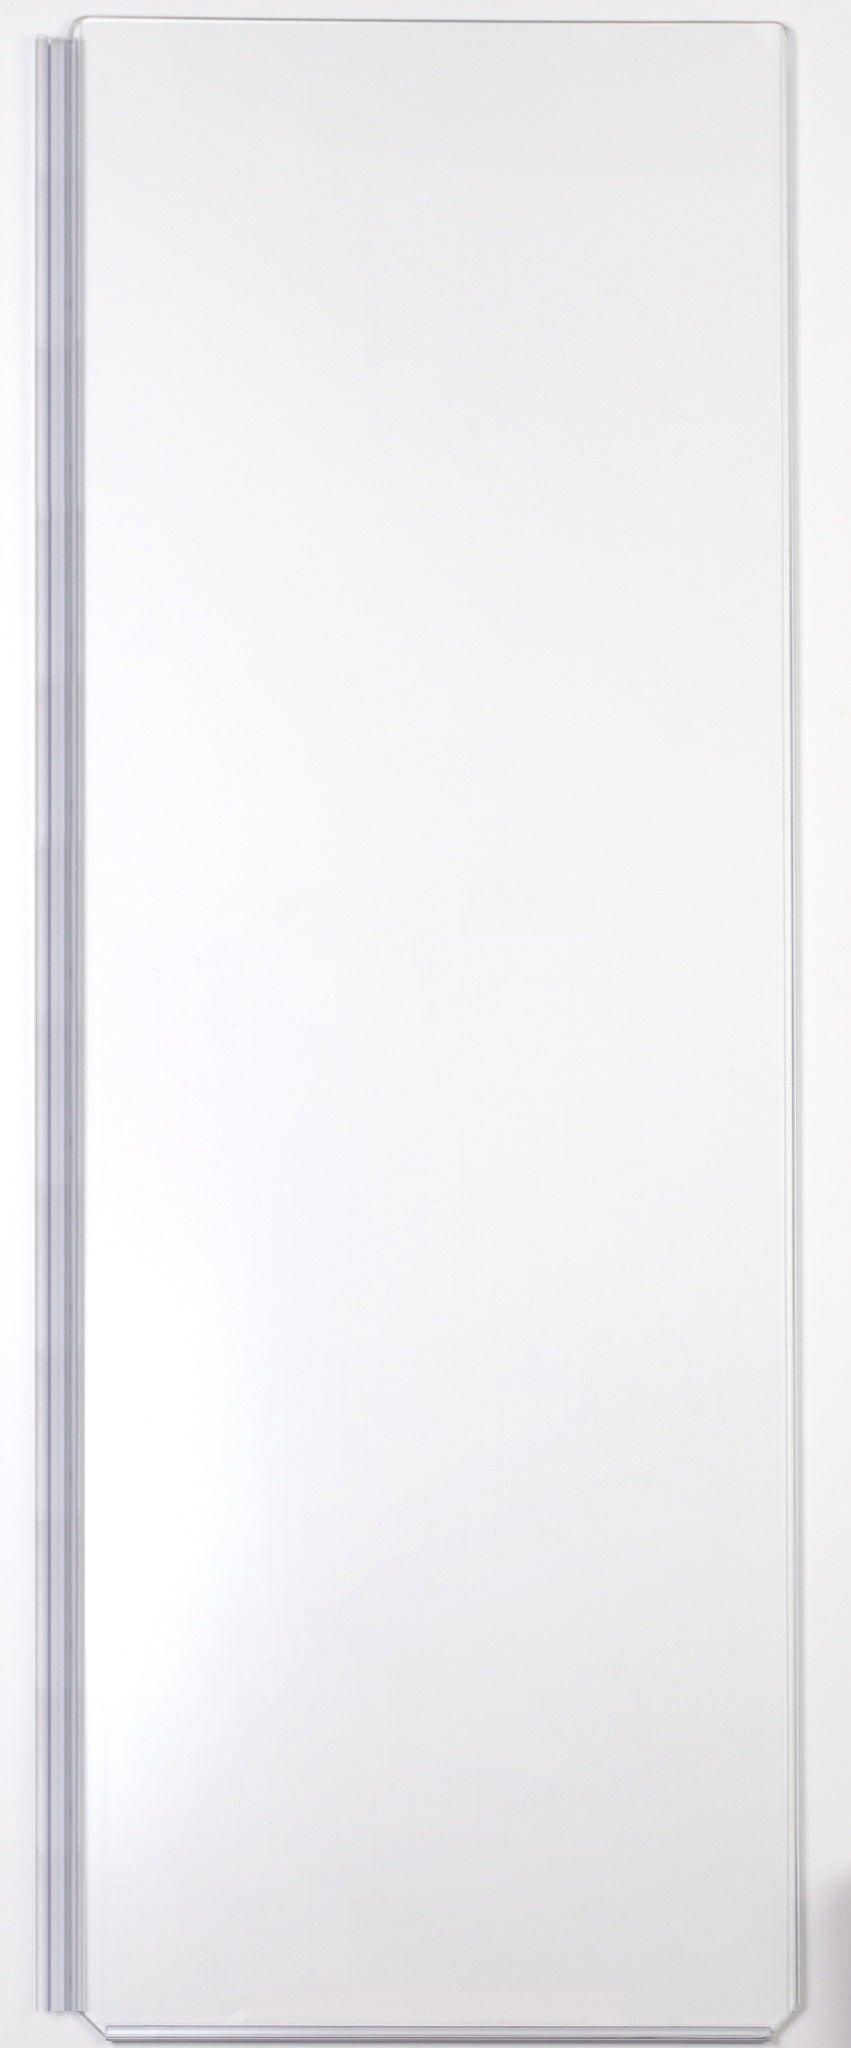


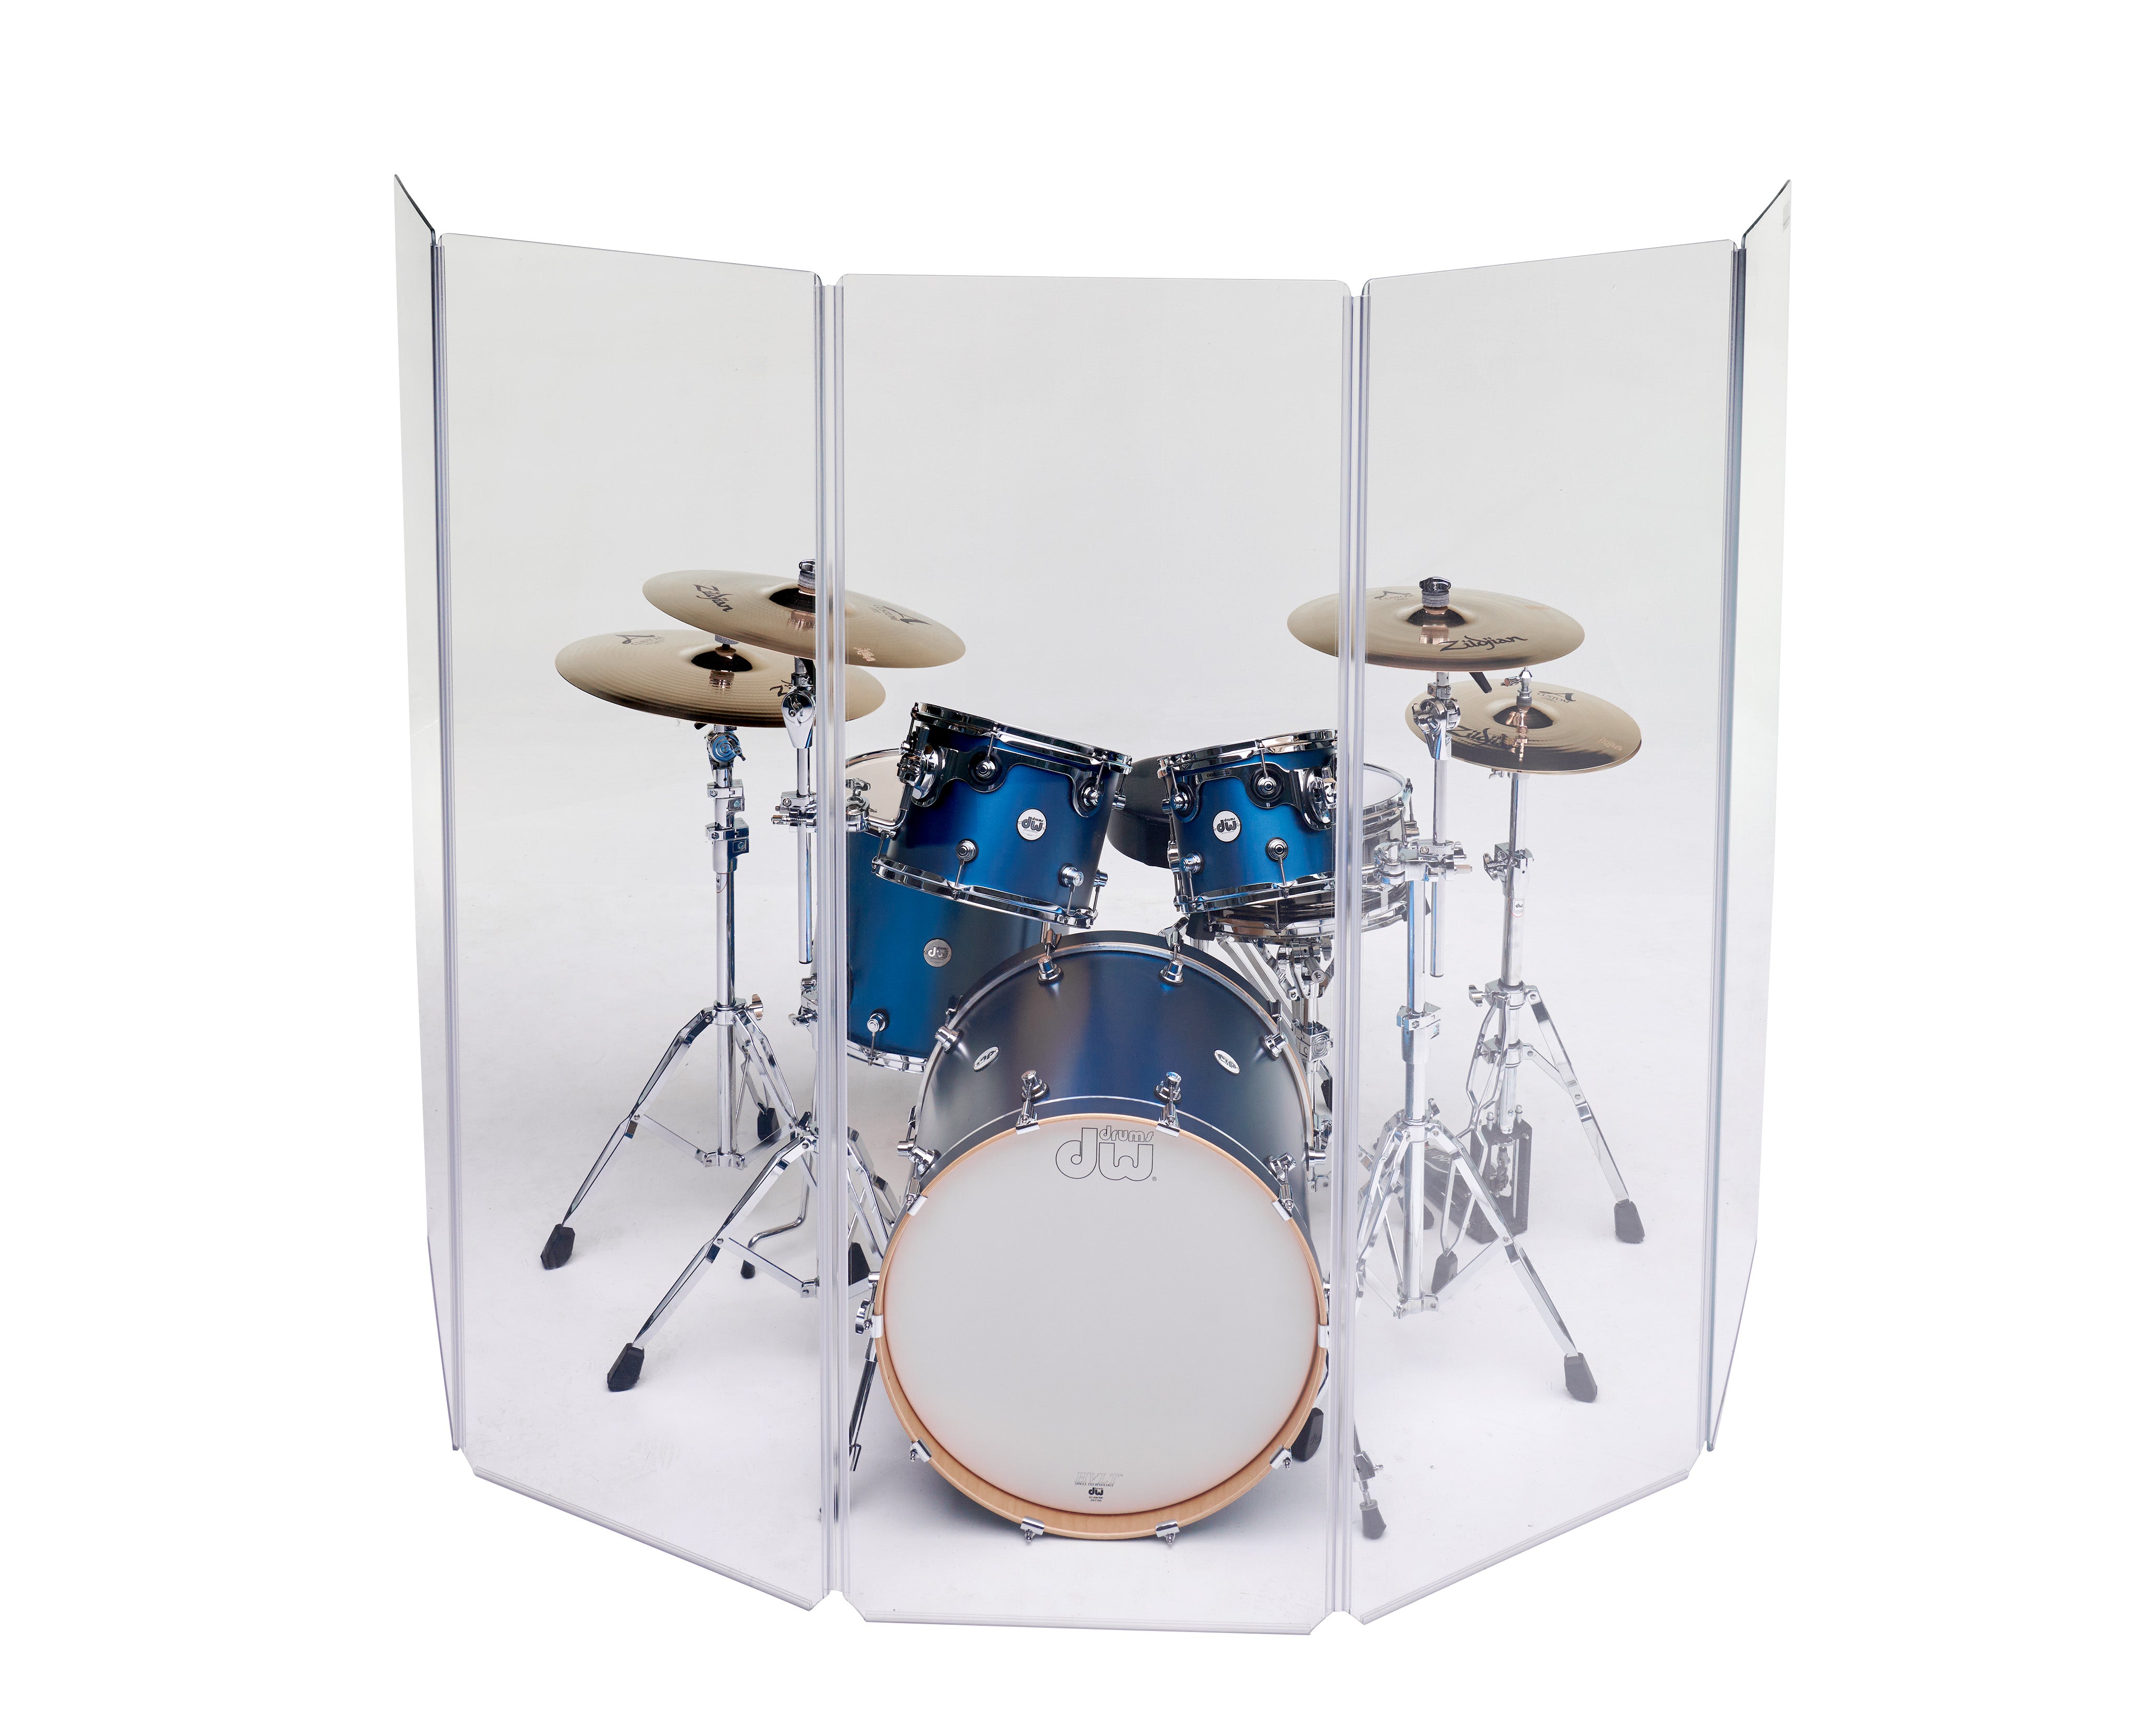
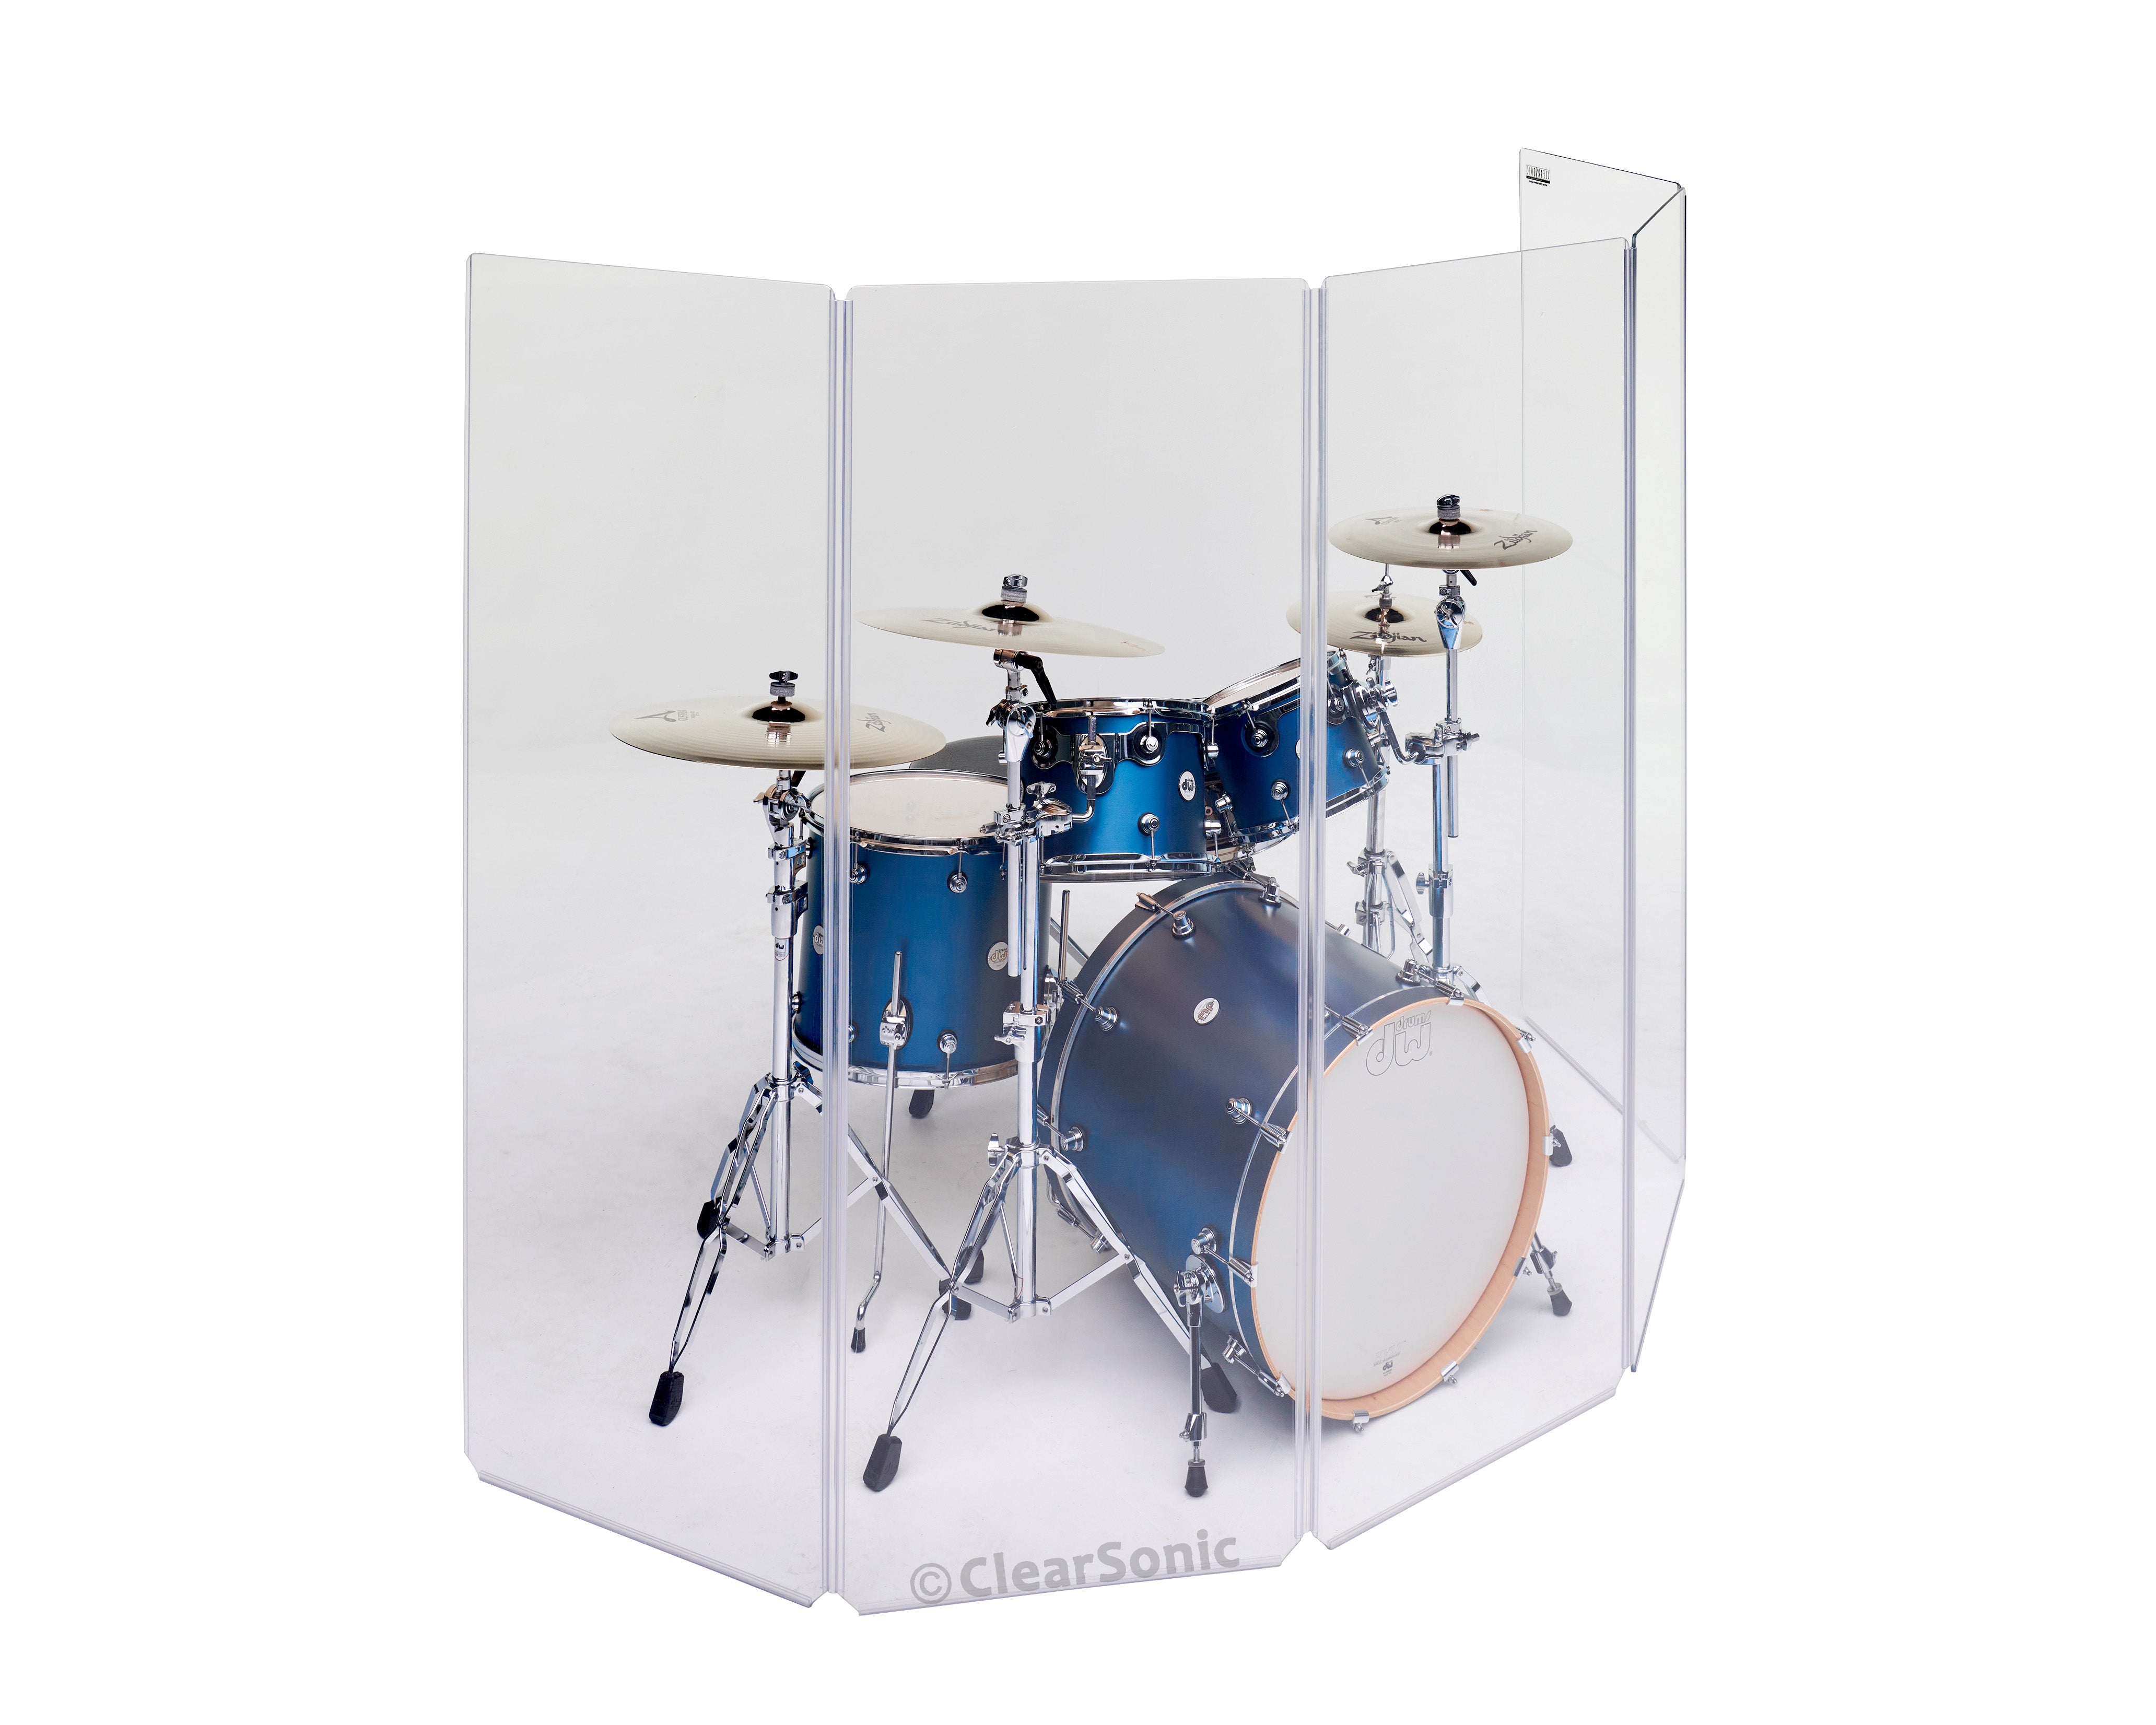
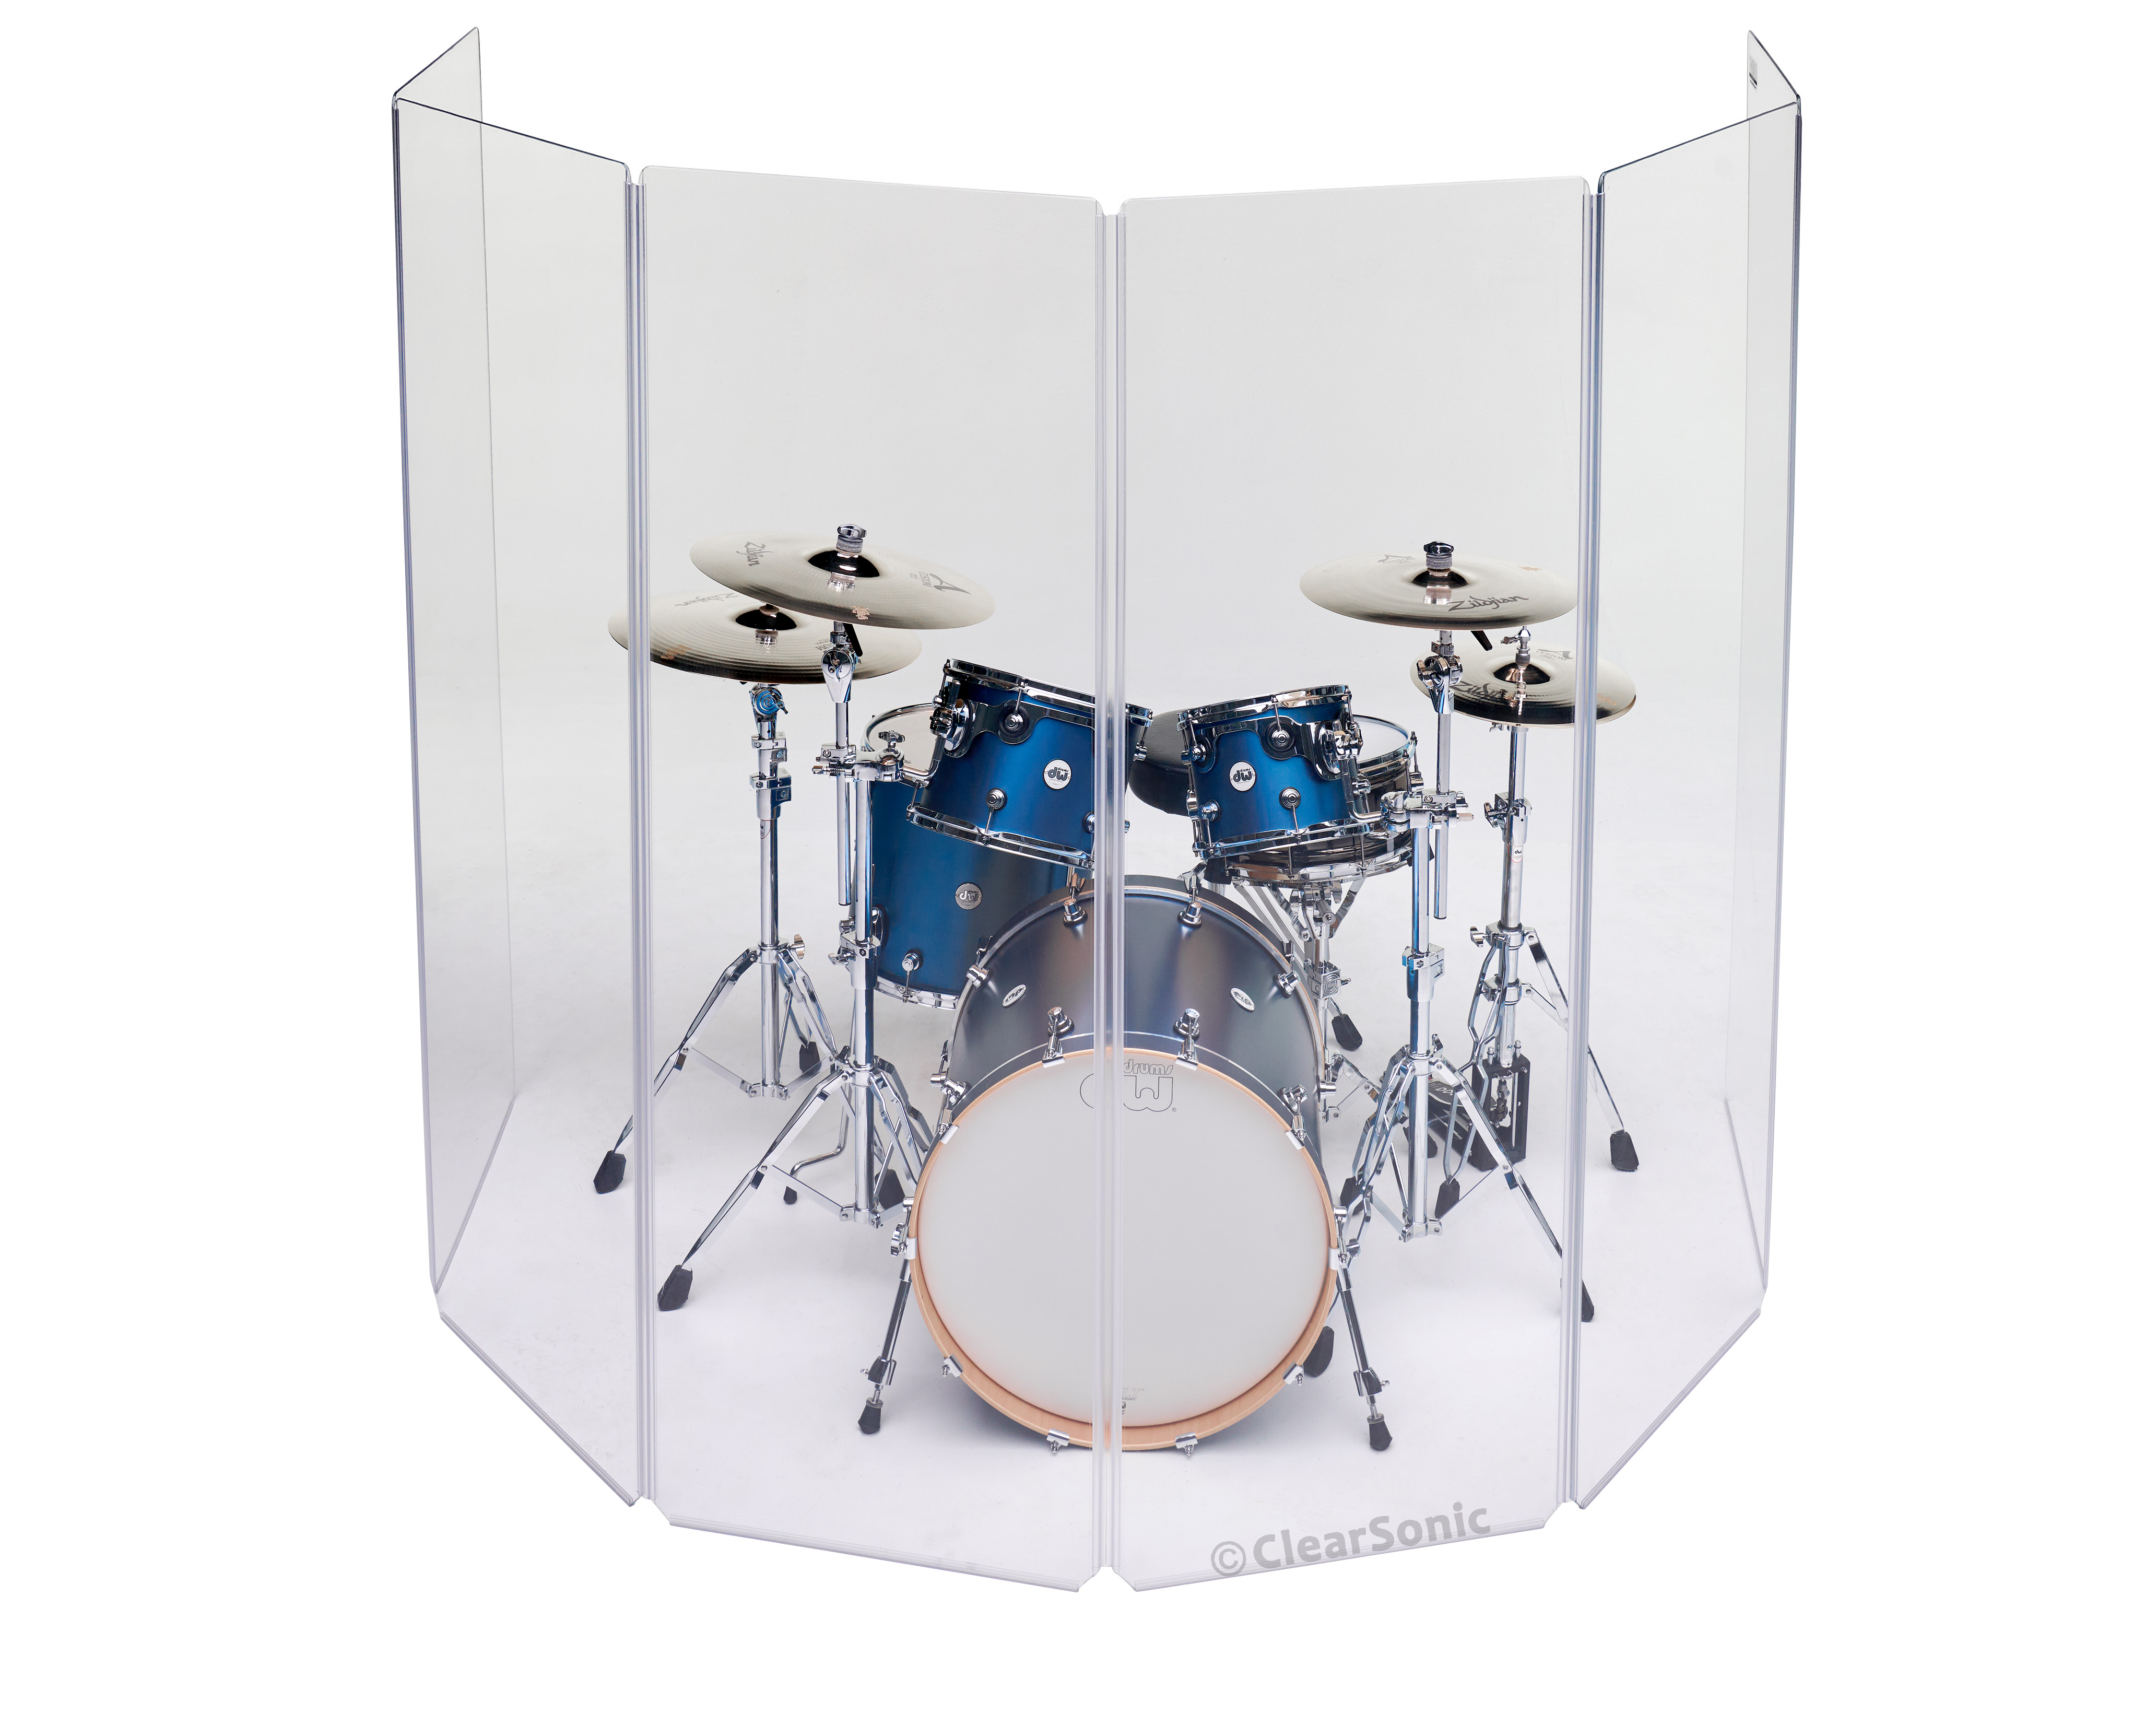
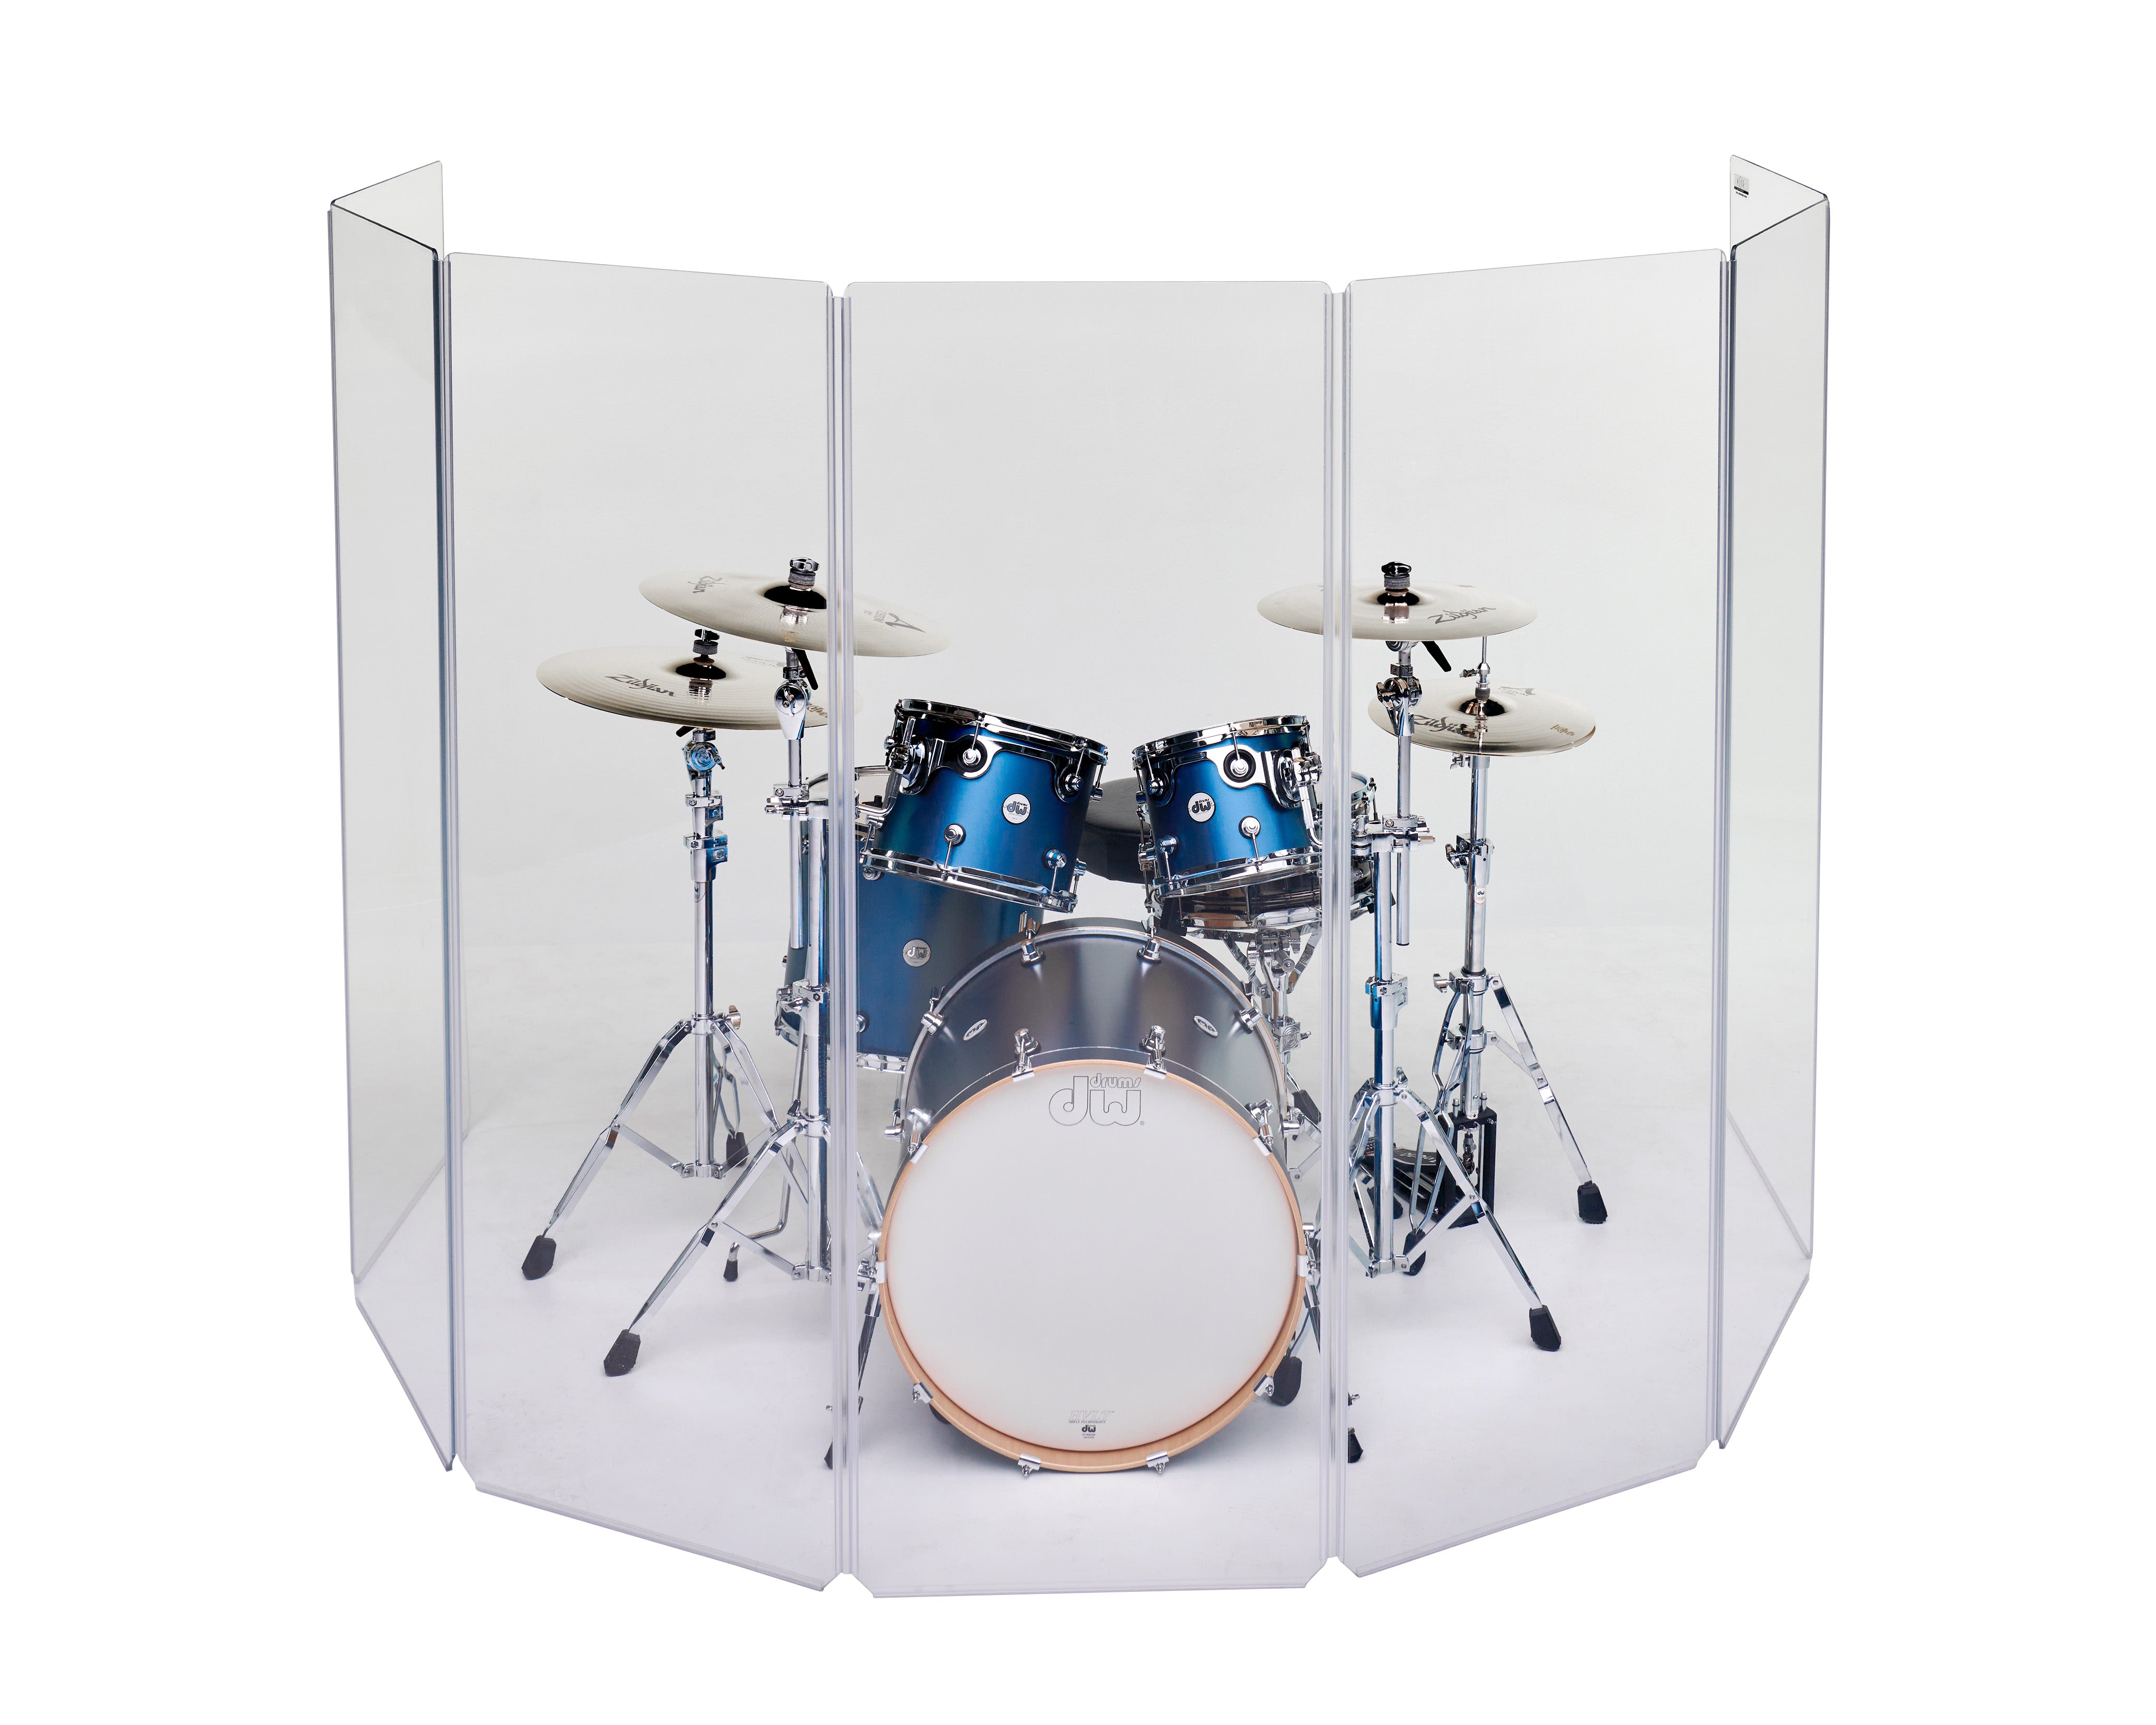
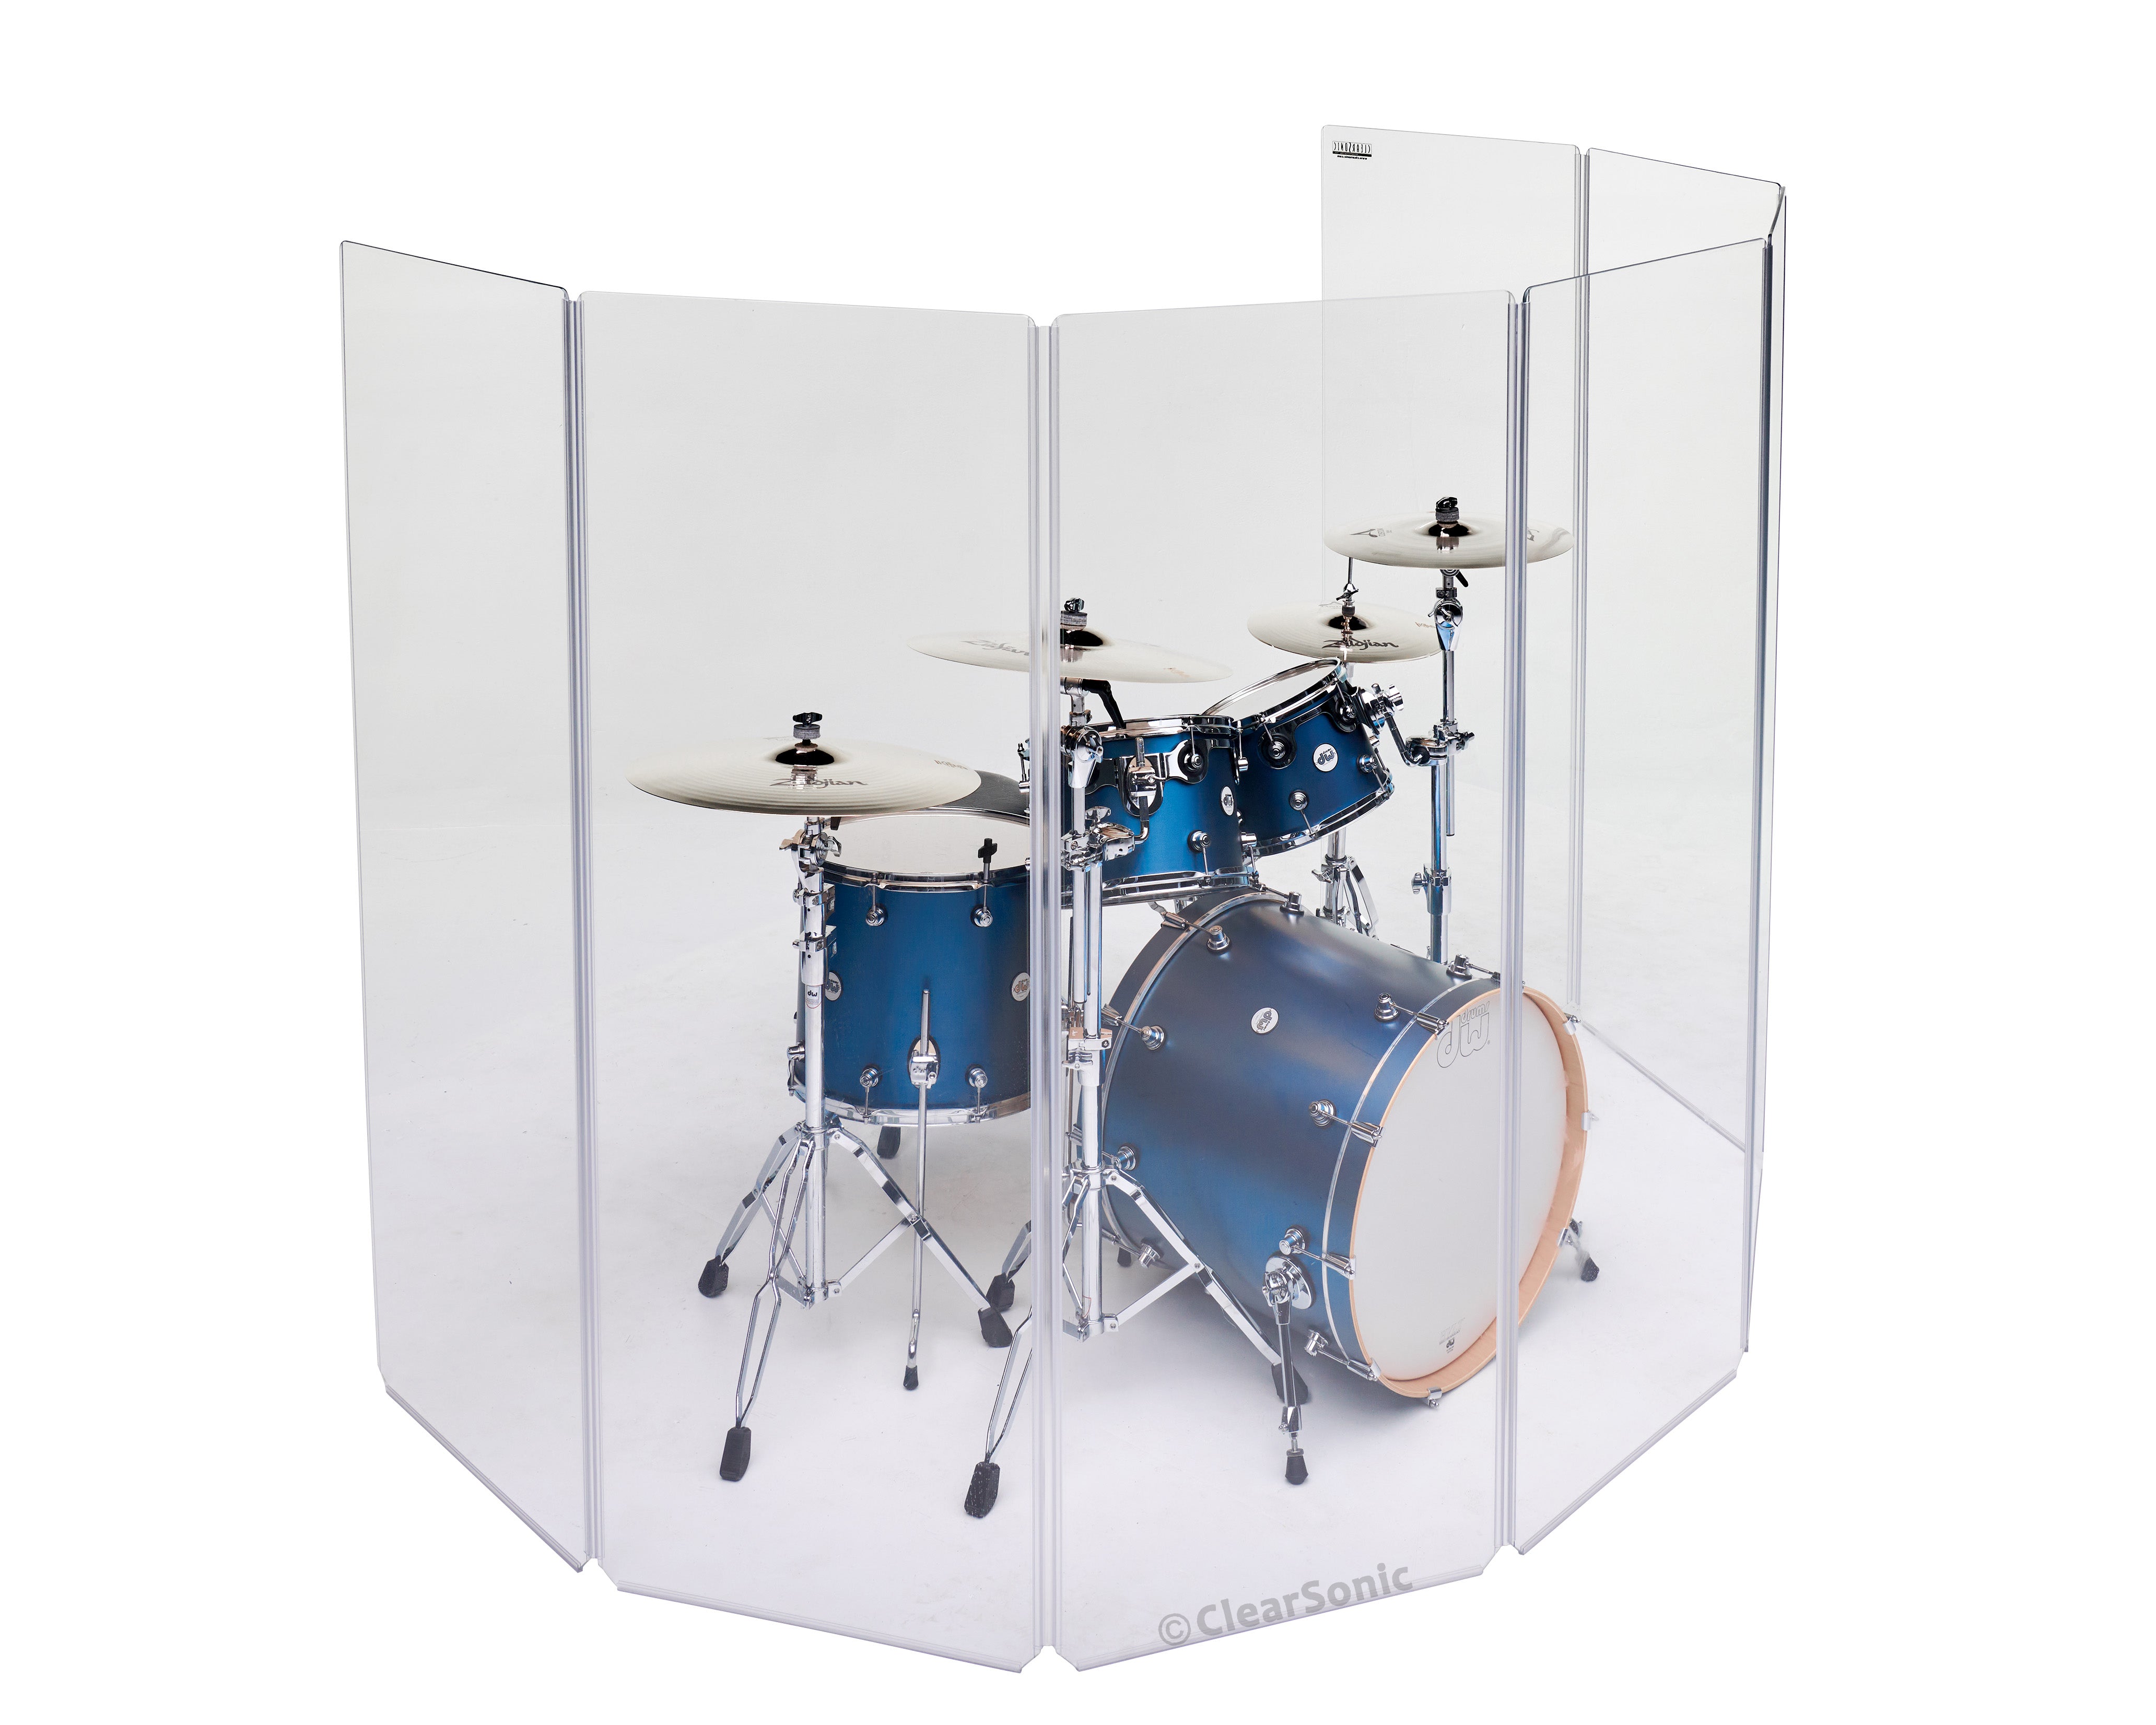
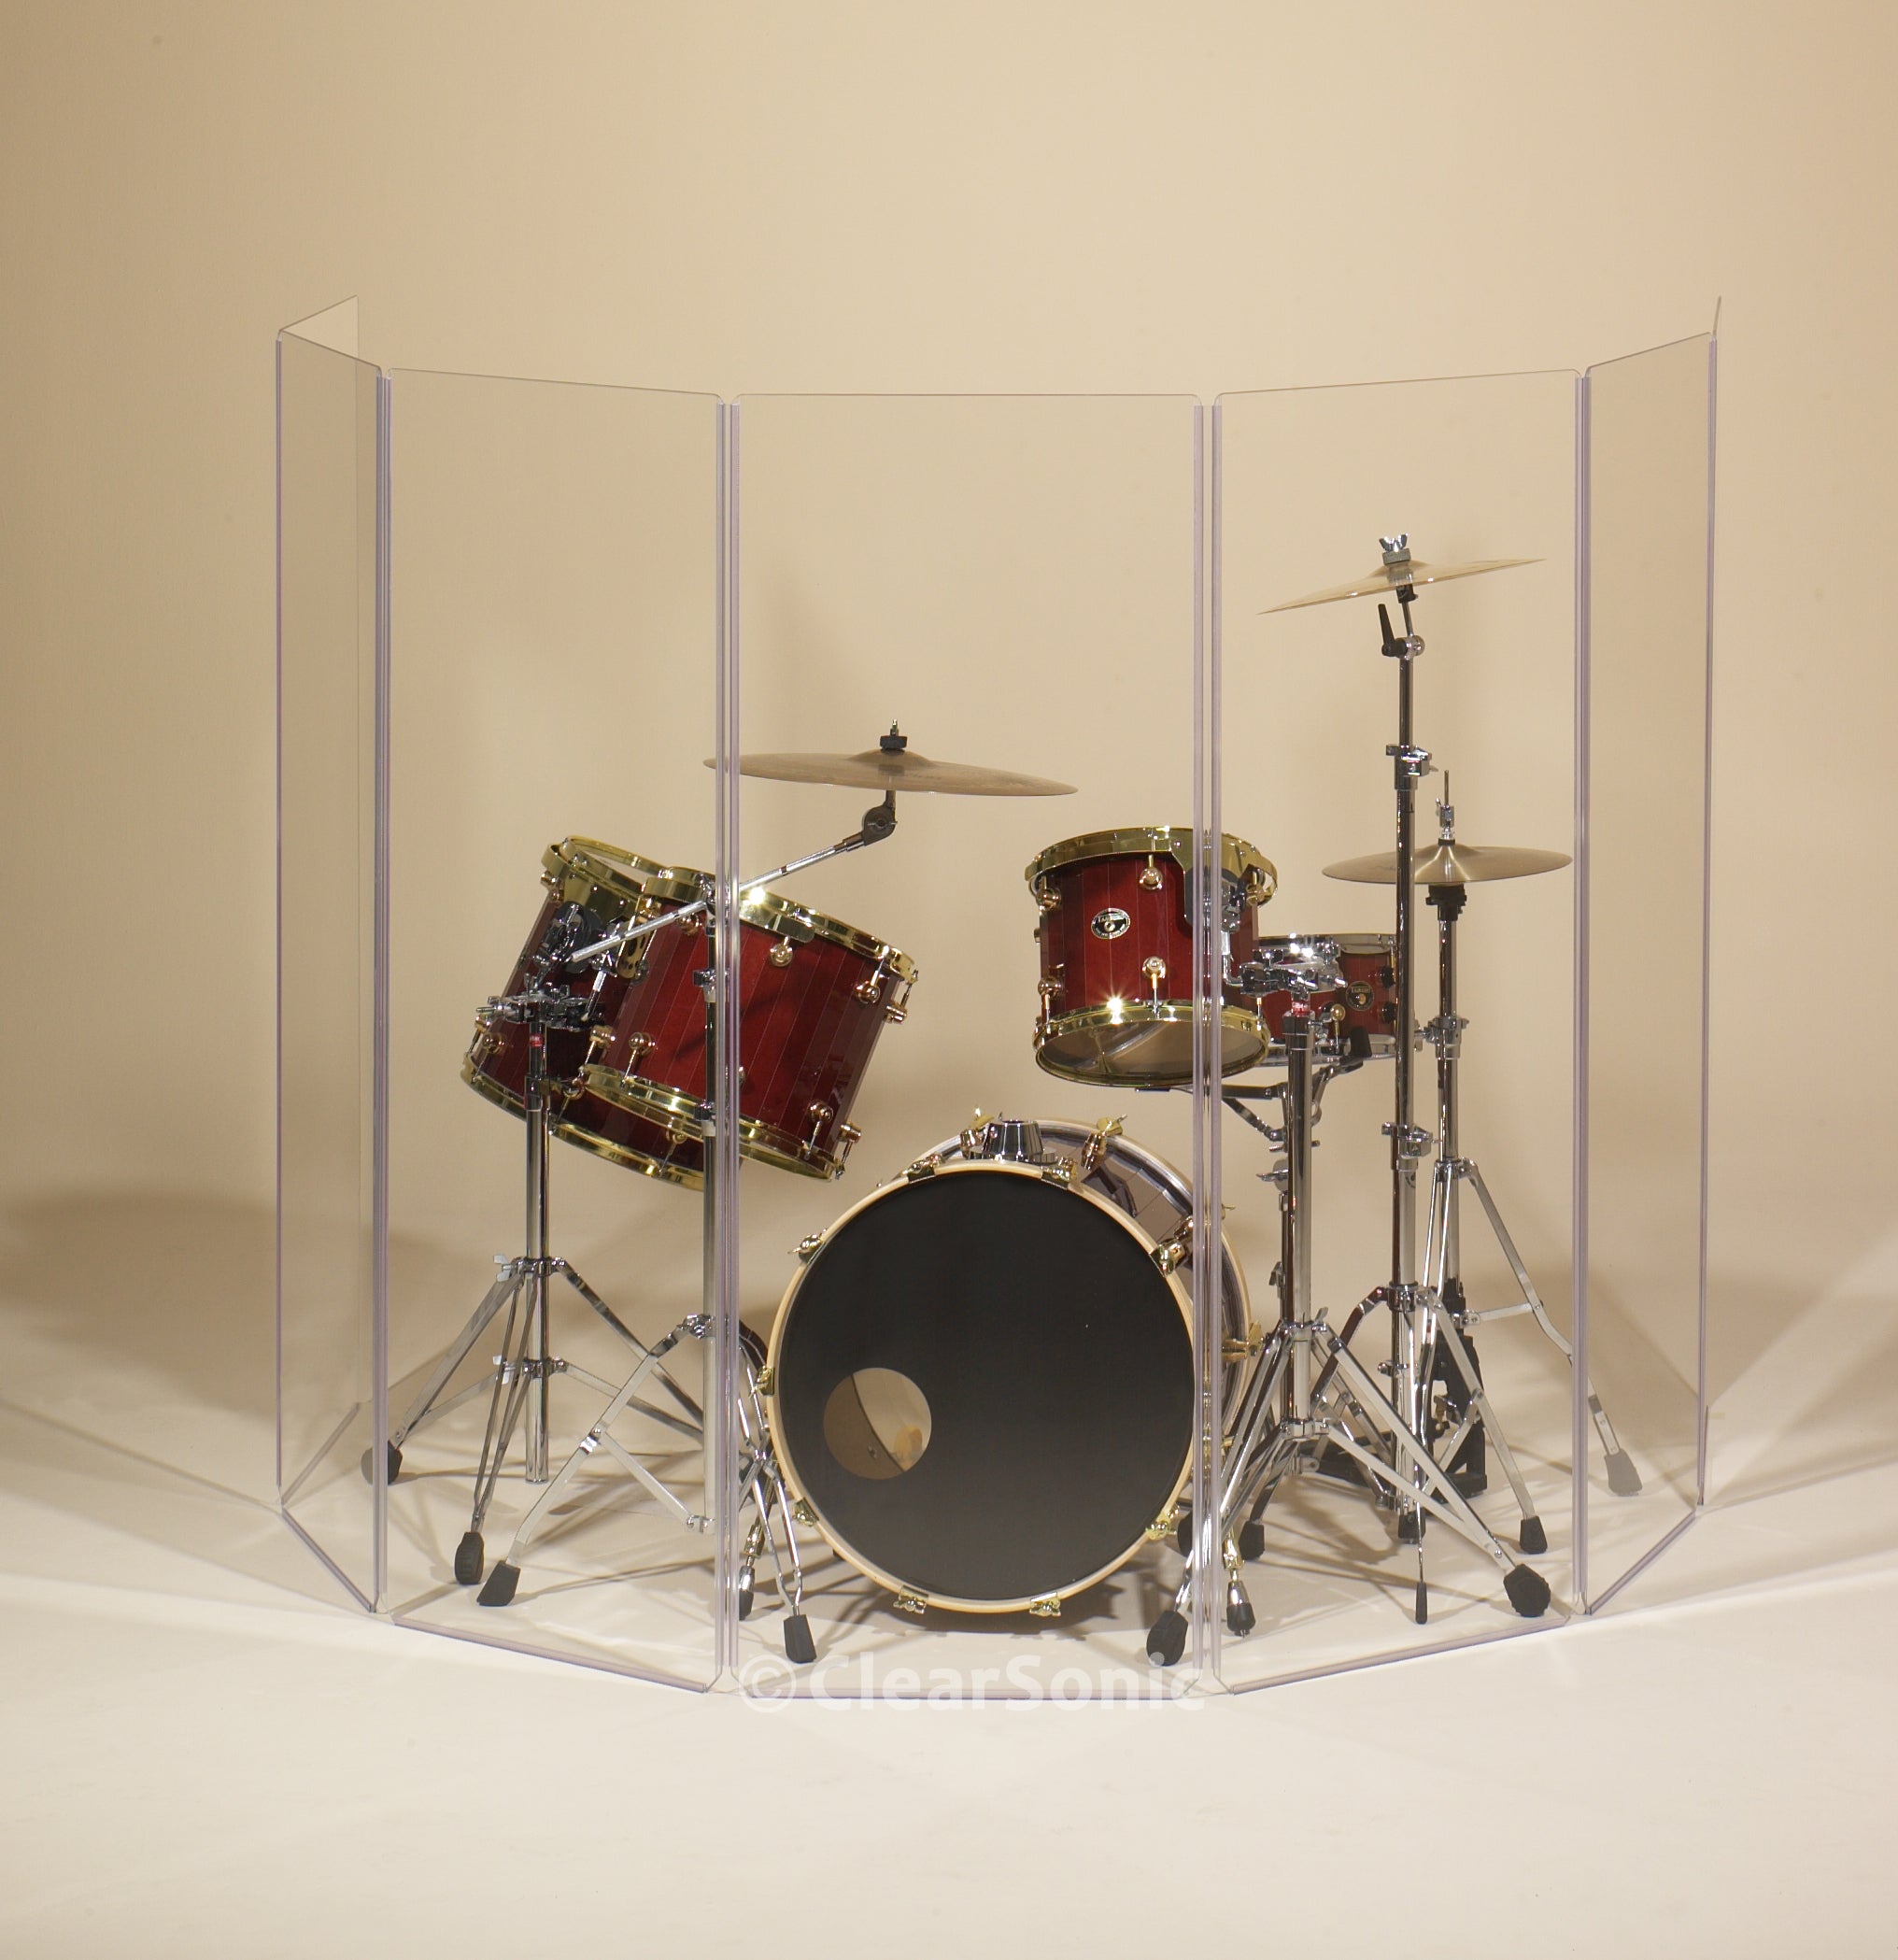
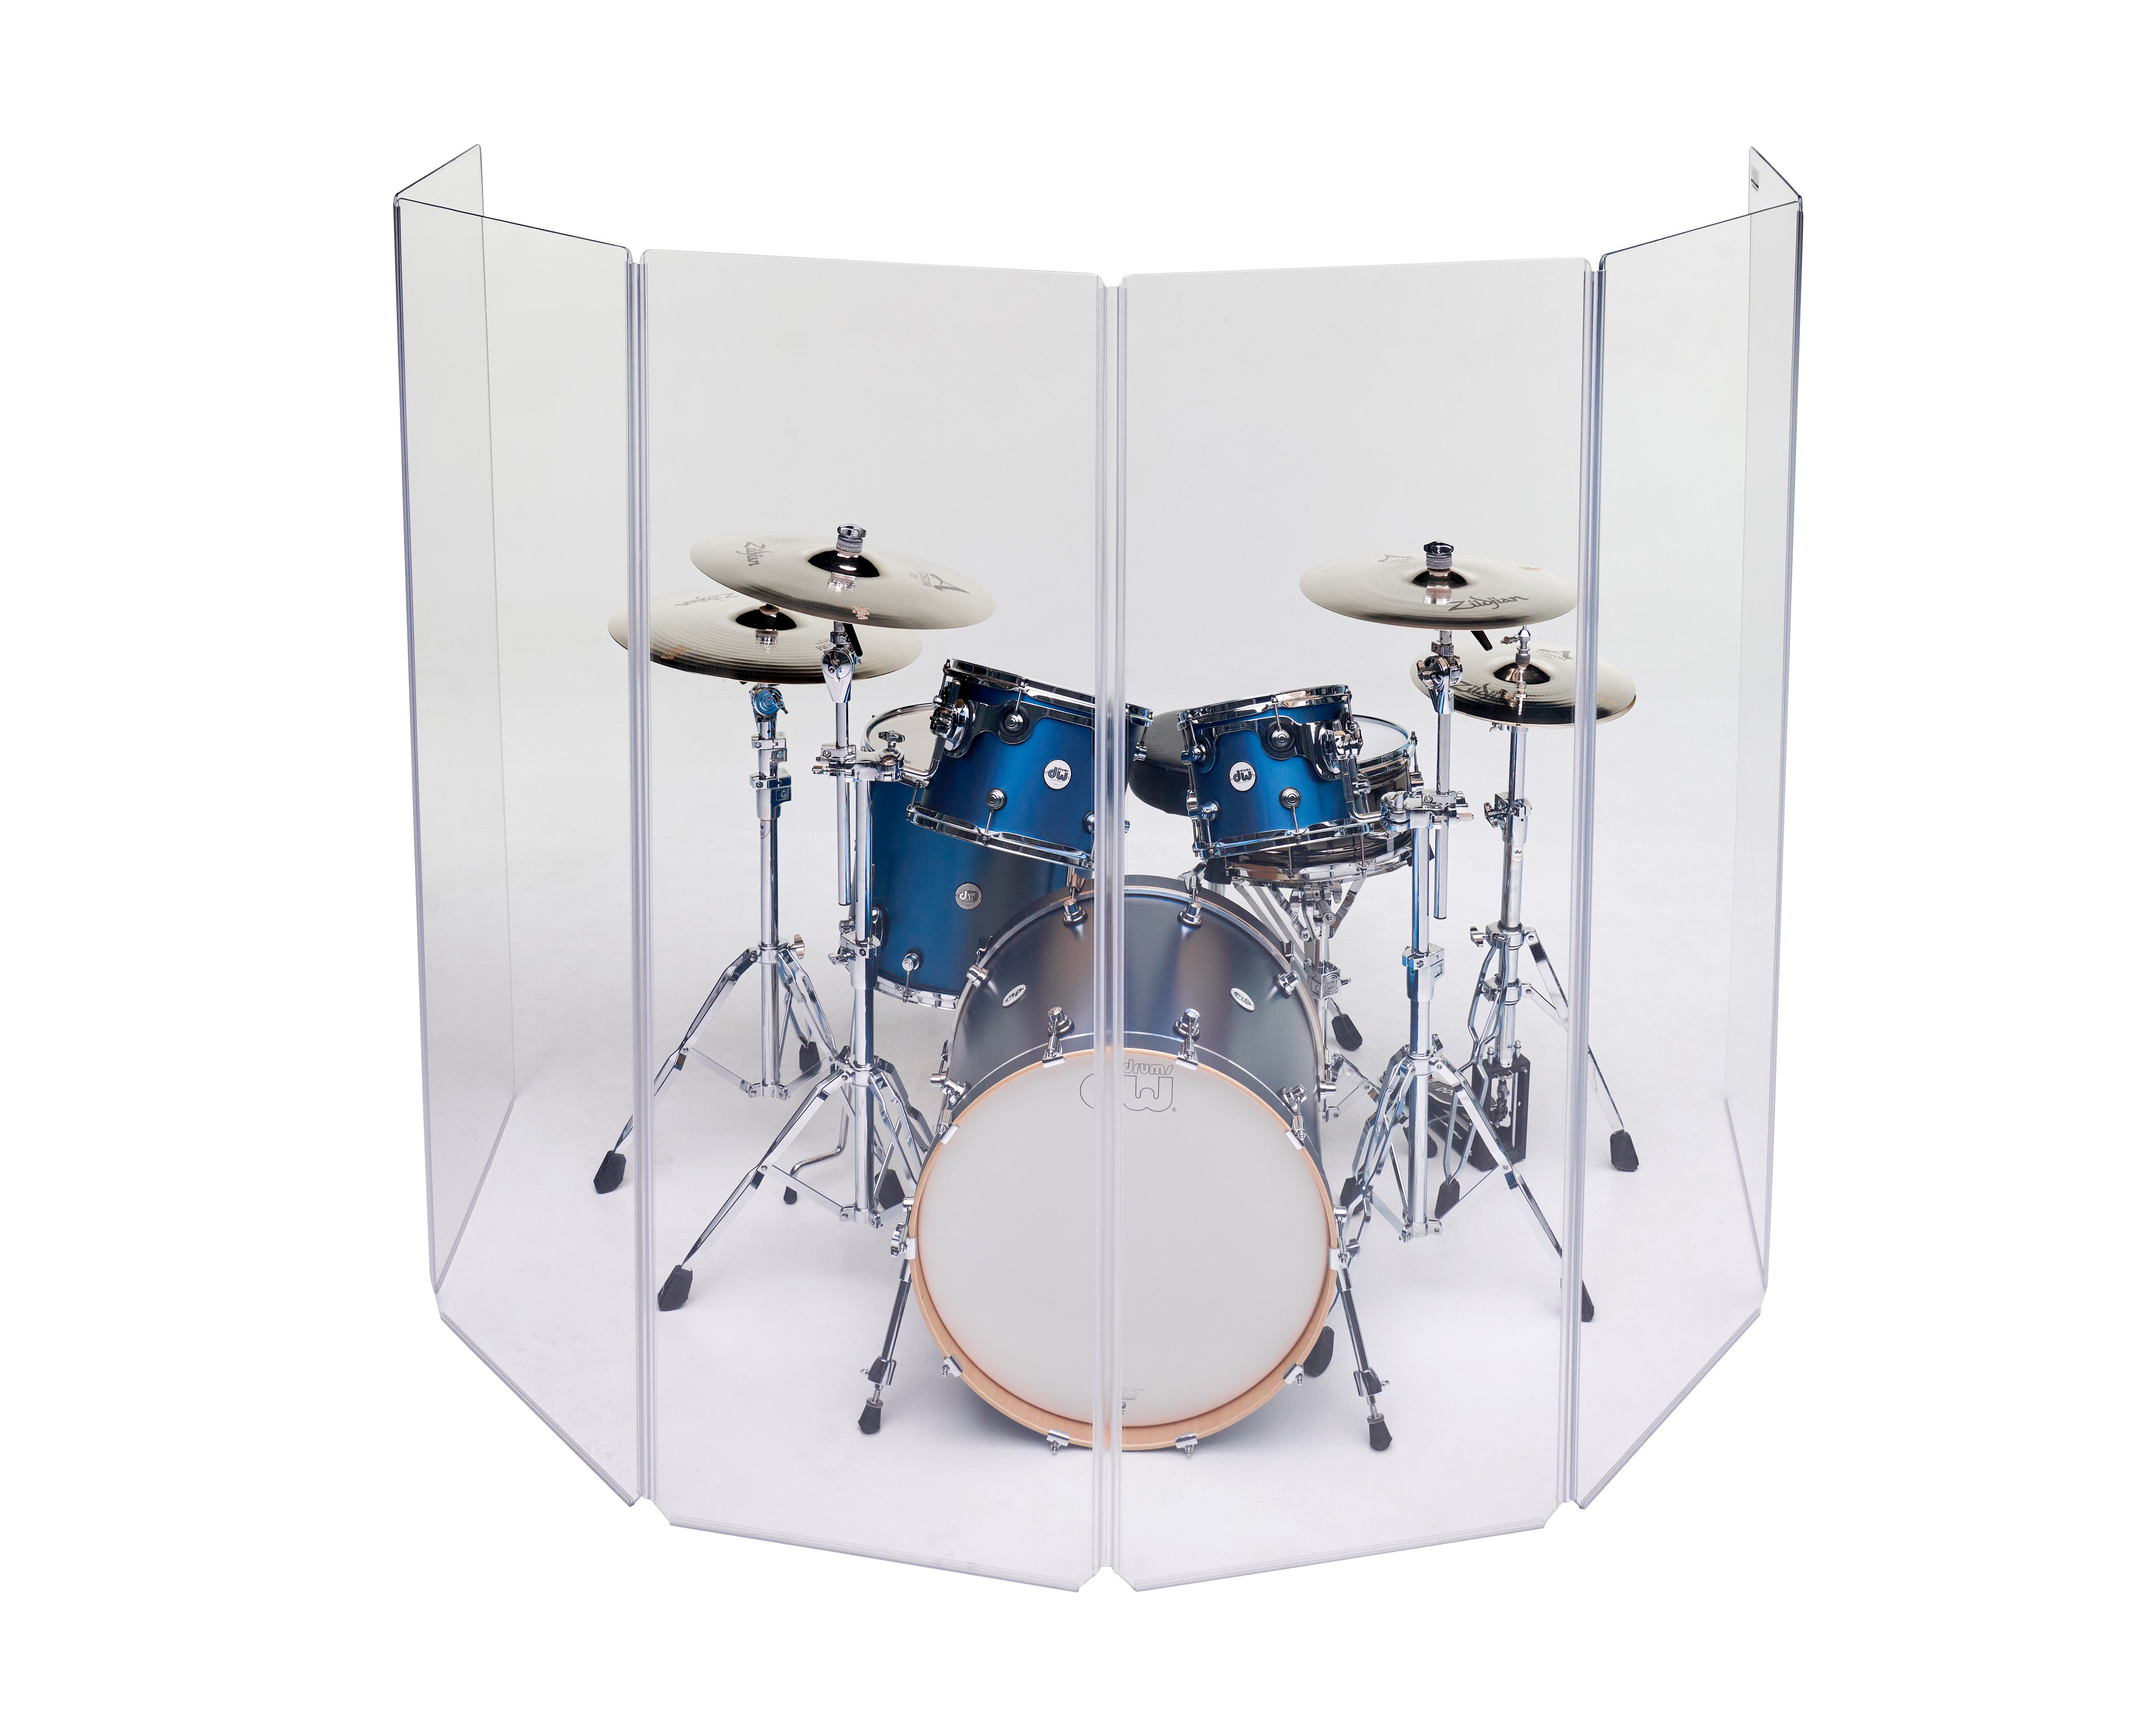
LITE2466x5 - 5.5 ft. Tall, 5-panel ultra portable Drum Shield - 3/16" Thick Acrylic
FAQs
Will Putting Simply Putting A Drum Shield In Front Of The Drum Solve our Problems?
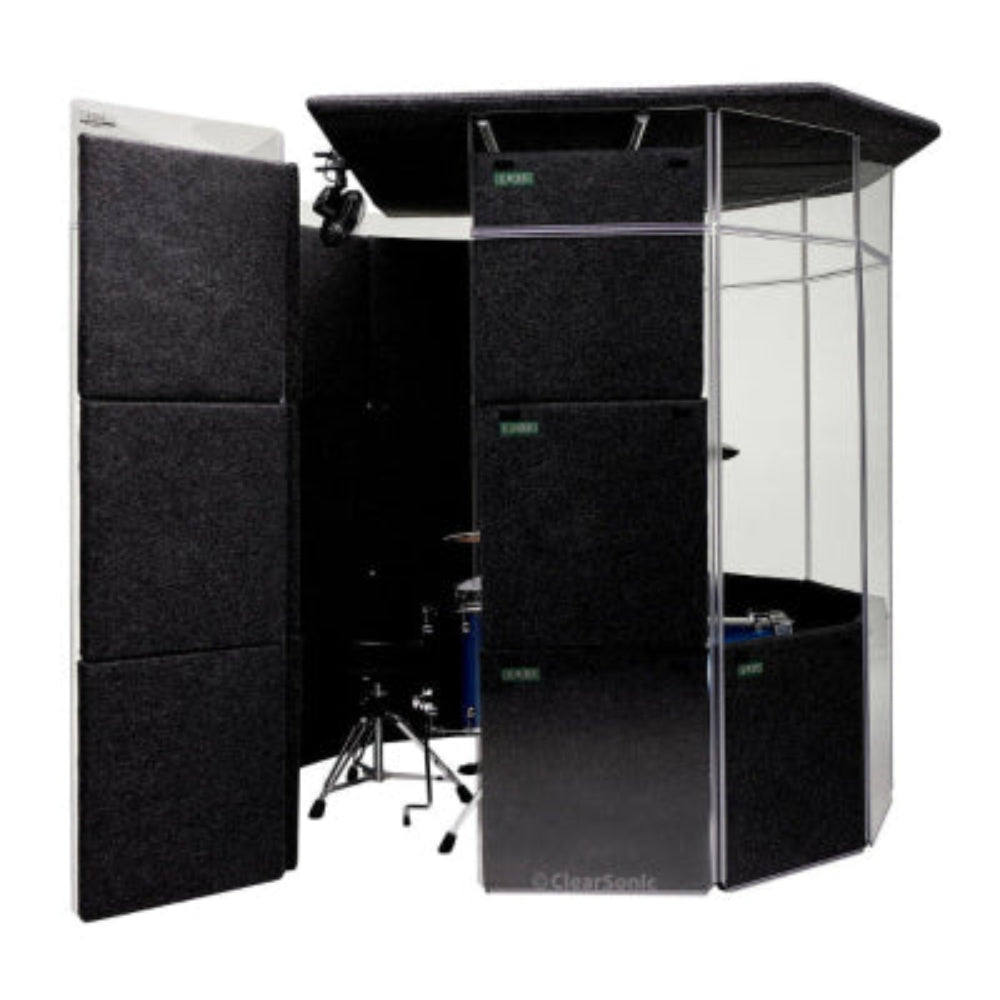
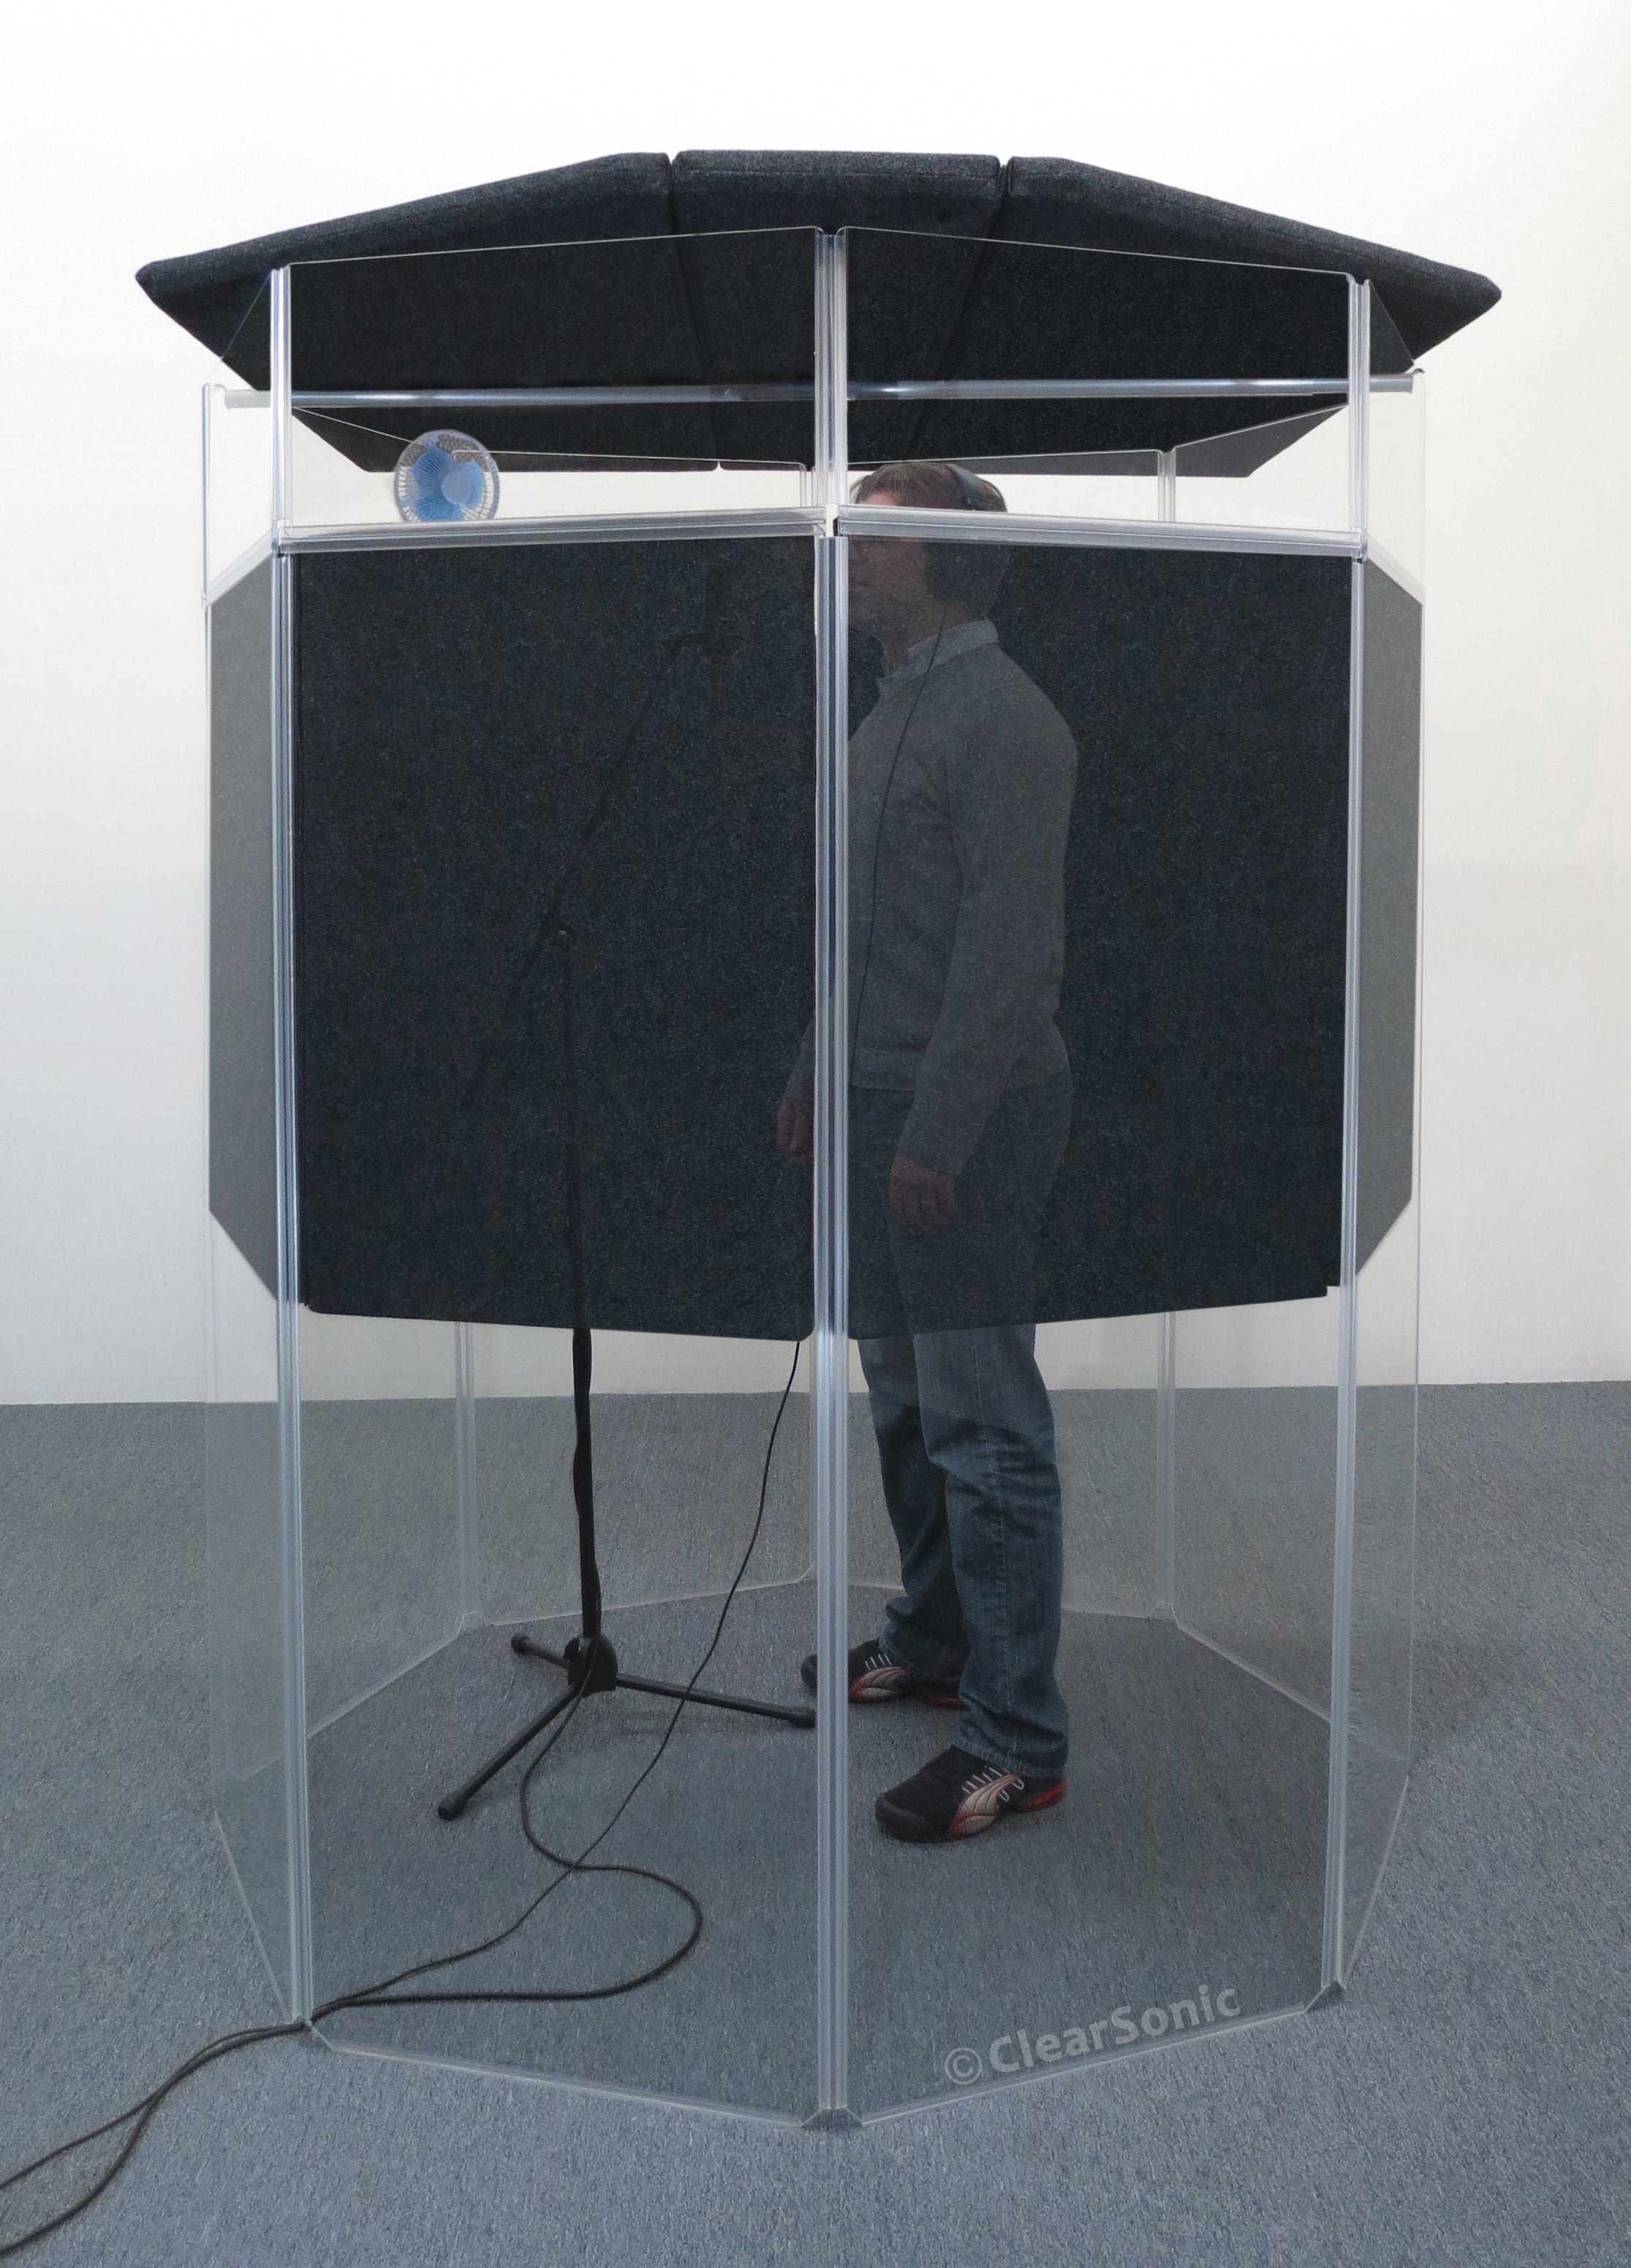
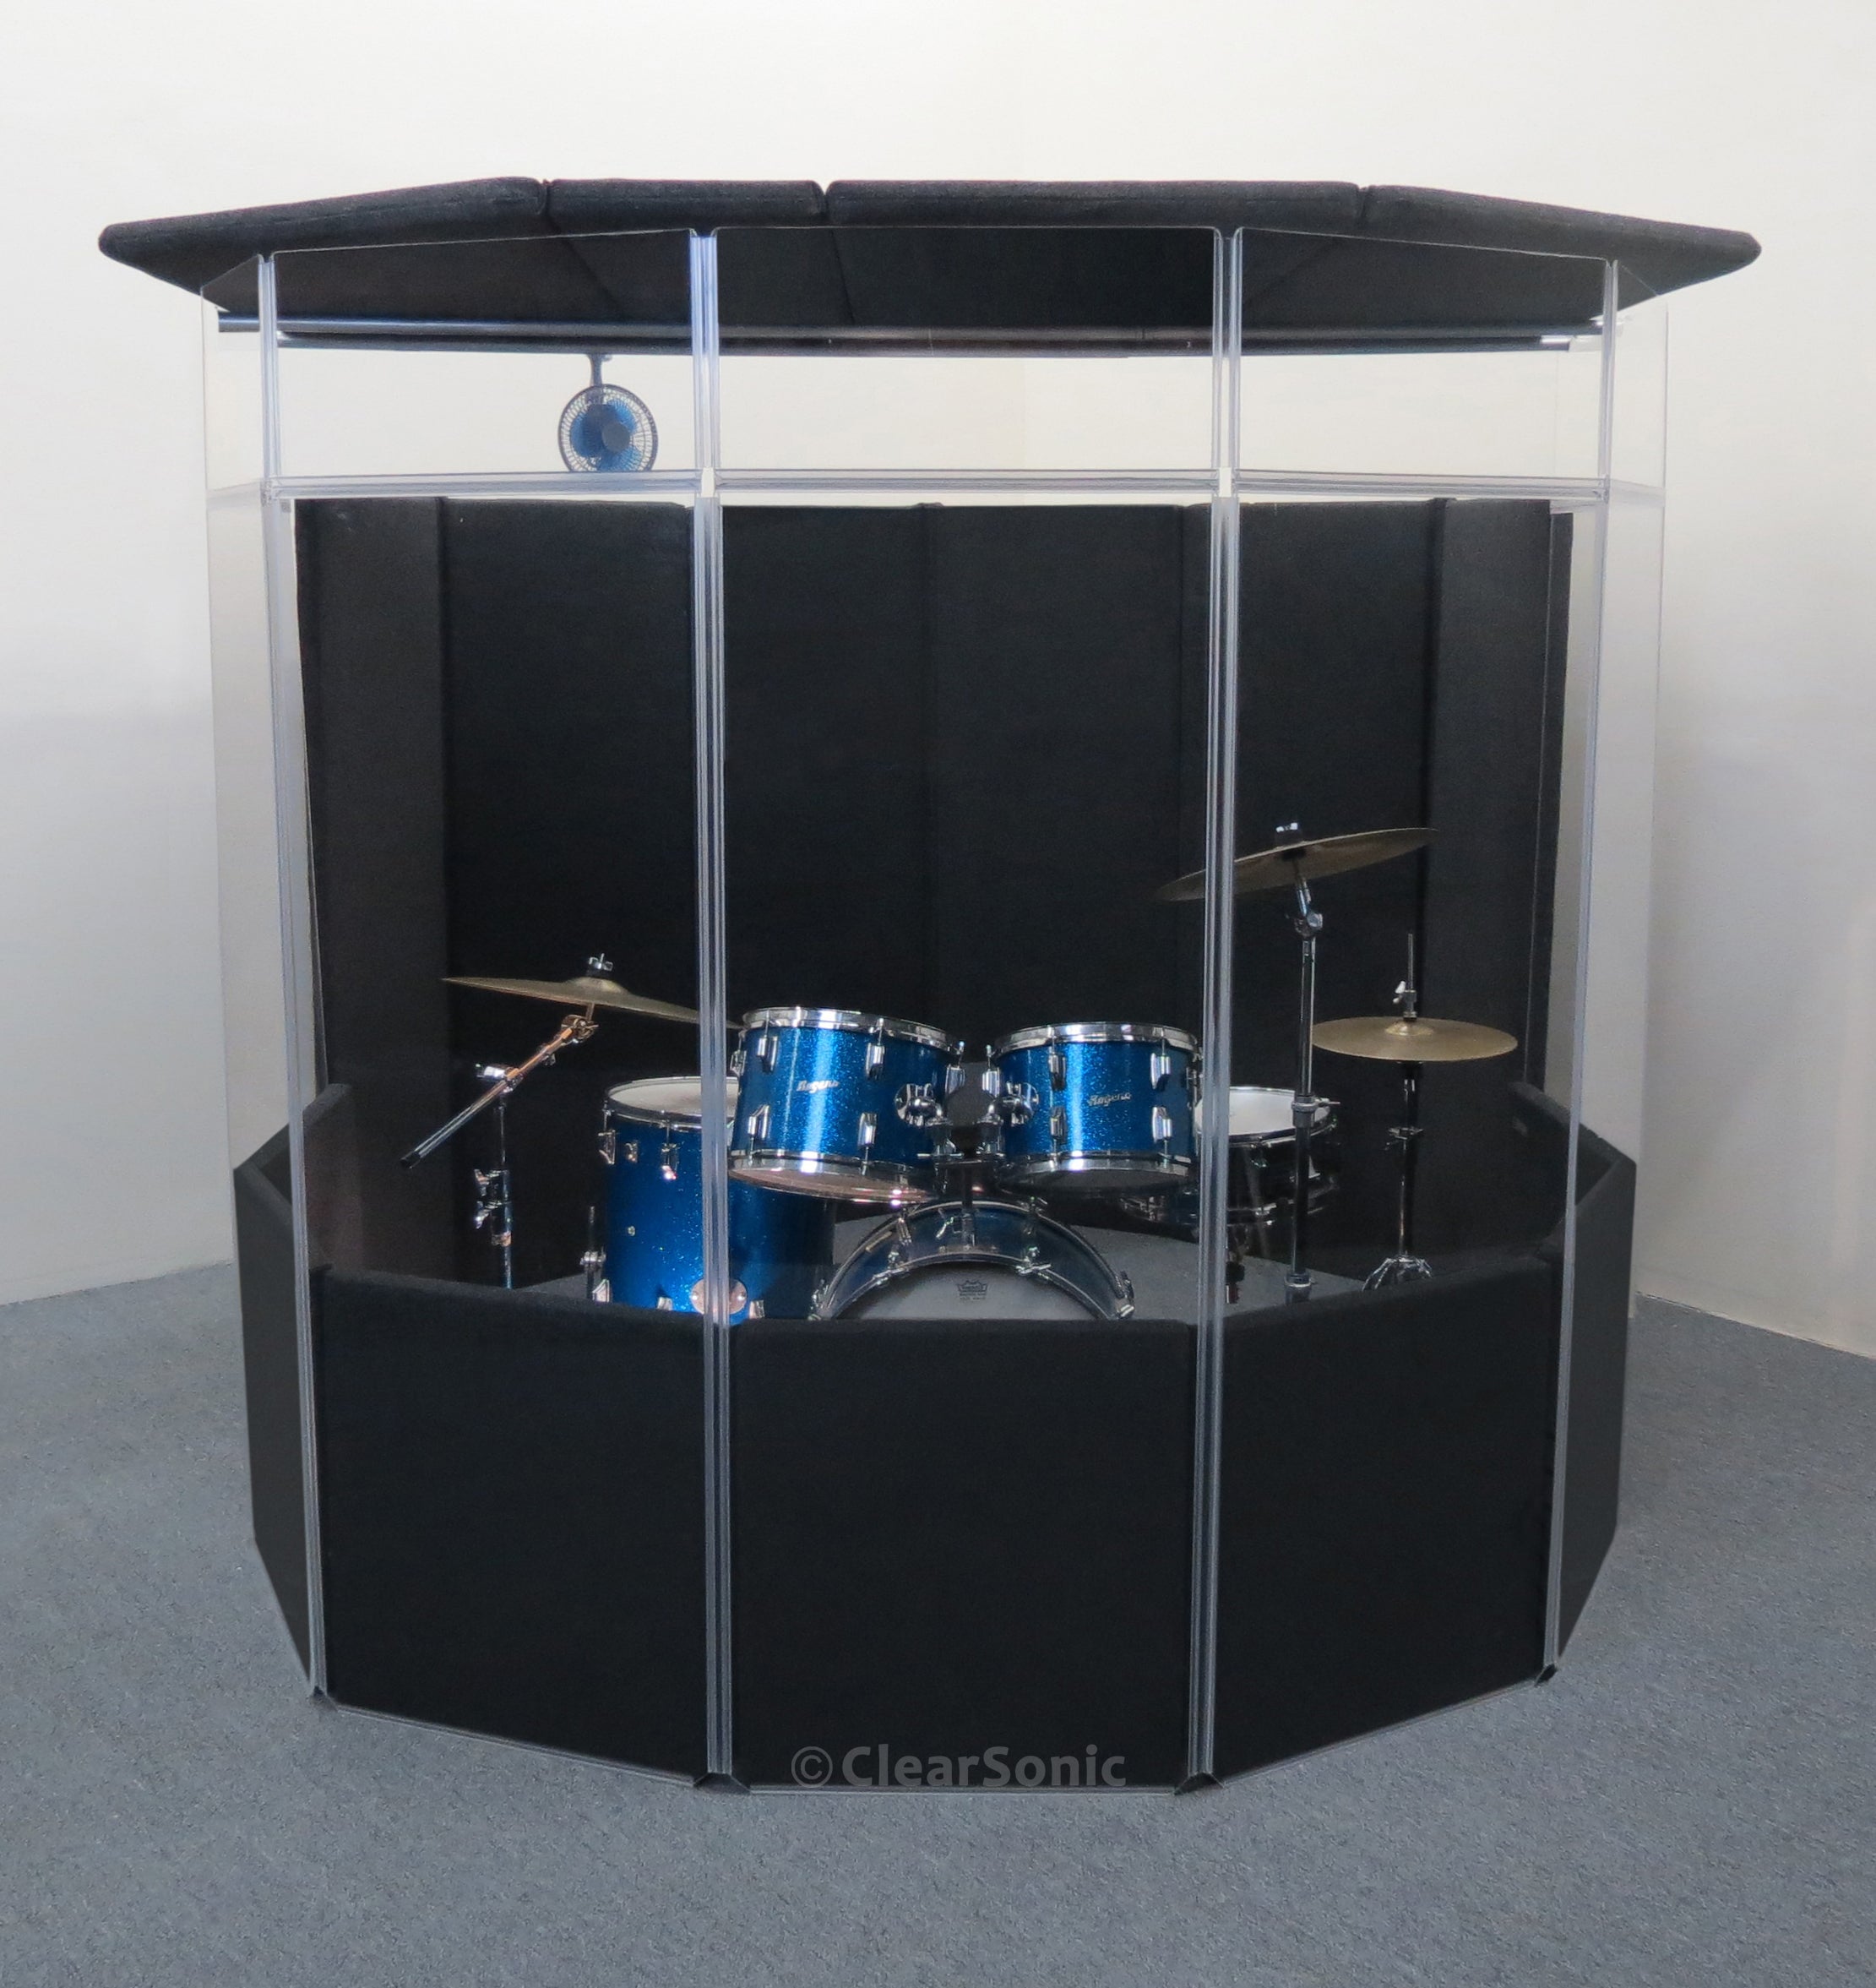
Not usually on its own. Without sound-absorbing treatments placed to the sides and behind your drummer, the drum kit may sound overly “roomy” to the audience. To minimize this, we highly recommend installing acoustic panels on the lower half of the ClearSonic Panels, as well as adding absorbent materials behind and beside the drummer. For maximum sound reduction, IsoPac systems equipped with a lid system offer the best results.
How Durable Are The Hinges?
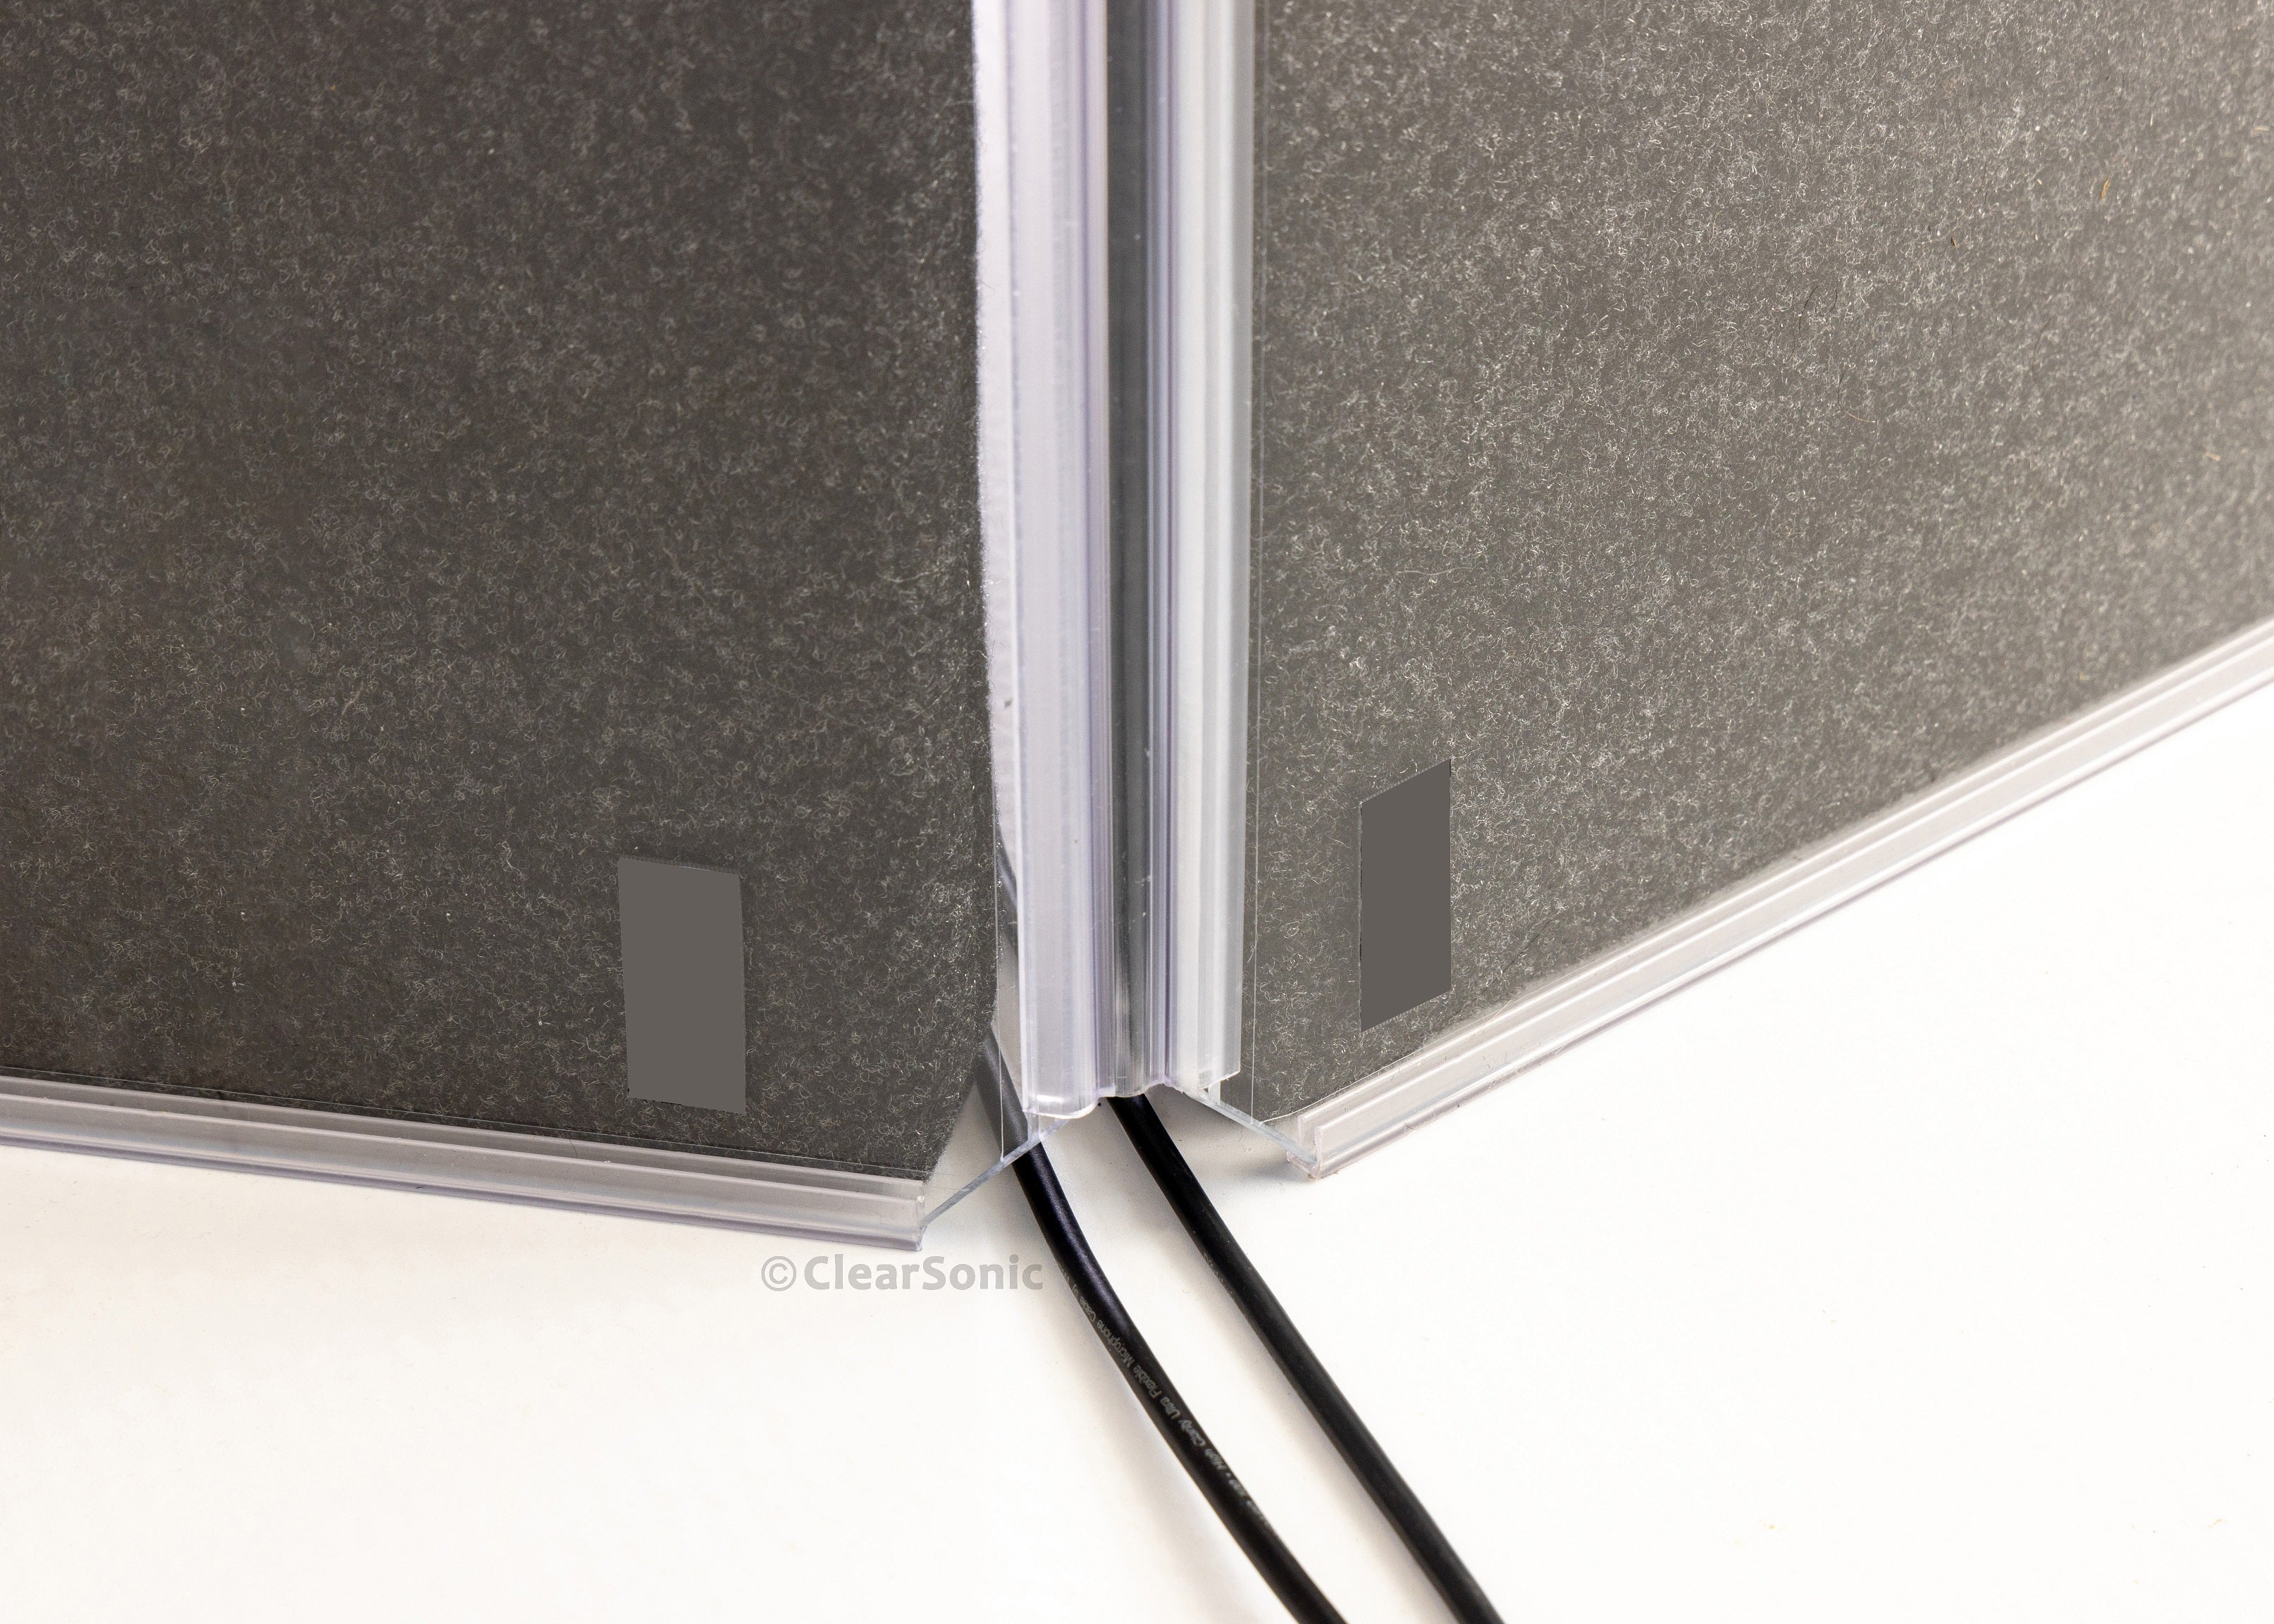
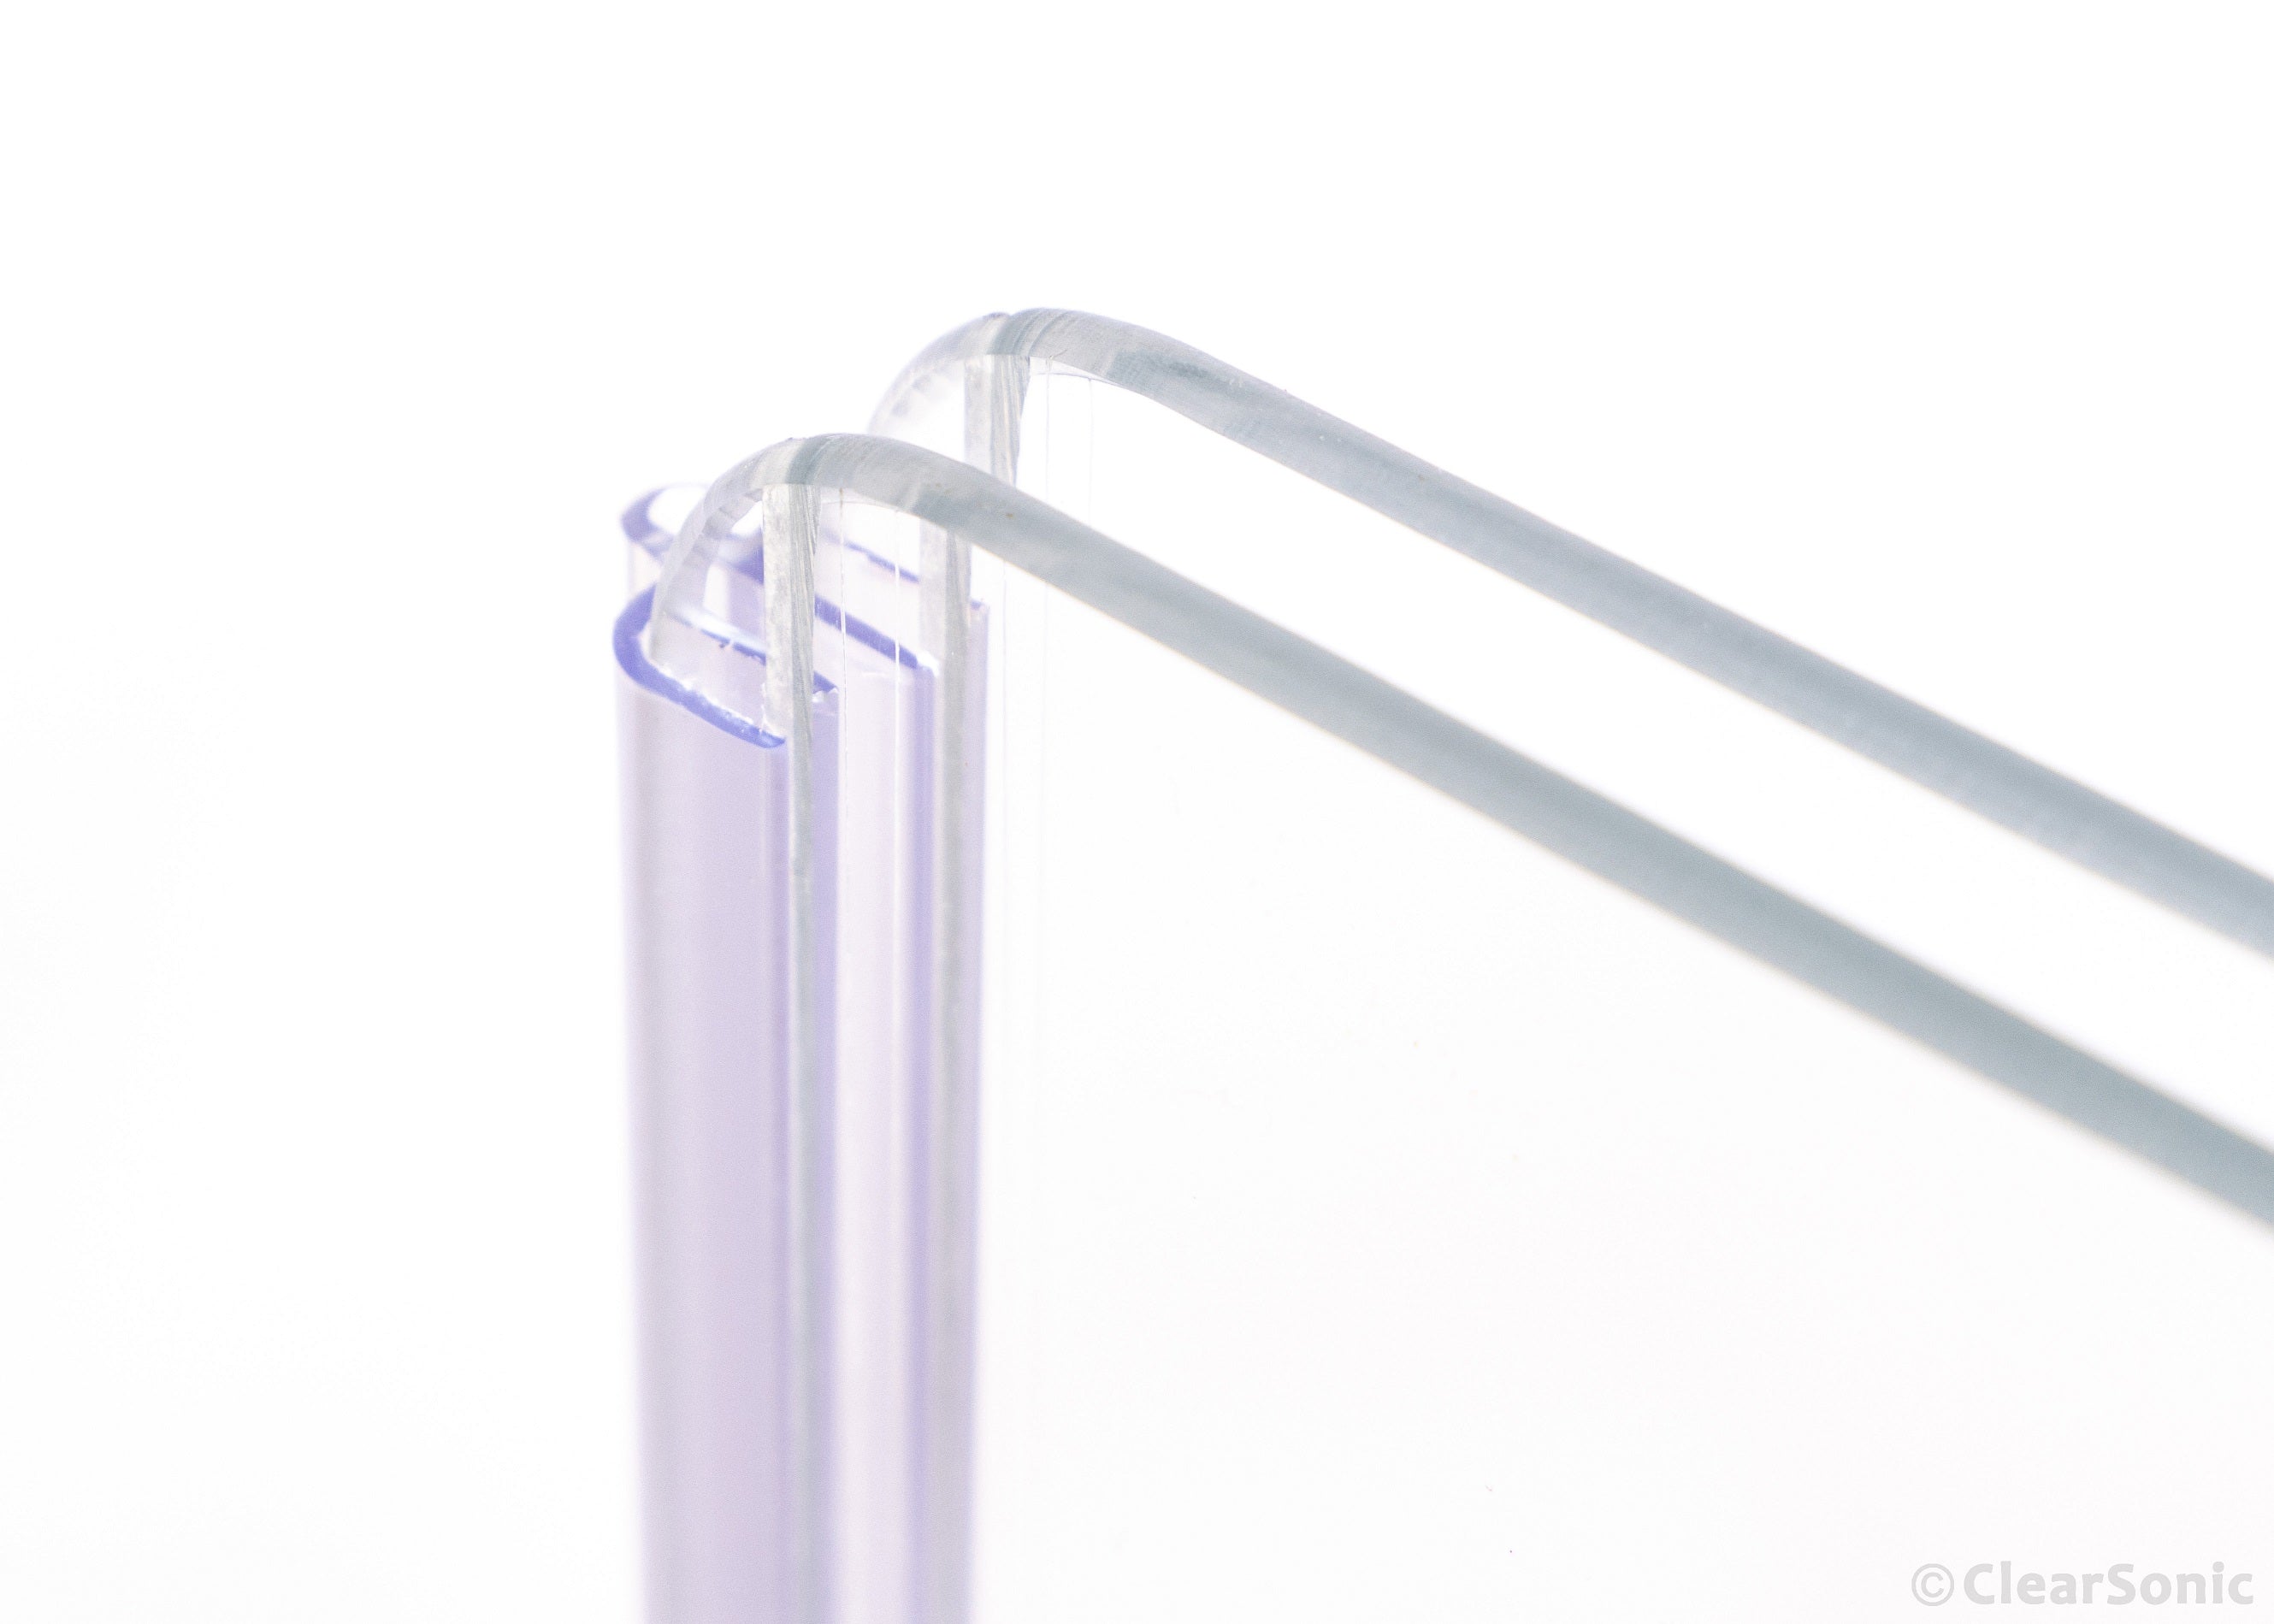
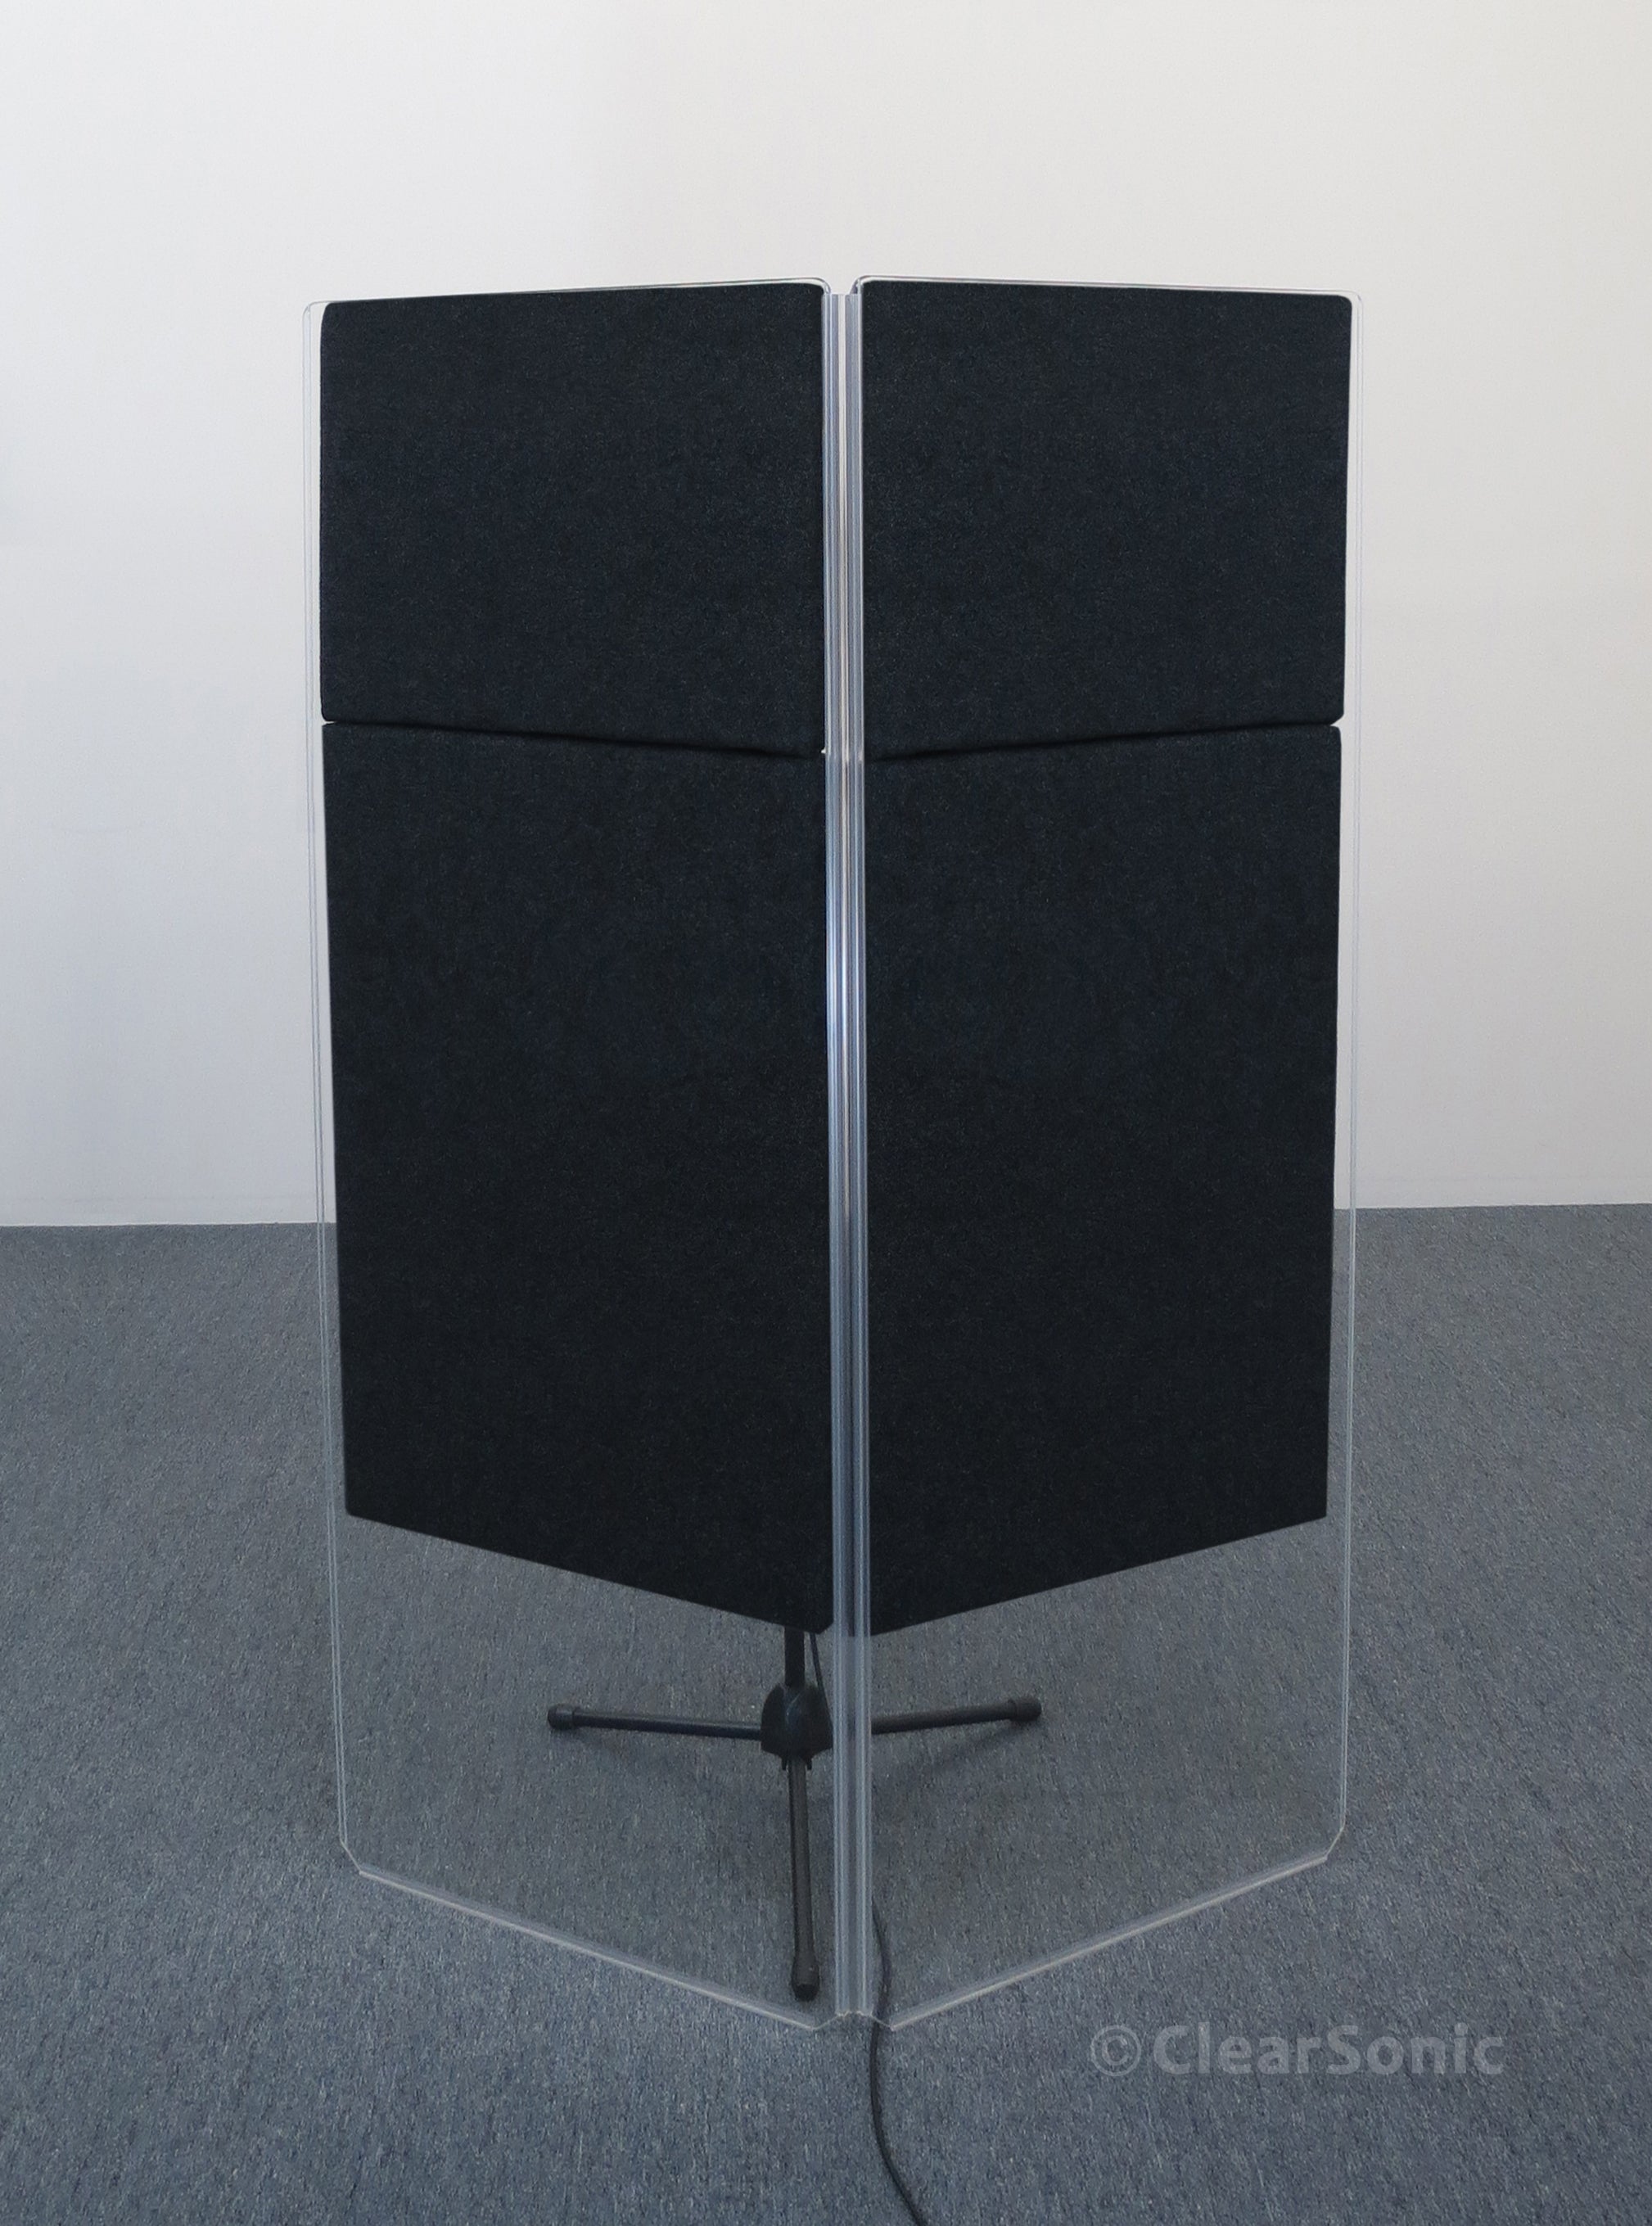
Our full-length, heavy-duty plastic hinges have seen multiple design improvements since 1995 and are built to last. The latest version features a unique "tooth-and-groove" design along the edge of each panel, securely locking the panels together and preventing separation. This specialized hinge also enables our systems to fold accordion-style for convenient transport.
Unlike flimsy, off-the-shelf alternatives, our hinges are custom-extruded with a flexible section that is at least 0.06″ thick—nearly twice the thickness of many competitor hinges, which may be as thin as 0.038″ or less. We own the die for this exclusive hinge design, meaning no one else offers this level of strength and reliability. Don’t compromise with inferior hinges that are prone to splitting and early failure.
How Do I Mic A Drum Kit?
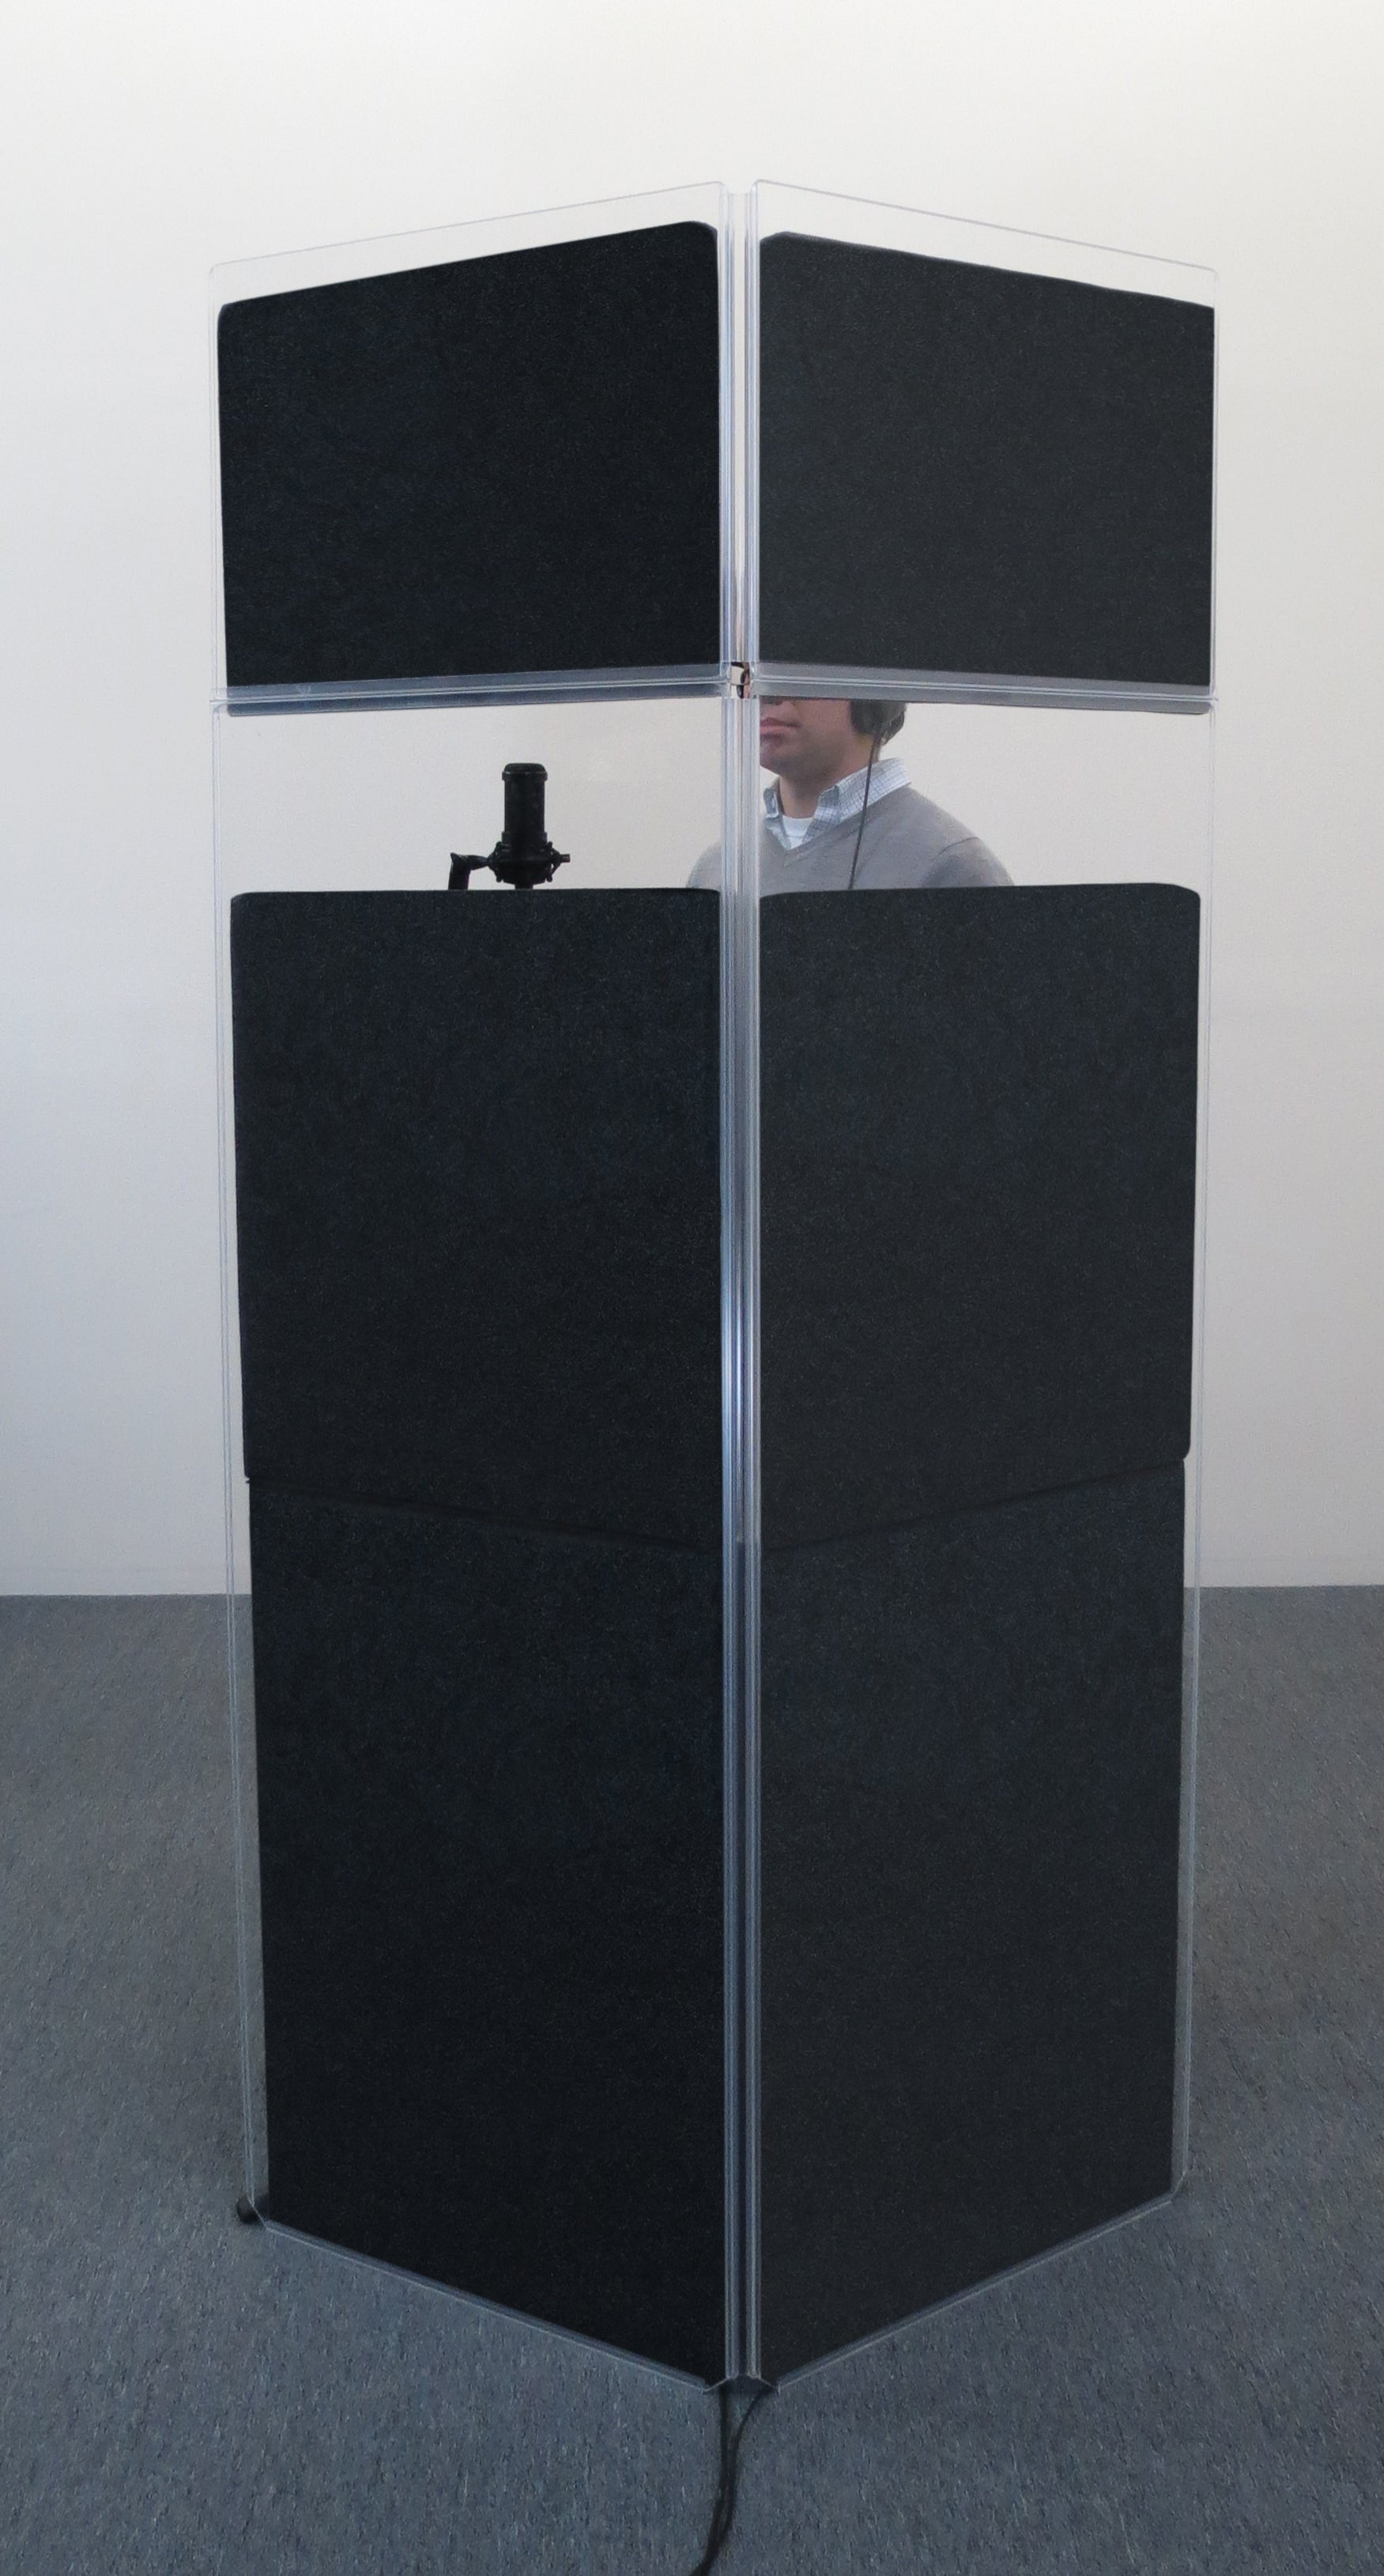
Start simple—don’t rush out and buy a bunch of mics if you haven’t already. In most setups, a kick drum mic and a single overhead mic are all you need to give the sound engineer adequate control over the drum mix. This approach is cost-effective, easy to set up, and avoids clutter—no need for multiple mic stands and cables in a tight space.
For the kick drum, use a small mic stand or simply place the mic inside the drum on a cushion. If you're using Lid Panels with Velcro-receptive surfaces, you can attach a standard PZM mic above the snare by adding a few strips of hook Velcro to the back of the mic and securing it to the panel. Use additional Velcro strips to route the cable neatly to the side of the booth and down to the floor. This setup captures the full kit without requiring a mic stand—keeping things clean and efficient.
Is It Possible To Add More Acrylic Sections If More Space Or Sound Control Is Needed?
Some people ask whether adding more panels will help. In some cases, it can—but often, reducing acrylic and increasing acoustic treatment is the better solution. While adding more acrylic panels will block and reflect more direct sound, that energy still has to go somewhere. Without proper absorption, you may simply replace a loud, direct drum sound with a loud, echoey one.
To avoid this, sound-absorbing panels are essential. They significantly enhance the performance of acrylic drum shields by capturing and reducing both direct and reflected sound, resulting in a cleaner and more controlled drum mix.
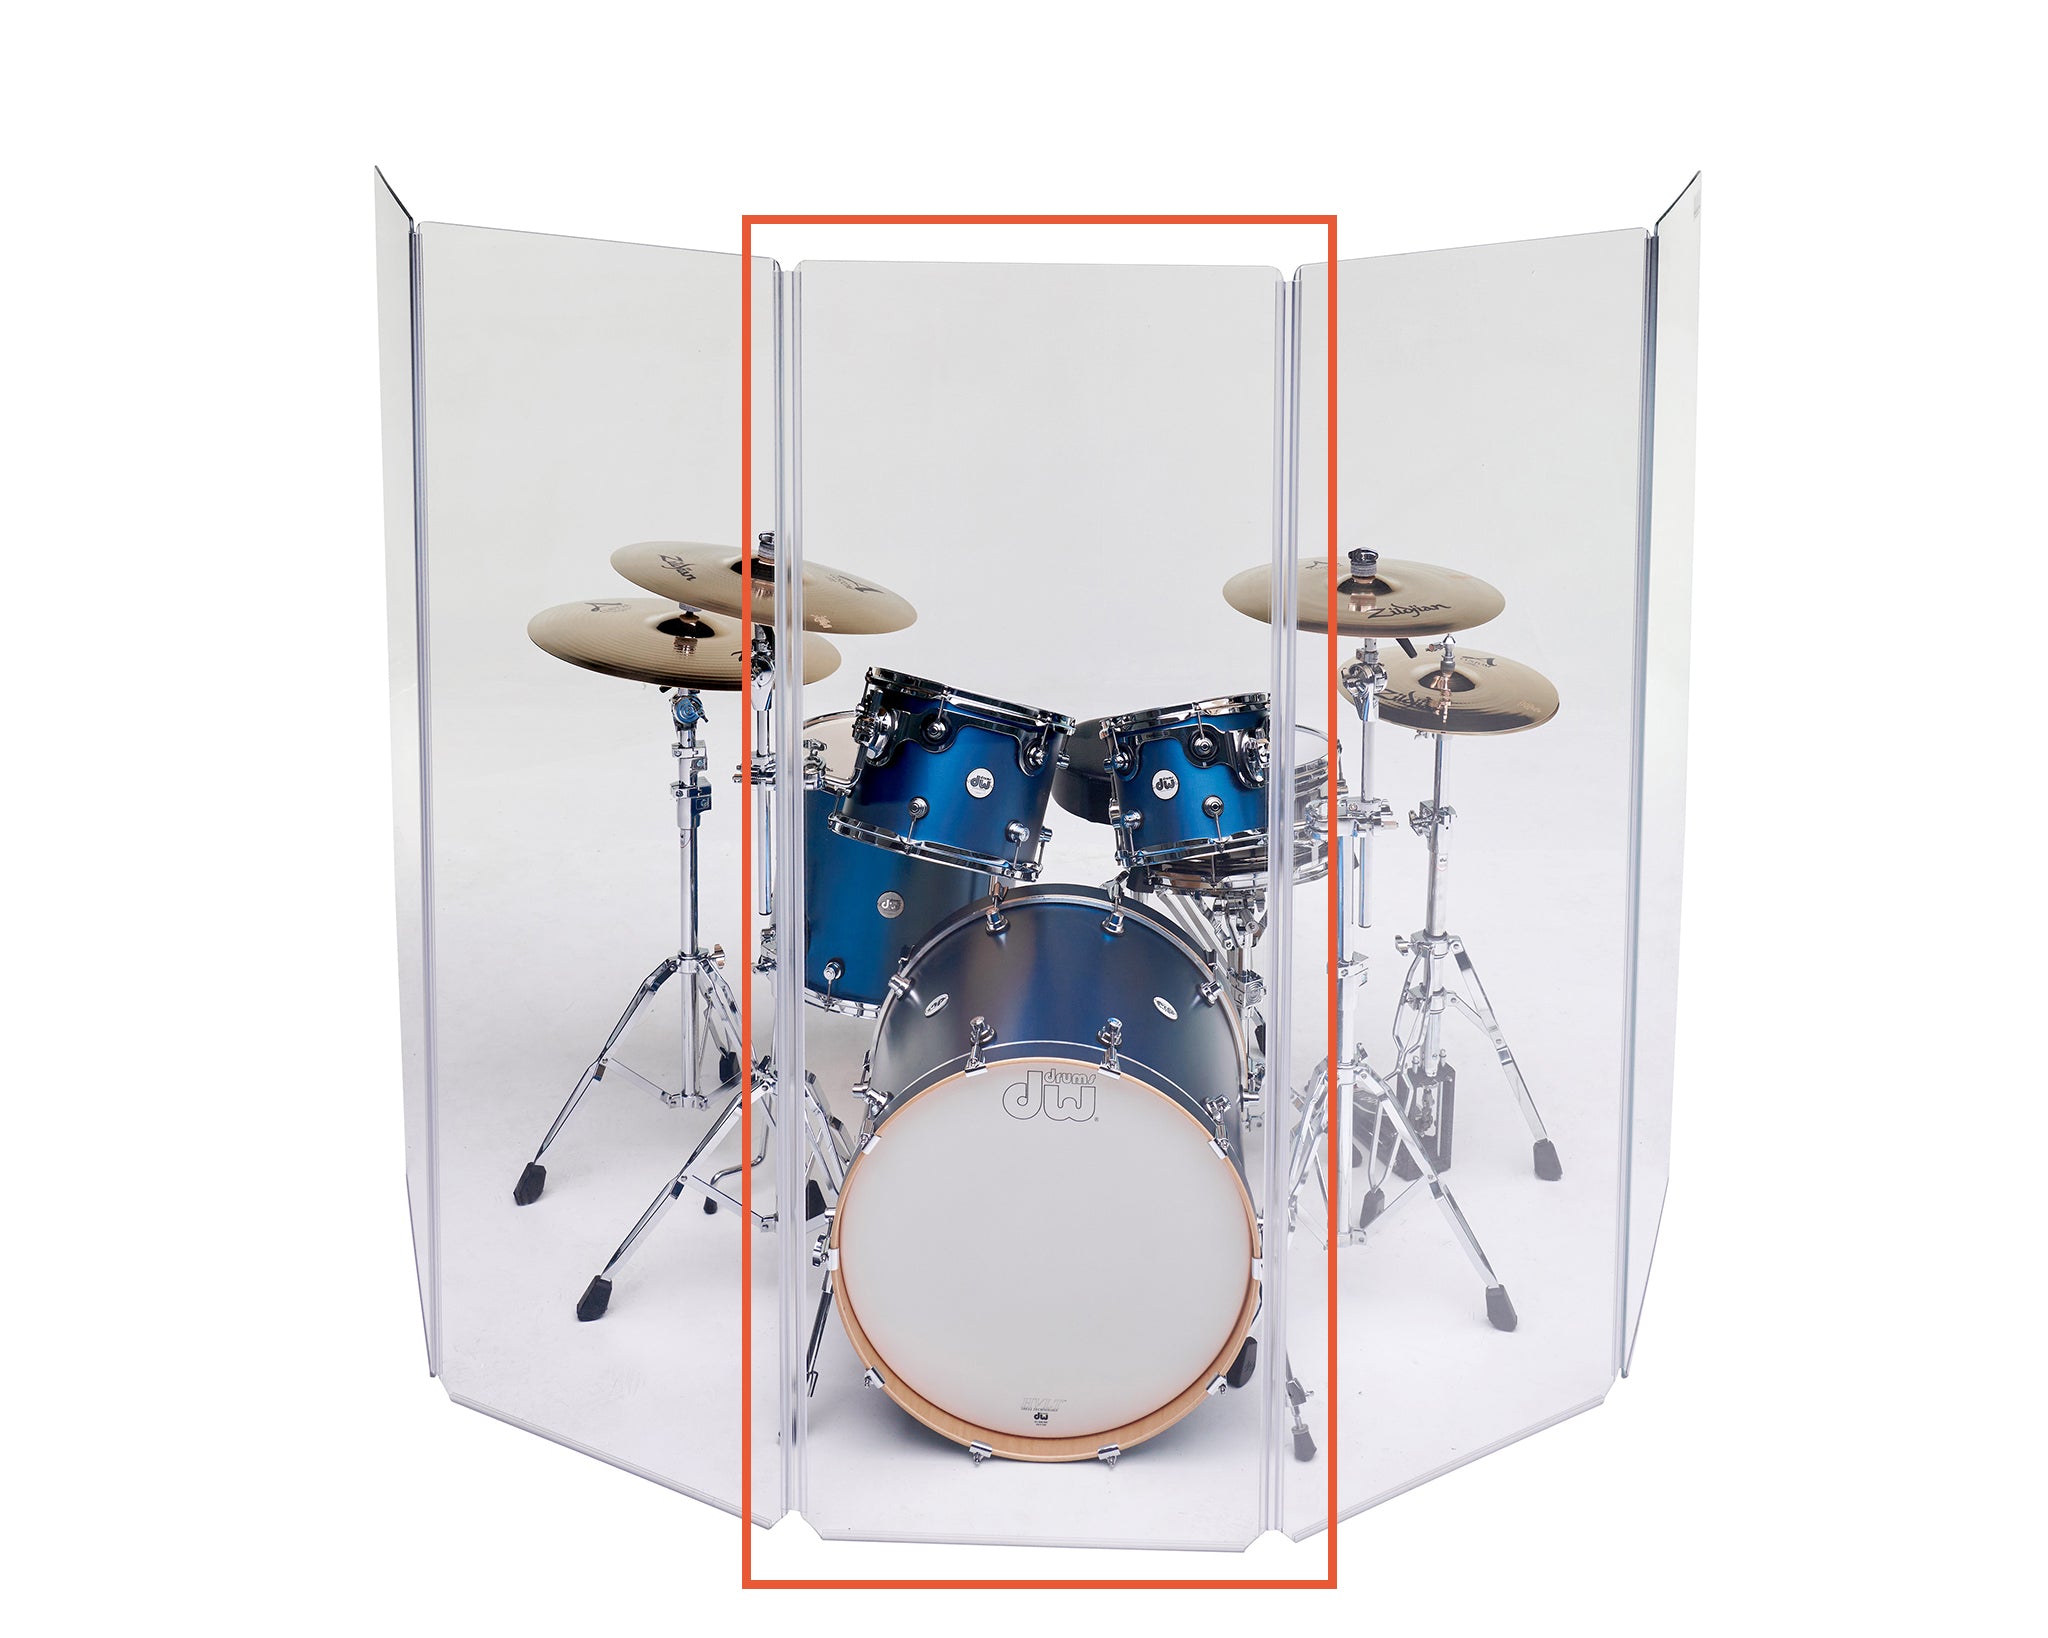
Is It Possible To Add Or Remove Sections If The System I Ordered Isn't Quite Right?
ClearSonic Drum Shields are designed to accommodate panel removal and additions. When removing panels, remember that the Hinges are made to attach once and hold for the life of the hinge. Removing the hinge may damage it and not allow for it to be mounted again. Replacement hinges are available.
What Are ClearSonic Drum Shield Panels Made Of?
Standard ClearSonic Drum Shields and Drum Enclosure systems are constructed from 1/4-inch thick, American-made acrylic.
Packaging your Factory Assembled Drum Shields
ClearSonic drum shields and drum enclosures are shipped in heavy-duty boxes with extra packing materials to ensure they arrive safely. While this adds to our shipping costs, we believe it's worth it—after all, a drum shield isn’t much use if it arrives damaged. If your package shows any signs of damage upon delivery, please make a note of it with the carrier and contact us right away.